Week 2–Let’s Begin a New Bathroom Design
Here we are at week 2 of the One Room Challenge Bathroom Redo! The master bathroom design remodel has begun! Sharing all the ugly on the way to beautiful steps…remodeling isn’t pretty!
Several of you asked for the “ugly” photos…here you go! It DOES get better so hang around for our weekly updates to see where this takes all of us!
Just a quick update–we are a guest participant in the One Room Challenge Spring 2023 Event. No competition…just a group who have set a goal to get a room that has needed a redo done! Cheering each other on to finish in 8 weeks. If you missed last week’s beginning, you can read about it here.

Let’s Start at the Beginning of this New Bathroom Remodel…
You may want to know why this one room has many challenges. This part of our home was built in 1907 and moved from a different location in our town to it’s current lot.
The woman who moved it often moved walls and changed room configurations often. From the attic, my husband is overwhelmed by the configuration. Electrical wiring, supports and issues there will be addressed next on the remodel projects.
Every time we begin a project in this house, my husband shakes his head because he KNOWS that floors, walls, wiring and plumbing may start all over like in our last bathroom redo.
Do you remember the issue with the ceiling redo in the kitchen remodel? If you are thinking of resurfacing a textured ceiling, you might want to read that post before you begin! I think a different route in covering this one will take place as we proceed!
Wish us luck and say a prayer for us with this one.
Let’s Begin this Bathroom Design Remodel!
Remember those changes in the rooms? I’m not sure what all this room was from the beginning. Who knows if there was even a bathroom inside at the beginning of this original home. There was what appeared to be a window of sorts cut on the right wall as you enter the bathroom.
No matter what we did in trying to cover, mud and repaint it…it always has reappeared. Covering it became the solution to prevent it from appearing any more. That’s where we began this bathroom remodel project.
That was the FIRST structural flaw to fix in this bathroom. Baseboards were removed…a bit of sheetrock repaired. What a mess!
We had already found the double vanity and purchased it. And yes, it has been “parked” here for a while. Thankful friends and family love us and still walk past it to have their feet under my table! You can see it and the mood board on last week’s post if you missed it!
And then…other projects took precedence.
Master bathroom closets, under the house encapsulation, garage projects, the second bathroom redo for guests, the kitchen fire remodel, all happened before we could get back to this project.
See my dilemma?
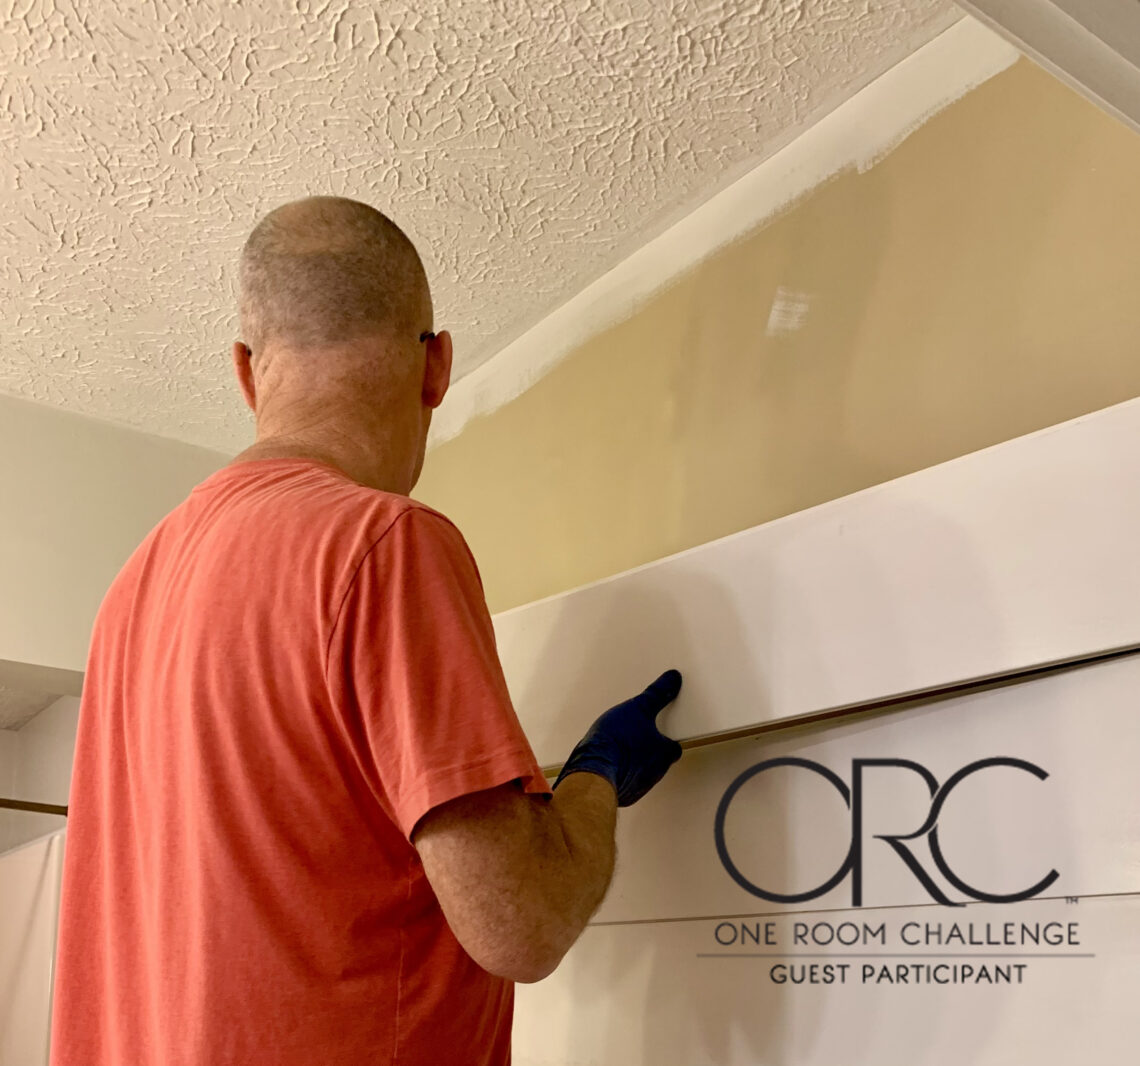
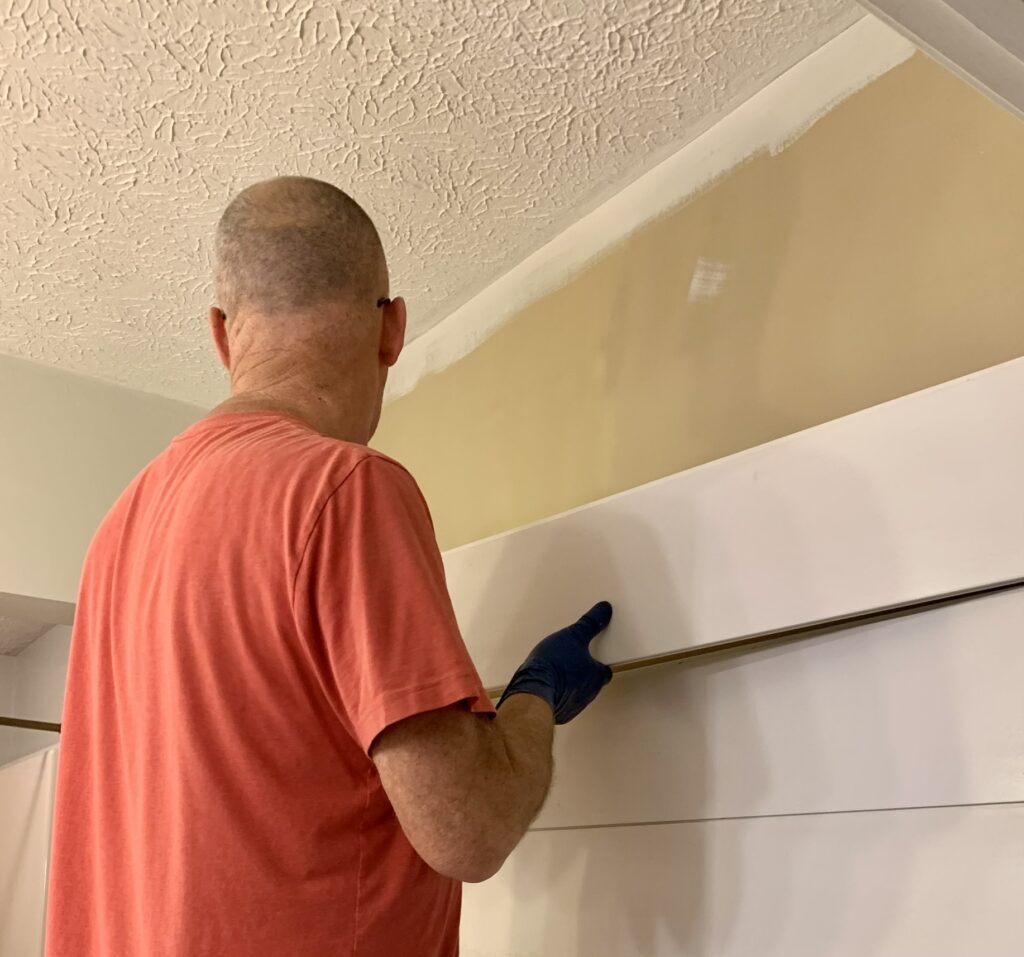
- Before the other projects interrupted this one, the door and trim were removed to begin the project.
- Then, the shiplap was hung. It was a welcome relief to no longer see the wall issues.
- NOW, that’s where the project halted to work on other projects…with shiplap no longer the design “favorite”, it solved the problem with great results.
Now, it was time to get serious to get this one bathroom design finished.
- On to remove the full wall covering mirror that needed to be replaced long ago. Into a dumpster it went!
- Next came the purchase of two mirrors for over each of the sinks.
- Then the sink hardware was disconnected and the plumbing prepared for the removal of cabinets.
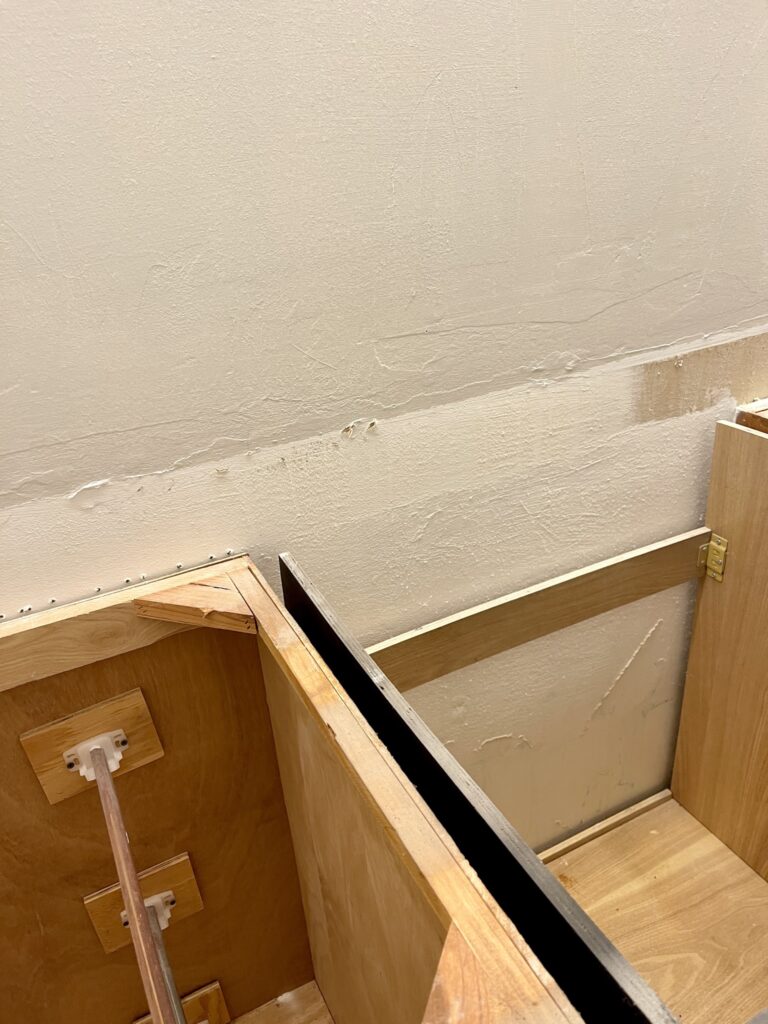
- Finally, the removal of cabinets from the wall was the next step in the process. Random “unmatched” cabinets had been added to this bathroom by previous owners…What a mess!
The countertop and cabinets went on marketplace and on to someone else’s address. Yay!
Do you see how bad that wall is behind those cabinets???!!
Yep, sheetrock removal is NEXT on the list for next week.
AND see the different colors of the switch and outlet cover? Goodness! That is on the list to change.
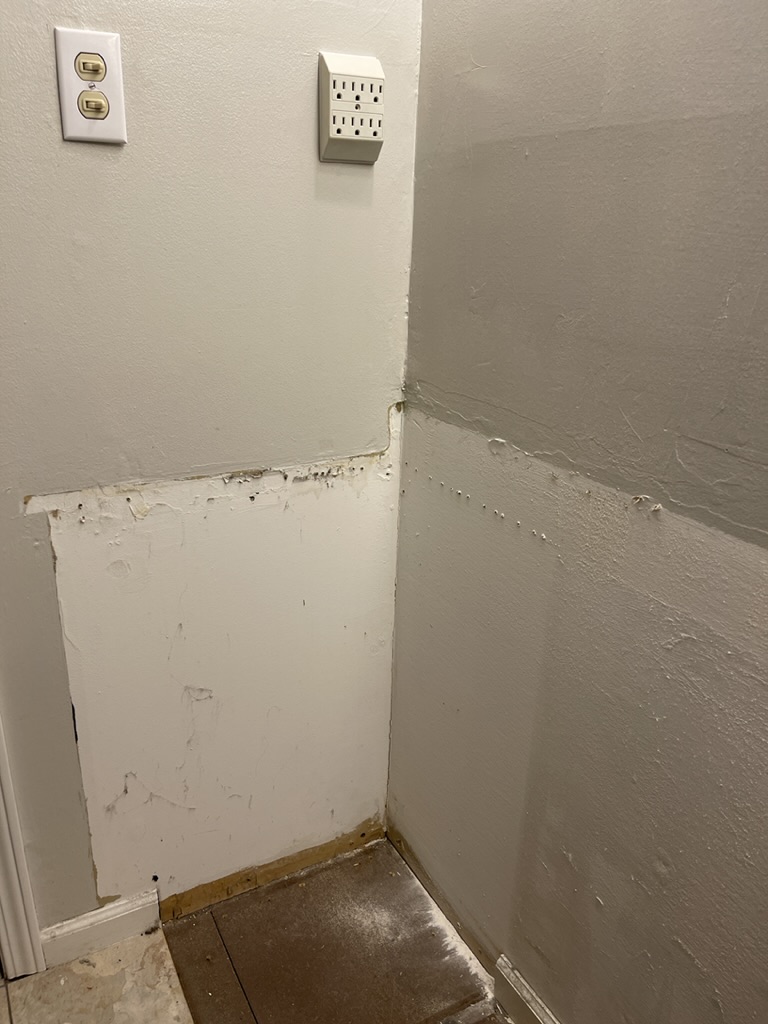
Sheetrock removal will help to begin wiring for additional outlets and different lighting and plumbing replacement.
Layers of wallpaper, screws attaching the cabinets, and an easier view of working on plumbing and wiring made the need for wall removal a must like the last bathroom redo.
Can I give you a tip here?
Sometimes it is just much easier to remove sheetrock than try to remove wallpaper OR repair issues. Thankful my husband agreed.
We may need to remove the side walls–so that has now been added to the list, too. Gracious!
Are you feeling sorry for us yet–cause I’m sharing the reality of bathroom design and remodeling!?!
May I just say that rumblings from the attic let me know that my husband wasn’t happy to begin the electrical work!
More to share about that one next week.
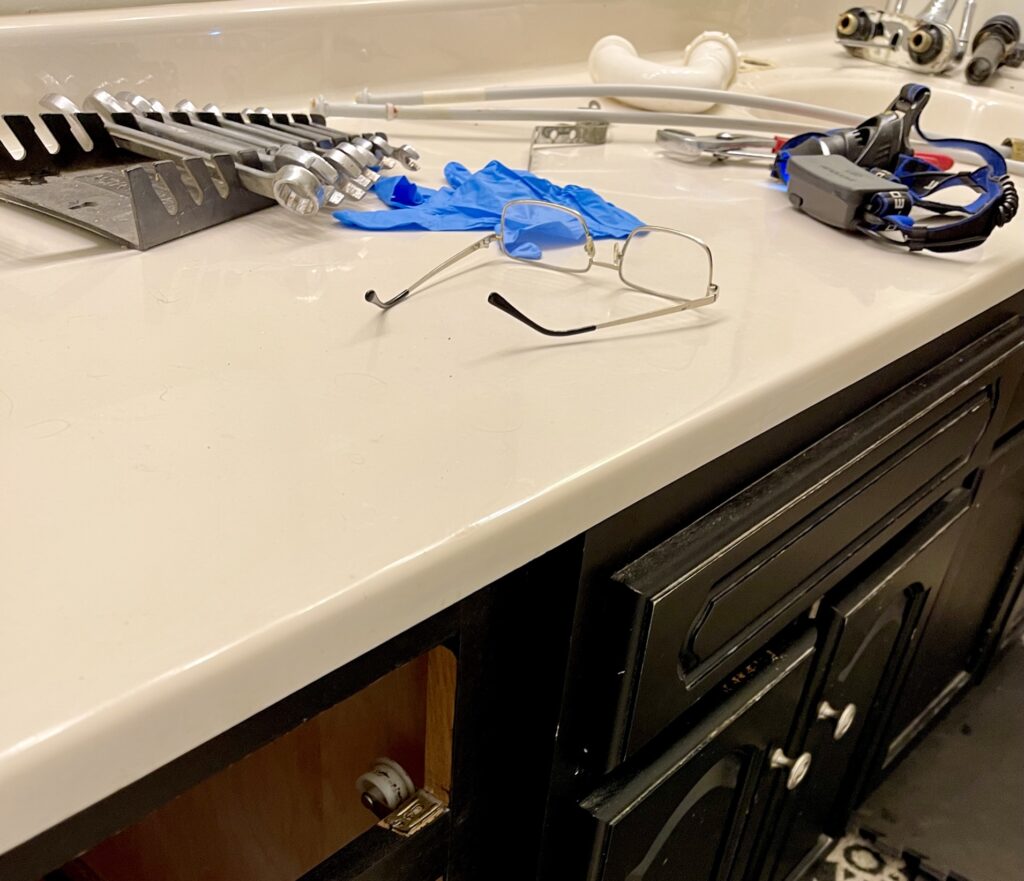
Gear that we found helpful this week for the remodel–

Just click on the photo to shop directly without having to search. You are welcome! Affiliate links help me share the location of finds at no additional cost and help this blog, too. Win! Win!
The LAST thing my husband says you need for this project is A FRIEND! Someone to help you haul out the mirror, countertop and cabinets!
Don’t forget to follow along on Instagram @Feetundermytable, @oneroomchallenge, and @apartmenttherapy to see how projects in the one room challenge are coming along! More to be inspired by there.
Until next week, keep cheering! Those cheers in the comments would be loved and appreciated!


12 Comments
Barbara at Mantel and Table
Congrats on joining the challenge and getting going again Leslie! You two are amazing, and I can’t wait to follow along and see what wonders you work this time! 🙂
Leslie J Watkins
Thank you, Barbara! My husband is a true DIYer when it comes to this type of project! As for me? I’m designing and “holding” tools and sheetrock! Thanks for following and cheering us on from the sidelines! It means sooo much right now!
Vickie Ramey
Cannot wait to see the progress! Gary is a MAJOR renovator buddy!!
Leslie J Watkins
He’s pretty handy! And an overcomer of obstacles…plenty of which we are finding with this one! hahaha
Tammy
That shiplap is going to look wonderful in the bathroom. I cannot wait to see more.
Leslie J Watkins
Thank you, Tammy. It has already made a huge difference in that room!
Angie
Oh my goodness I feel your pain! Bathrooms are such slippery slopes. Relentlessly cheering you on, especially because us ORC bathroom renovators need to stick together!!
Leslie J Watkins
Right? Thank you for cheering me on! I’ll join your ORC cheering section, too!
Martha+Wallace
It’s coming along! So much yucky stuff to get done before the fun stuff like decorating! Almost there! Gray is doing a marvelous job!
Leslie J Watkins
Thank you for cheering us on! We are SOOOOOO ready to get this finished! Still sheetrock finishing, painting, ceiling, wallpaper, flooring, adding in new vanity and toilet. Whew! Perseverance required!
Pingback:
Pingback: