Week 4: Bathroom Makeover & Renovation
Do you need some great bathroom makeover ideas? Sharing a few tips and tricks that may make your life easier if you are joining me on the bathroom renovation tour. This week is all about the sheetrock and ceiling makeover! Do you see that before and after ceiling photo above? Loving that change.

Just click on the weeks to catch up on our progress:
- Week One- Dream Board
- Week Two- Shiplap and Plans
- Week Three- Sheetrock Removal, Electrical and Plumbing Tips
A few bathroom makeover tips as we get started…
- Don’t try and keep sheetrock that has layers of wallpaper or a textured finish. Replacing it is the first tip we learned with the first bathroom redo we did a couple of years ago. The layers on the wall behind the vanity from mirrors and wallpaper were horrendous. Paint over all of that mess made it impossible to get a great finish unless we replaced those walls. New sheetrock to replace this happened this week.
- Another tip we found helpful–use painter’s tape to mark off location where sinks, mirrors, and lights will be and then tape them to the wall to make sure that everything will be positioned in the right spot. This is helpful in making sure the light fixture boxes are cut in the right spot before sheetrock is hung.
- Use the right tools to mark the cutting for outlets, fixtures and plumbing for sheetrock and ceiling board.
- Lighting is your friend…we added more lighting where sconces were not yet installed to make sure we saw the fine details.
This week in the Bathroom Renovation scene–
1. First task– finish the plumbing.
Consider the vanity you are installing to make sure that you know where the water and drain lines need to be placed. Location of sinks and types of faucets will need consideration when you begin this part of your bathroom makeover.

Research with the plumbing experts and accessibility of completing the job meant we could DIY the plumbing and not have to hire a plumber. We love the professionals at Ferguson’s. They are so knowledgeable and can walk you through what to do so that you avoid issues. Their expertise is so valuable and appreciated with this project.
TIP: If you have a Ferguson’s close to you, give them a try for advice and products.
I am thankful my husband has the plumbing skills to run new water and drain lines. Not only did it help keep the budget in line, but that sense of accomplishment and “knowing” how things are put together proves to be so rewarding.
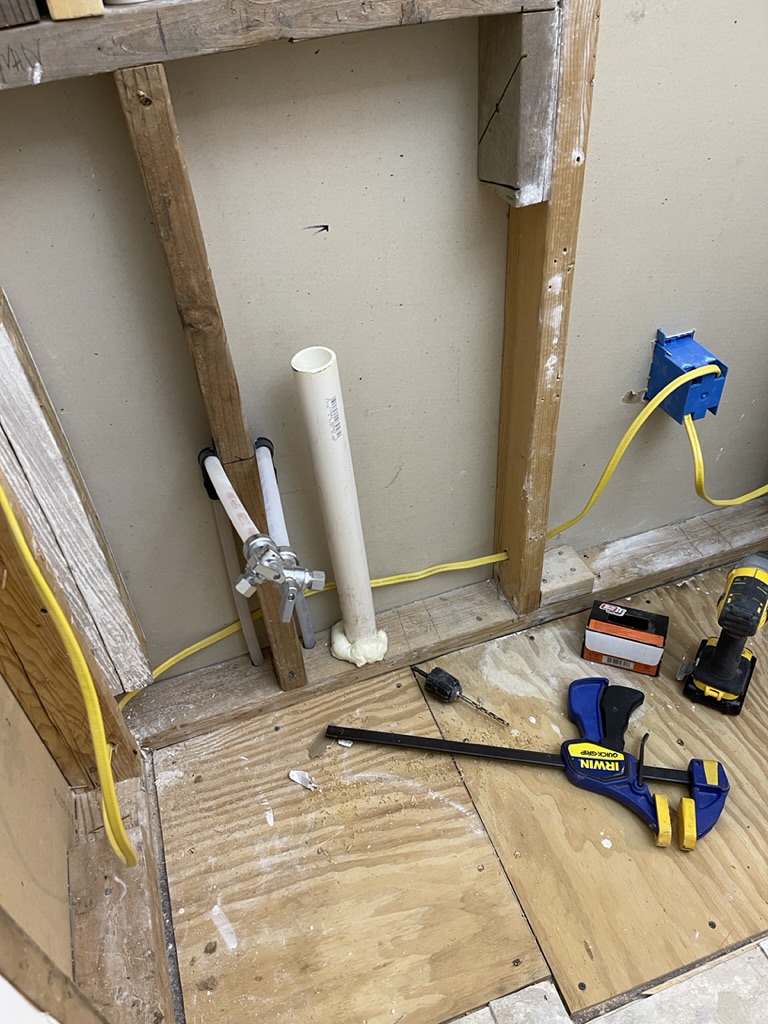
Here’s some of the plumbing supplies used…
Since your plumbing will have to be specific to YOUR bathroom, measurements and fit for your vanity will have to be taken into consideration. Here’s the tools that we found helpful.
- PEX pipe
- Shark bite connectors
- Plastic drain lines
2. Prepare Sheetrock before hanging.
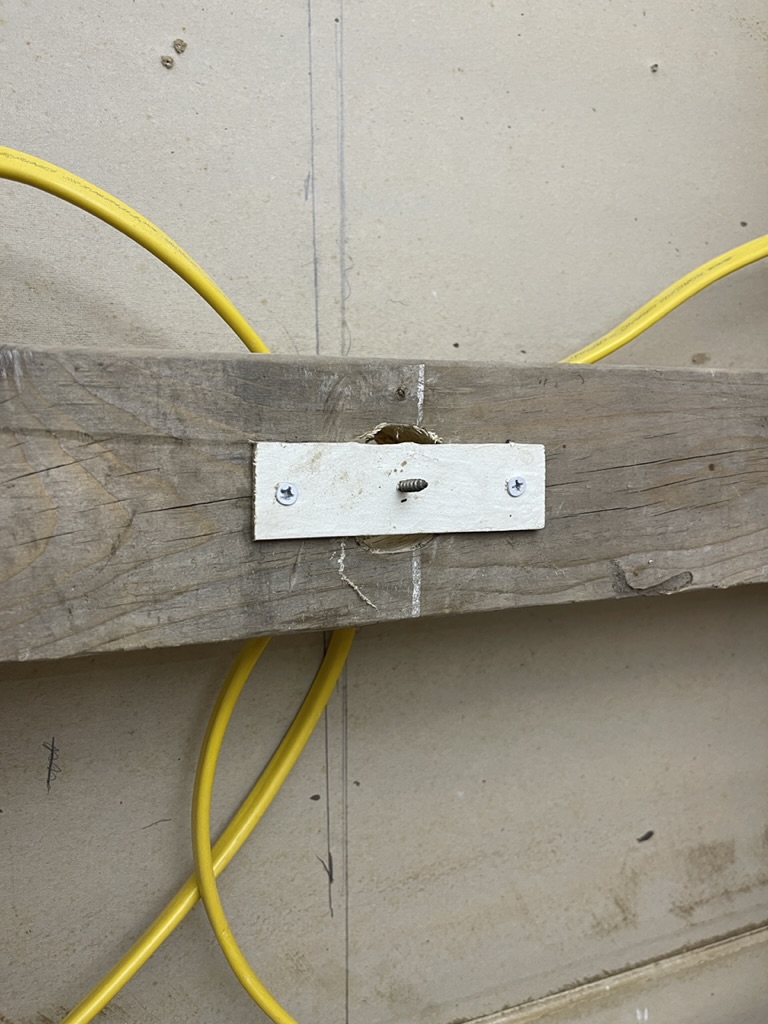
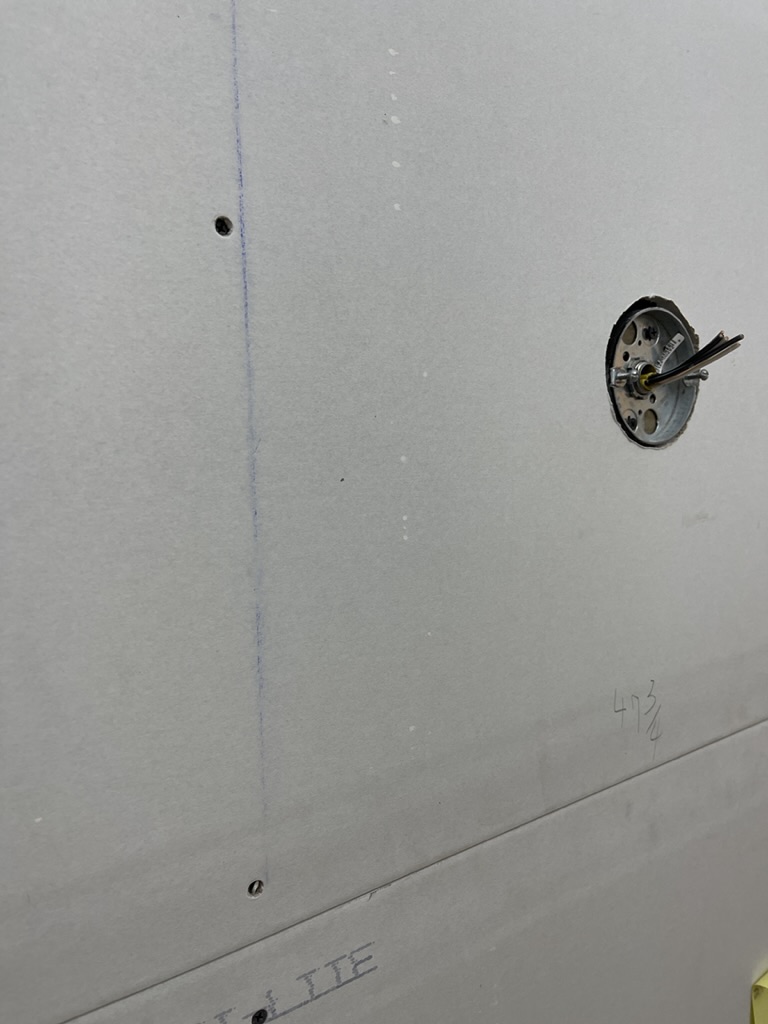
Before hanging the sheetrock, it’s important to cut holes out for electrical and plumbing. Here’s tips for how we did this:
- First, place markers of some sort in exact locations that will need holes cut for plumbing and electrical. You can purchase markers for this purpose for outlets.

- For electrical lines, this slat/screw trick helped so that when we pushed the sheetrock into the screw it marked it for us. Then when marked, remove that slat with screw.
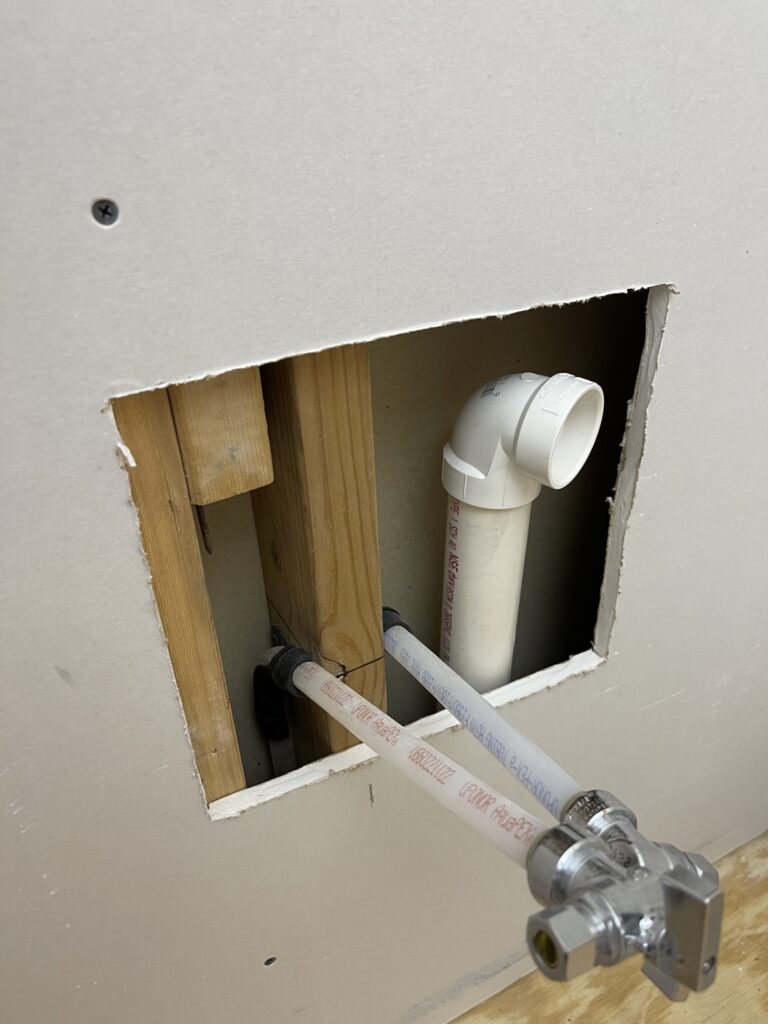
- For plumbing access, my free labor husband chose to measure carefully and then cut out a large rectangle of sheetrock. This allows room to fit the vanity lines perfectly before gluing them. Not your norm, but it allowed him room to accurately fit everything perfectly once the vanity was installed, with ample room through the back of the vanity to seal that opening later. With gluing drain lines exactly to fit…this was much easier. Leave no room for error!
3. Next, Hang the Sheetrock.
Yay! Purchasing, cutting and screwing into studs takes a stud finder, screws, drill and a bit of teamwork in lifting. It never ceases to amaze me how heavy sheetrock is.
TIP: My husband added a ledge before hanging the first sheet of sheetrock to the top half of the wall to add support in screwing it to the wall. The support helps so much for holding it in place. Then you just remove that ledge and hang the bottom half of the sheetrock.
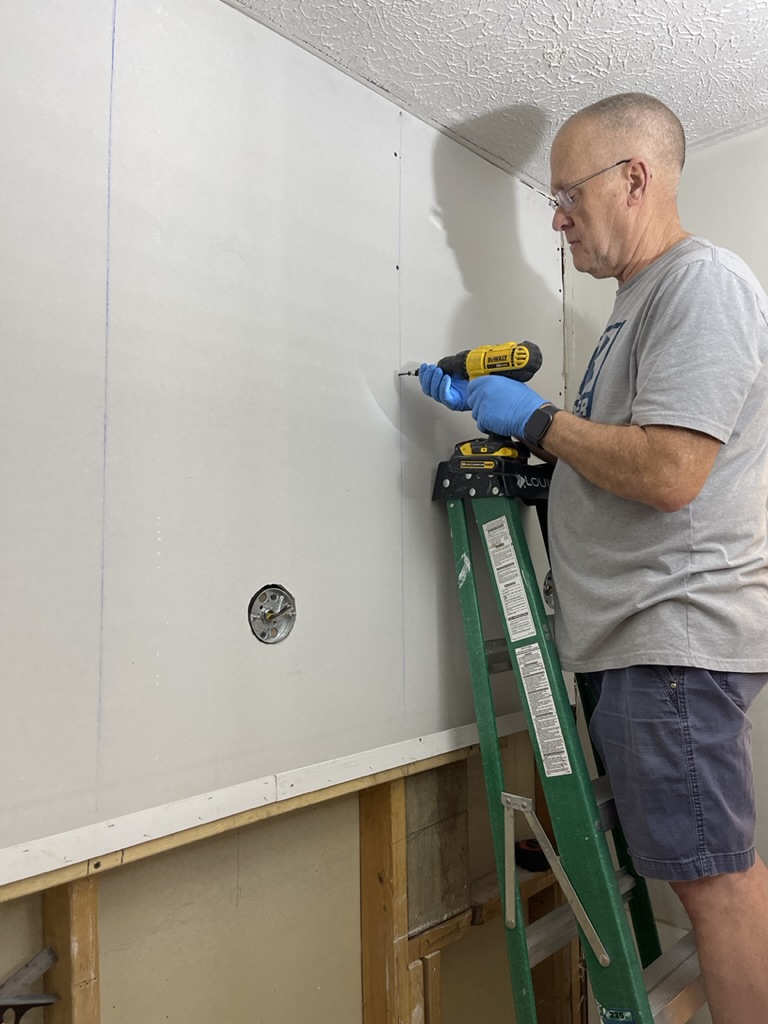
- Make sure that you have the correct screws, drill, square and stud finder to attach the sheetrock to the wall.
- Measure the dimensions of the sheetrock to be hung and mark directly on the sheetrock where to cut.
- Using a razor and straight edge, cut the sheetrock on your measurement lines.
- A plumb line drawn will help with hanging the sheetrock straight.
On this blog, I may sometimes use affiliate links, which means a small commission is earned if you make a purchase via the link. The price you pay will be the same whether you use the affiliate link or go directly to the vendor’s website using a non-affiliate link.
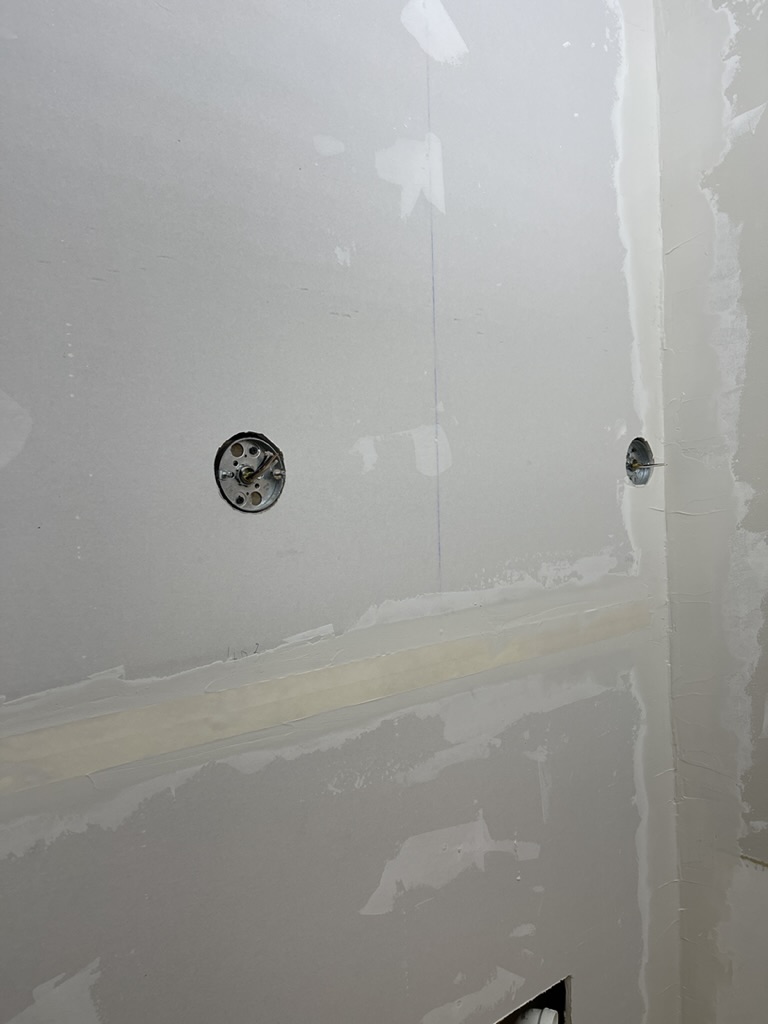
4. Finish the Sheetrock.
The new sheetrock requires taping, mudding and sanding for a smooth finish and to prepare it for priming and painting.
- Purchase premixed sheetrock mud, sheetrock tape, and tools. (see below what we used).
- Apply a thin layer of the sheetrock mud to cover screws.
- Add the tape where sheetrock seams meet and cover with a thin layer of mud.
- Let them dry completely between coats before sanding and adding the next layer. You will need a sander and sheetrock sandpaper for this. A sheetrock sanding block is a great tool to use, too.
- Finally, we felt that 3 coats of sheetrock mud over sheetrock tape for seams and holes worked.
- Keep mudding/sanding until all air bubbles are gone.
- TIP: If you are mudding corners, only mud one side at a time and let dry in between.

I’ll include affiliate links for tools that we used in photos you can click on below…no extra cost to you but may help this blog.
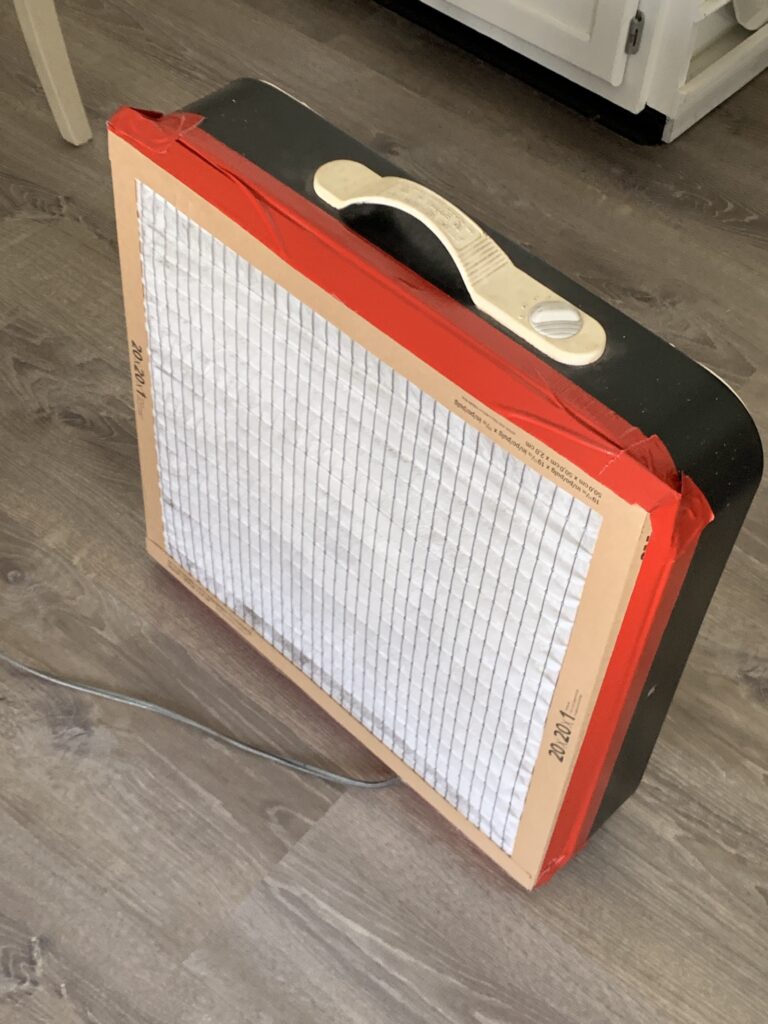
NOTE: We covered air vents and my husband attached a filter to a fan on the intake side so that most of the sheetrock dust was drawn into the filter as we sanded. A shop vac with sheetrock filter is a must when doing this job. I’ll link what we used in case you want to invest in projects like this.
4. Select the paint, ceiling and trim colors.
This is one of those steps that jumped out of order. Waiting on the wallpaper to arrive was required to match paint for adjoining walls, trim and the ceiling.
Since we already had the shiplap wall painted with our favorite white that matched the wallpaper, it was an easy choice to use that color.
5. Prime and paint the walls.
The wall behind the vanity was prepped and painted before we could hang the wallpaper. The color behind the wallpaper remained white. Painting the other walls BEFORE hanging the wallpaper was moved to the top of the list.
NOTE: Removable wallpaper requires a clean and painted wall before application.
Can you guess what we added to the list this week?
Remember the ceiling?
Remember when I told you those horrible ceilings would have to go?
We had such a nightmare of mudding/sanding the ceilings in both the small bathroom redo and kitchen remodel, that the bathroom renovation took a new turn.
Drumroll, please!
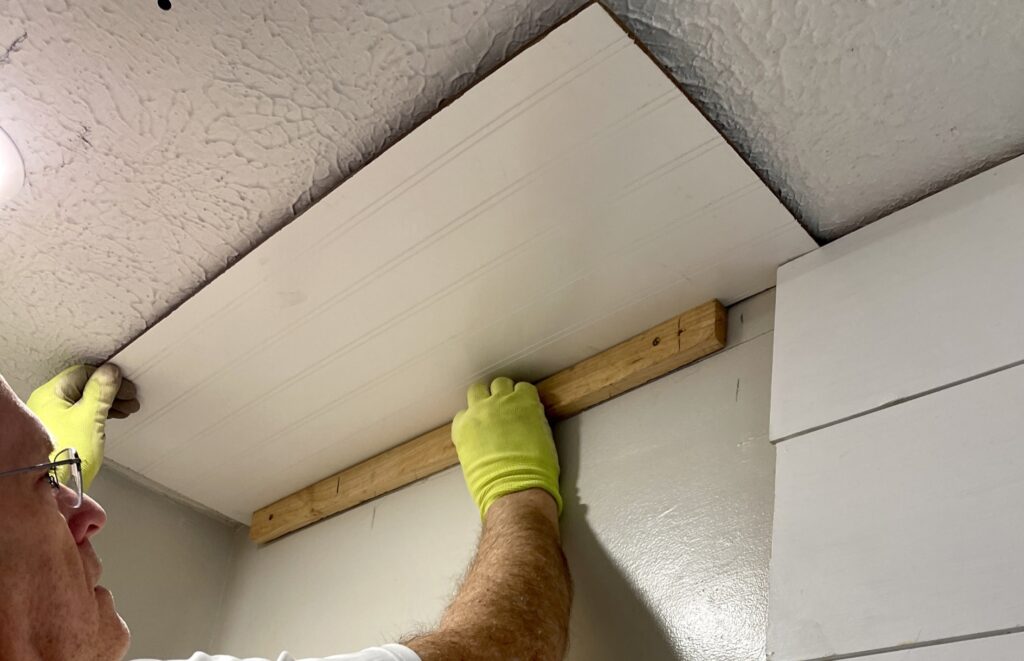
Bead board!
How do you hang those bead board ceiling panels?
- Measure and make a template to cut around lighting, fans, etc.
- Cut boards to fit.
- Use liquid nails on the back of each before positioning on the ceiling.

Thanks, Jonathan, for being the extra pair of hands. My shoulder thanks you, too!
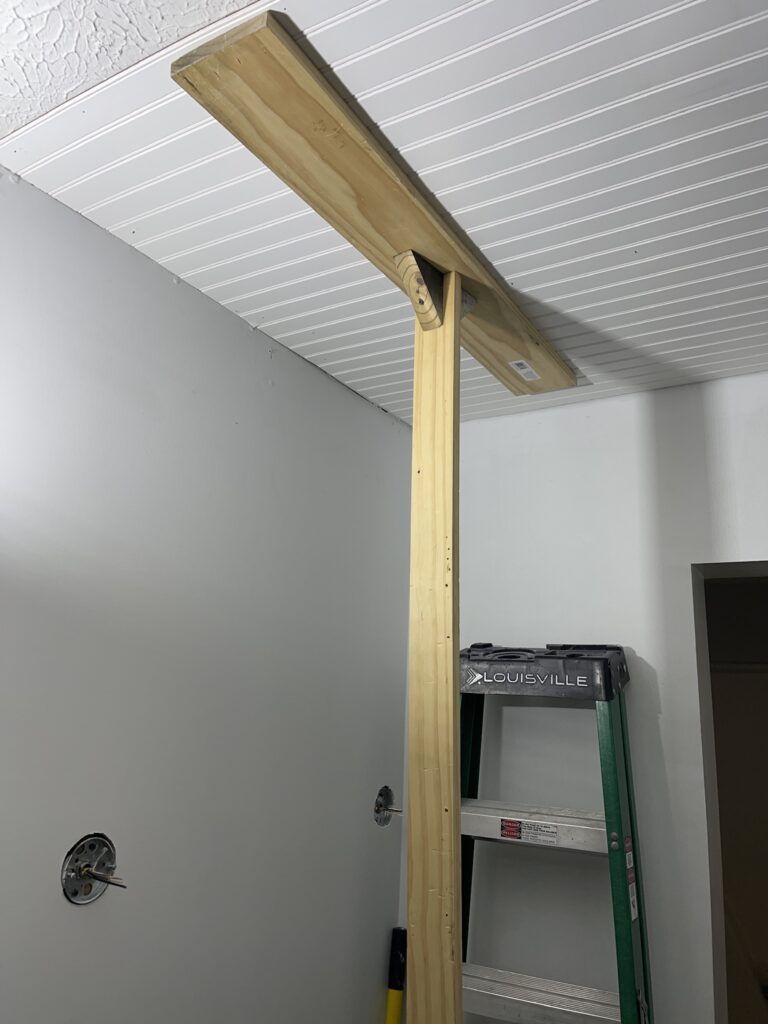
- Next, again my genius husband created another tool to hold and support the panels while nailing them to secure to the ceiling.
- Another tip: Attach a temporary piece of wood to the wall to brace the ceiling board as you prepare to attach it to the ceiling gives you extra support. Then just remove after gluing/nailing.
What color will that bead board ceiling be?
To. Be. Determined!
Next week?
- We will be tackling the peel and stick wallpaper. My first attempt with this! We have hung many rolls of wallpaper in this house and have one more room to remove wallpaper and redo walls after this bathroom renovation.
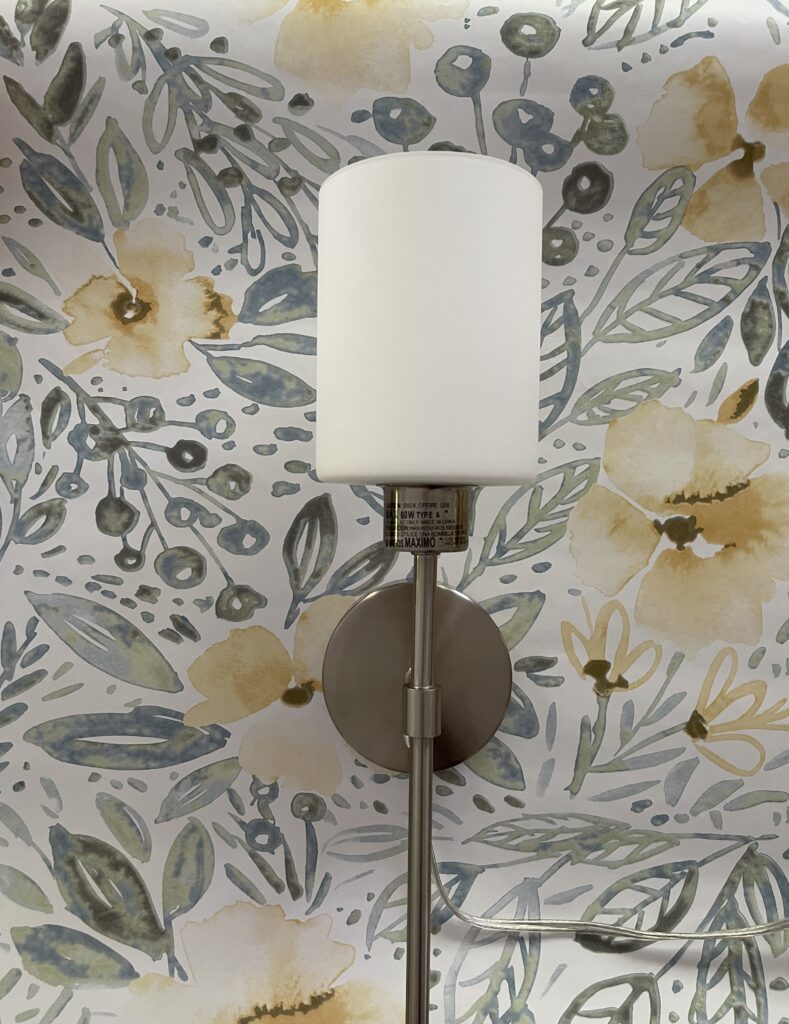
Sneak peak….
Just rolling out the paper and placing the sconce on it made me a bit giddy!
Remember me telling you that we replaced the sheetrock in the small bathroom rather than battle wallpaper removal? Well, it was a given that pasted wallpaper would not grace the walls of our home again.
We are hoping that the peel and stick is much better to remove and replace when we tire of it this time. Have you hung any yet? If so, give me your suggestions in the comments! I’ll take all the advice I can get!
Don’t forget to follow along on Instagram @Feetundermytable, @oneroomchallenge, and @apartmenttherapy to see how projects in the one room challenge are coming along! More to be inspired by there.
Don’t mind me…still cleaning sheetrock dust!
If you know…you know!
Until next week, please be cheering extra hard, won’t you?


2 Comments
Vickie Ramey
Love that ceiling! If anyone else wants to redo a room, you might have to rent out Gary!!
Leslie J Watkins
I suggested that we continue that ceiling in other rooms and he nixed it! I think he is about done with redoing rooms…but, I already began stripping the office wallpaper…oh, dear!