Need Tips for Harvesting Herbs?
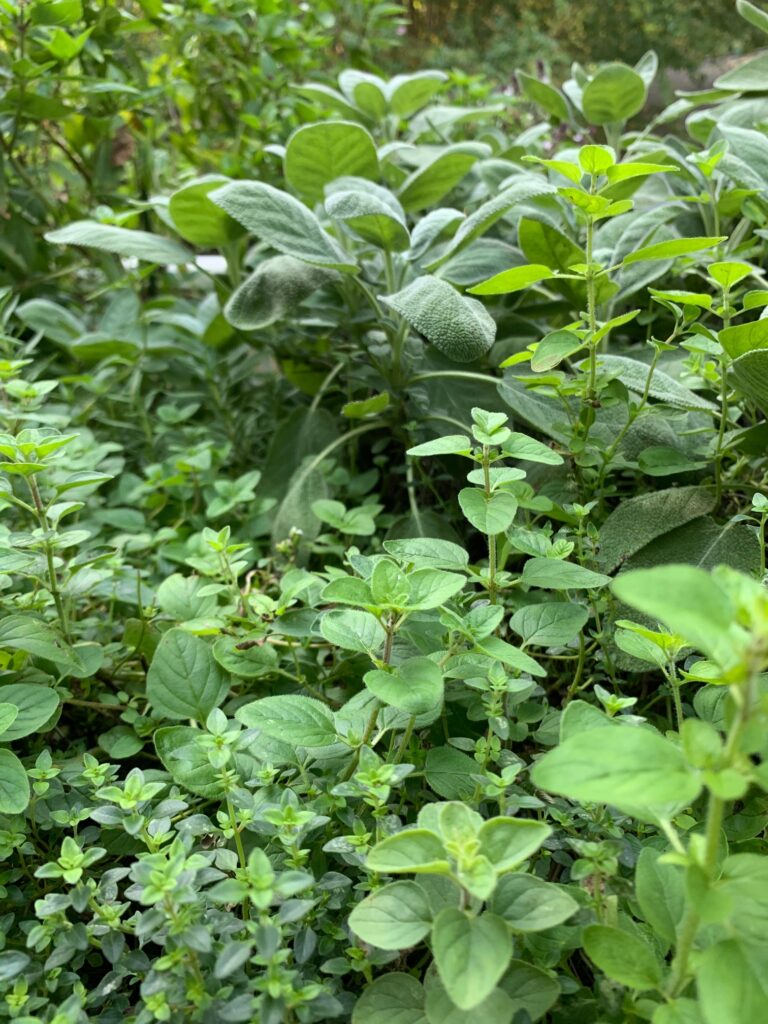
Are you like me and need tips for harvesting herbs? I’m not sure where all of these herbs came from this year…but, man are they abundant!
I tried to get ahead and harvest early at the peak season for their beauty and before they began to bolt. I did well on some; but, not so much with others.
So, today, I’d love to tell you about some tips for harvesting herbs that I have learned. Like the chocolate mint post that I shared, I think each herb is different in the way you harvest.
And, who knows? You may have a much better way to harvest or an amazing dehydrator or method. Feel free to share. I’m always listening!
Tip 1- Harvest Herbs at their Best
You know when that herb looks amazing and hasn’t begun to flower? That perfect timing is a tip for harvesting your herbs. For me, after the blooms appear with some varieties, their taste is affected; but, not all herbs are the same.
So, learn which type of herb varieties you have and take note of flavor changes when flowering begins so that you pinch those blooms back and harvest at the best flavor.

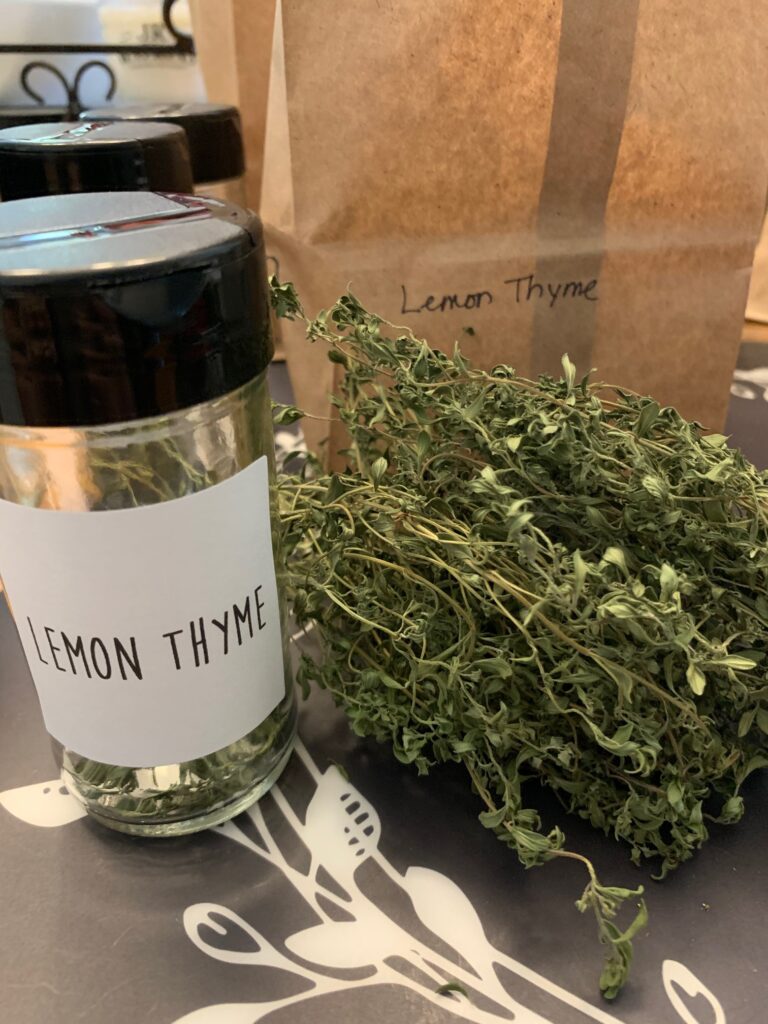
Although leaves will be easy to remove after drying, I find it easier to deal with before I process.
And if you are freezing herbs, that’s a great idea, too. I really don’t like to pull out stems after cooking. However, some people love to toss the thyme into recipes, stem and all. So, if that’s you, prepare according to your preference.
This summer I realized that I needed to let my cilantro go to seed and then harvest those coriander seeds to use for later. I simply let the seeds dry on the plant and then cut the stalks off and laid them on a tray to catch all of the seeds as I removed them from the stalk. When dry, add them to a spice jar and label. I can’t wait to give them a try in recipes.
Tip 2- Choose Your Method
My favorite method of “puttin’ up” most herbs, (and if you need a definition of that you can find more here), has been microwaving. Again, that’s your choice.
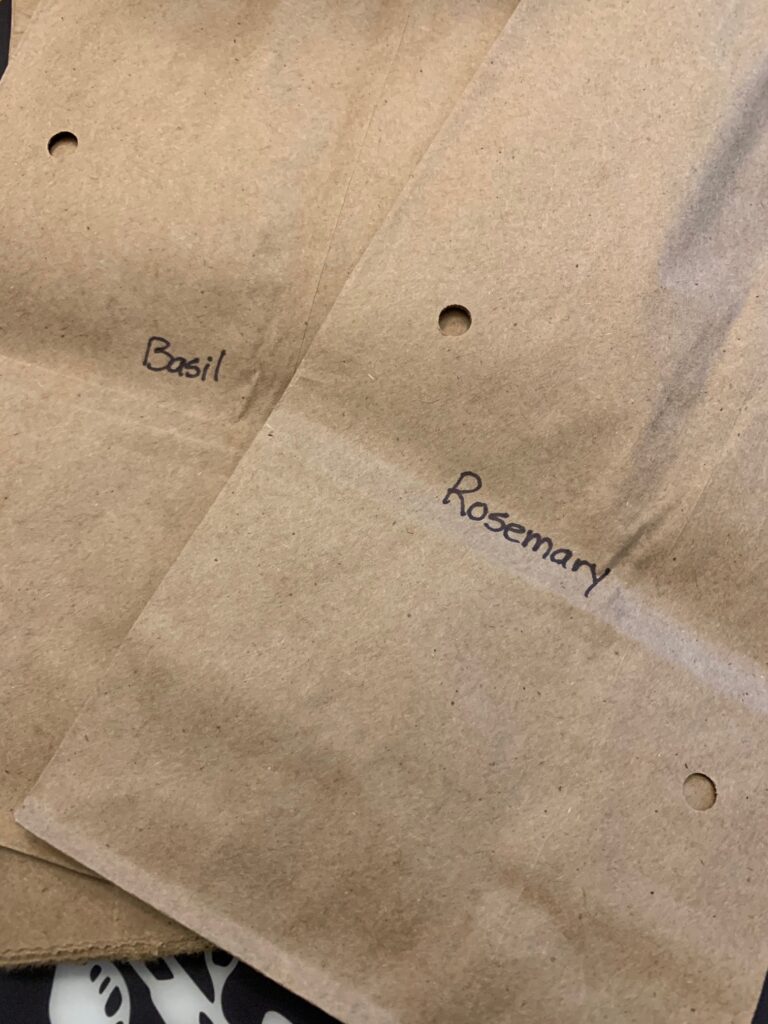
And, in reality, when I began this new found project, I took paper bags and hole punched them for air flow and labeled each before tucking produce in to dry.
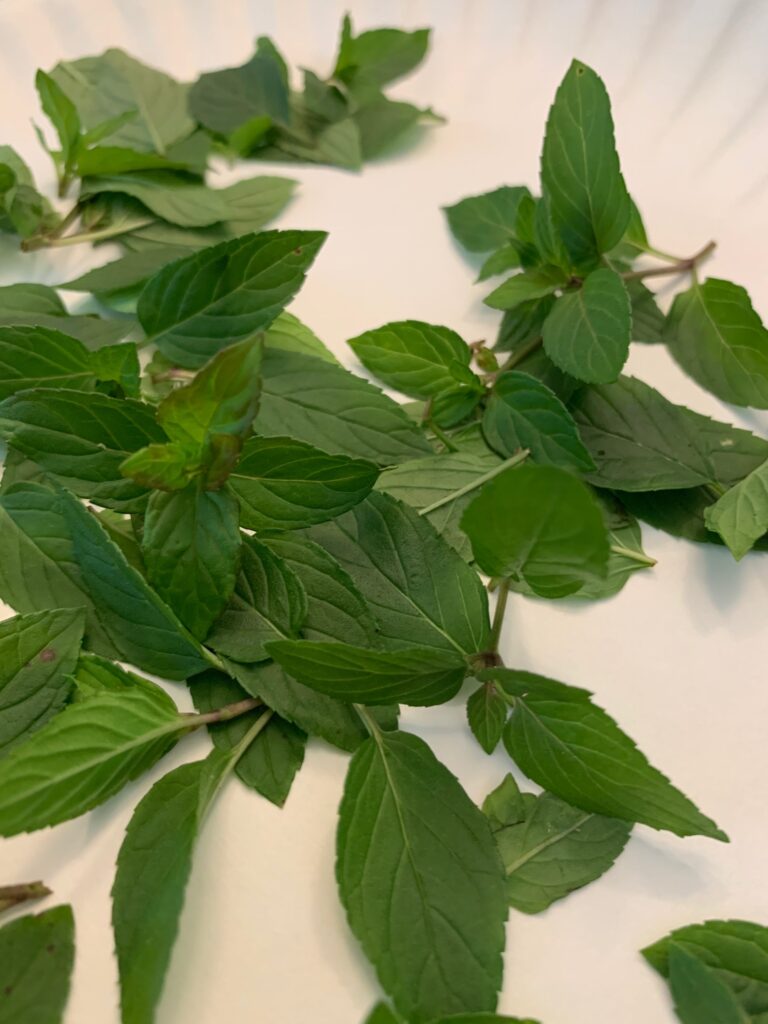
Start with washing and then laying herbs out to dry.
For me, the microwaving on paper plates in 30 second increments until dry is genius for most herbs.
Again, you have to think about those essential oils and how each method affects their flavor.
So, for each herb you grow, test the method that achieves the best results for you!
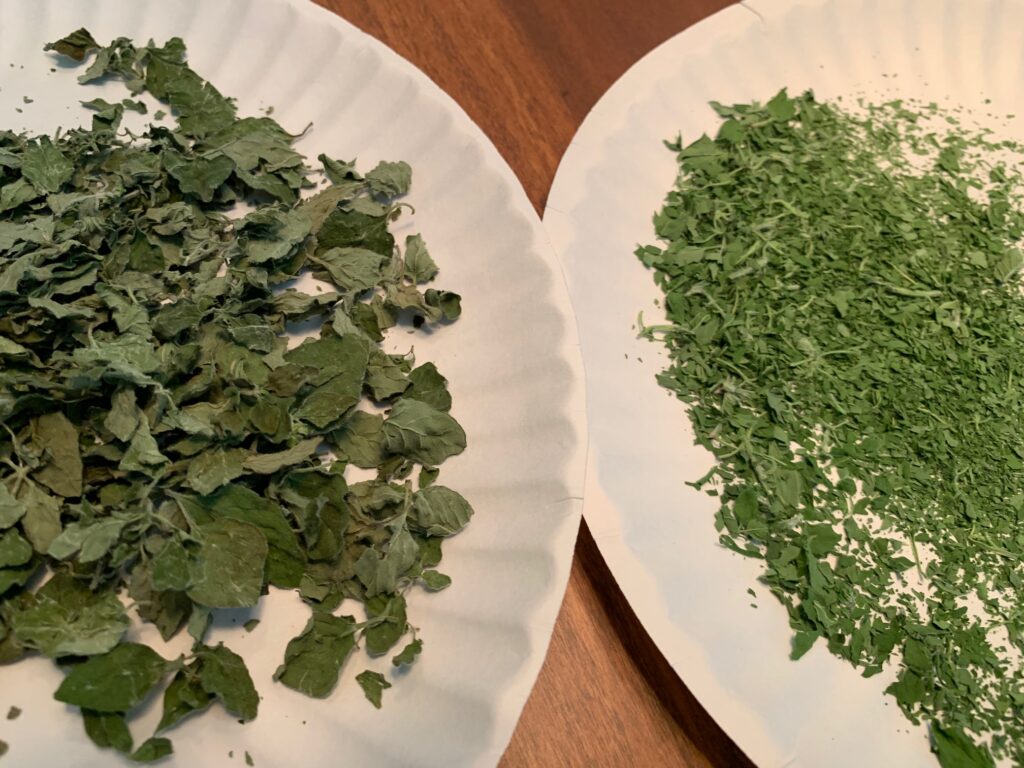
Guess what I found? When I compared the paper bag method with the microwave method of drying???
Check out the brightness on the right of the microwave herbs? The paper bag ones were simply not as bright. But, with some, the smell of those dried in paper bags was AMAZING!!
This year we purchased a food dehydrator. So I was all in to begin the drying process with them in it. The dehydrator is giving the microwave method a reconsideration.
I do realize that some people also use their oven to dry them, so whichever you prefer is perfect. It is such a fast and easy process and still maintains the oils with great results with either the dehydrator or the oven.
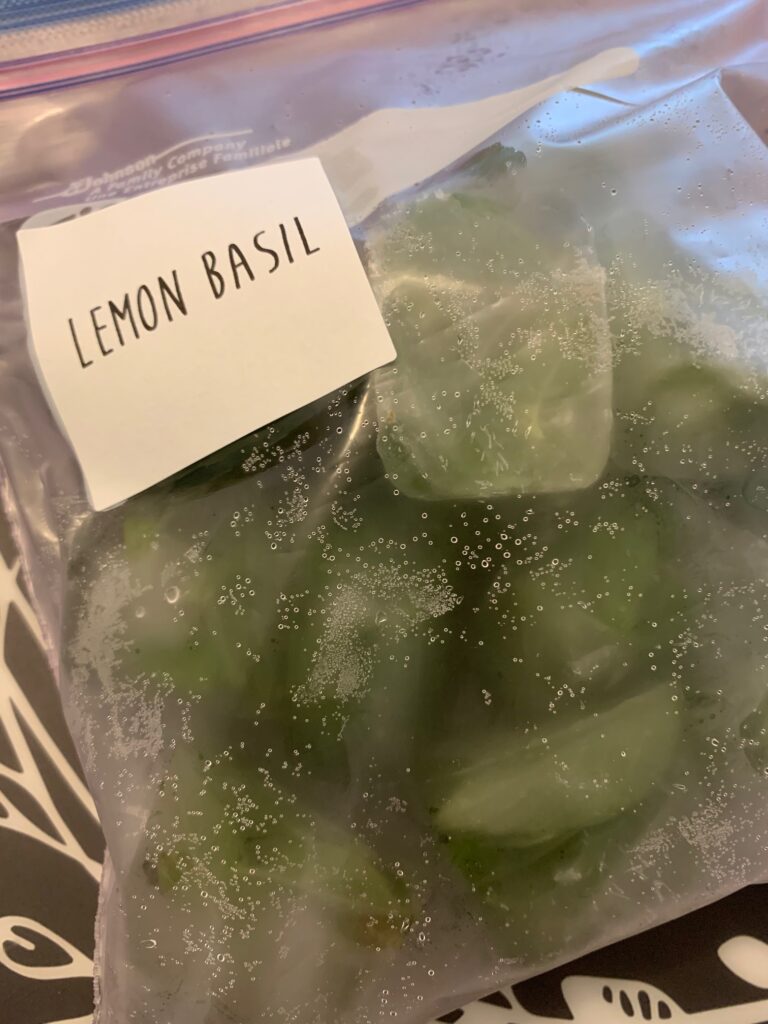
Some people love to freeze herbs into ice cubes and toss into recipes, as needed.
A mixture of rosemary, thyme, and oregano added to water in ice cubes is great for sauces. That’s also my favorite way for chocolate mint found here. Different types of basils are also great in the freezer.
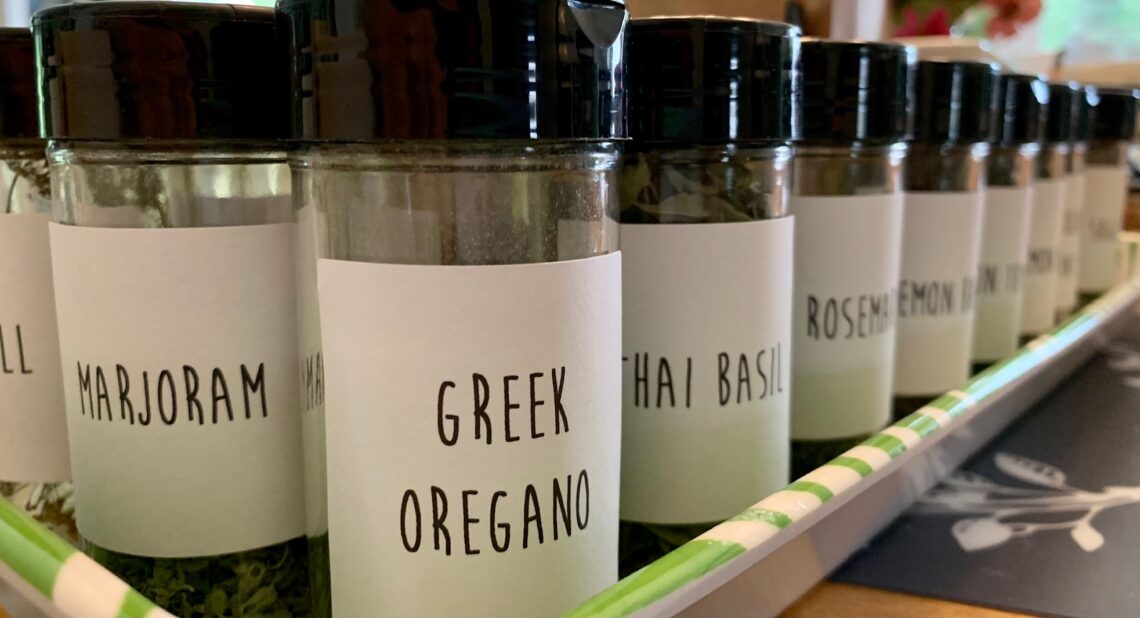
Tip 3- Select Storage Containers
Oh, my goodness!! There are some great containers to use.

I love the lid that has holes on one side and measuring spoon opening on the other that I buy locally.
Tip 4- Create a Label
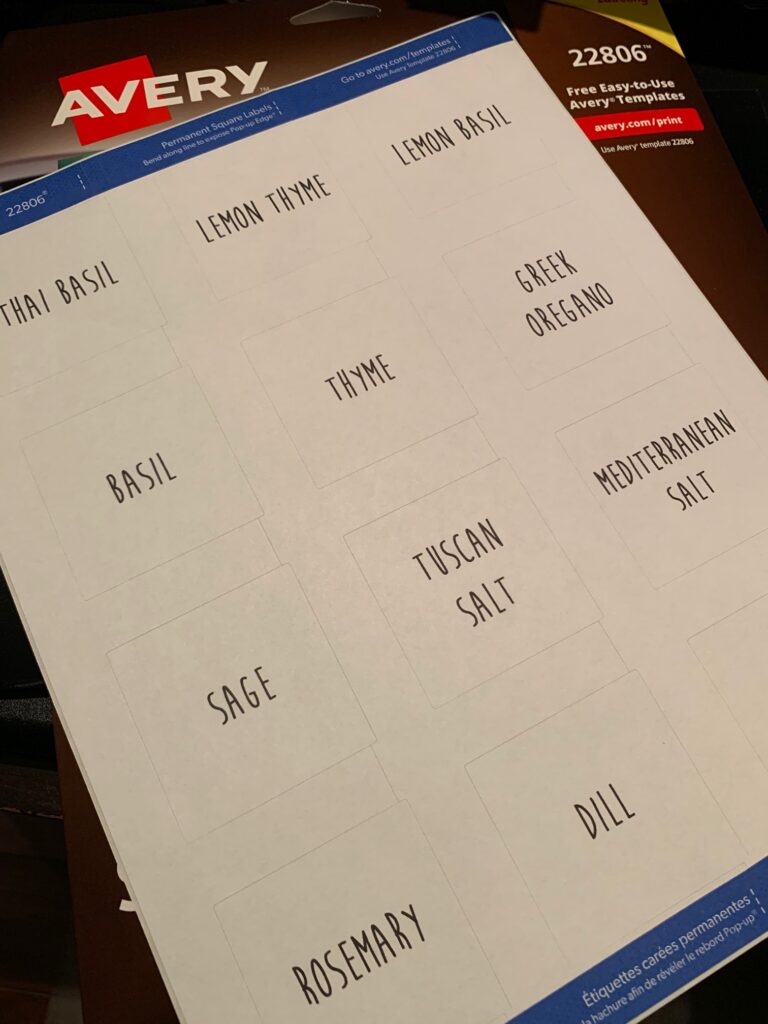
Here’s where your creativity will abound! I stood in the aisle of Office Depot with the Avery labels trying to figure out the size and shape that I would love.
Oh, my! There are clear ones and round ones and oval ones in all sizes. I decided that the 2″ square ones would allow me to fit the font I wanted and be simple with my labeling.
But, feel free to go crazy in this department!!! See what I mean here? Bunny hole warning…it’s a deep one!
And the font choices are limitless! I found a free font called moon flower and love it…Again, creativity allowed. I love how mine turned out.
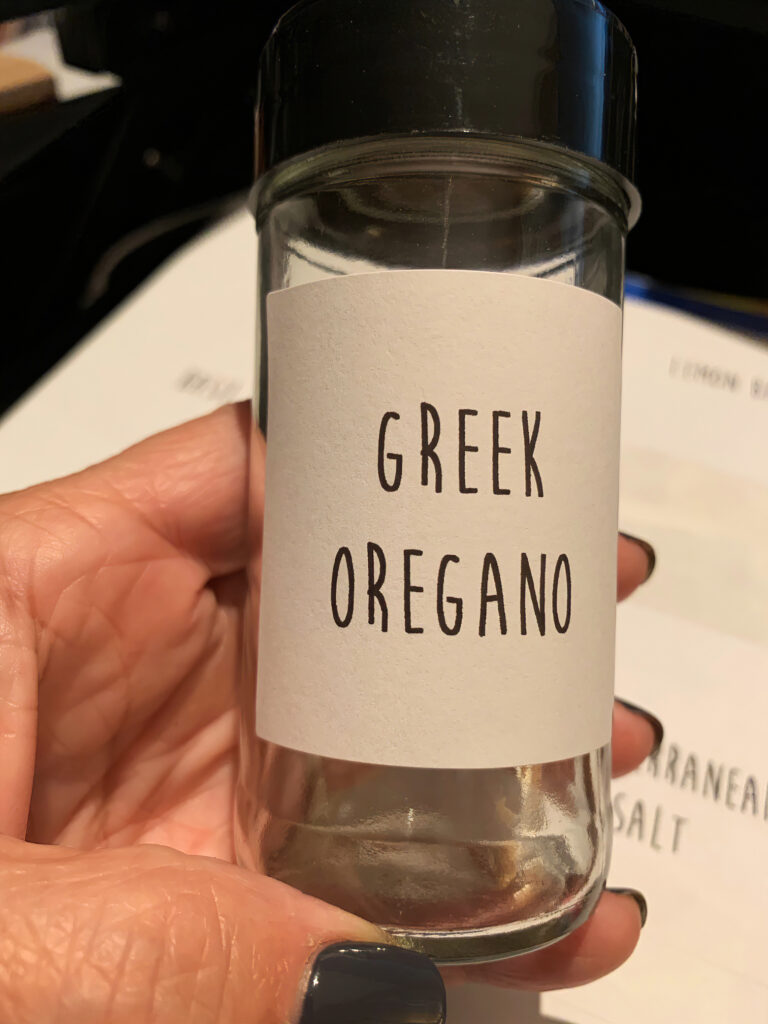
Tip 5- Fill and Store
Just take your dried herbs, either whole or crushed–again your preference–and fill the jars.
A great tip is to always store those new bottles away from heat and light. Although they are handy next to the stove, their flavor and quality may be reduced in that location.
But, choose the best rack, storage method and location that works for you.
Have fun, friends. This truly is a joyful way to save those herbs that you have loved growing all summer.
It’s also a great reminder as you use them through the winter months of the joy they give back.
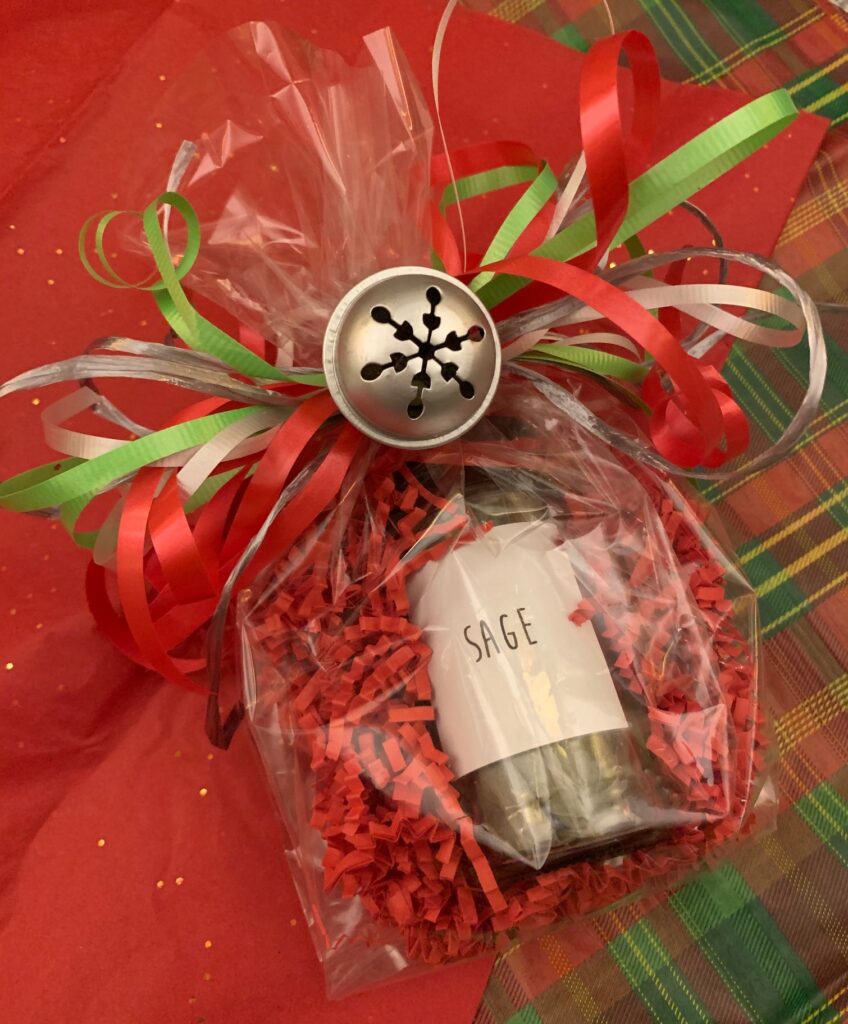
And, gifting these jars is always a great way to handle the overflow of what you can share.
Now to tuck them into that new spice organizer! Happy harvesting!!

As an Amazon, Walmart and LTK affiliate, at times I may provide affiliate links to products that may offer an easier way to find products that I mention or use. Same price for you, but beneficial to this blog and at times, may offer compensation if you use them to shop. See my disclosure policy here.


44 Comments
Gary
I’m proud of you for sharing your love for life, family and home. Also, you are turning out to be quite the photographer yourself!
Cherri
Thank you!
This is such useful information ❤️
Leslie J Watkins
Thank you, Cherri!
Martha Wallace
Thanks so much for the information. I live the font too! The gift packaging is so cute!
Leslie J Watkins
Thank you!!
Krystie
This font is adorable. Thanks for sharing your knowledge. Drying herbs is on my to do list. ❤️
Leslie J Watkins
Thank you, friend! Herb salts is next on my list! Who am I this year?!! lol
Pingback:
Pingback:
Pingback:
Pingback:
Pingback:
Pingback:
Pingback:
Vickie Ramey
AMAZING!!
Leslie J Watkins
And you caught me in the act of harvesting coriander seeds, didn’t you? Have a wonderful trip! Wish I could go with you!
Cindy
You gave me the motivation to grab my thyme and sage.
I’m going to use the dehydrate setting on my oven.
Why I have never done this, I have no idea.
Pinned.
Leslie J Watkins
Thanks! I think you will be so happy when you use them later. It has become a new passion of mine the past few years. Enjoy!
Juliet
This is so helpful, Leslie. I don’t know why I never thought to harvest and dry my herbs … and so many end up going to waste. Such a great idea for gifts too … pinned to my Christmas boards! xo
Paula@SweetPea
Thank you for these tips! I grow a lot of herbs but the only way I currently preserve any of them is by making pesto.
Leslie J Watkins
I really need to make pesto before all of my basil is gone. This summer’s heat has not been the best for the herb garden this year. I’m trying my hand with the dehydrator this year and comparing to see which I love best. Loved hearing from you!
Tammy
Leslie, I need to dry more of my herbs. I use them fresh and forget to dry them. Thank you for the great tips, my dear friend.
Leslie J Watkins
I know, right? I really need to make pesto and preserve it in ice cubes before it is gone! Happy Harvesting, friend!
corine Mapes
I ddin’t know about using the microwave. What a genious idea. Going to pick my herbs now.
Leslie J Watkins
I know, right? Hope you give it a try and then let me know how it went!
Pingback:
Elizabeth@pineconesandacorns
Thanks for the tips!
Leslie J Watkins
You are welcome, friend!
Marie
I love how you maximize your garden whether you are using your tomatos for sauce or drying herbs for your spice cabinet. Garden goals!
Leslie J Watkins
Thank you, friend. I have more zinnia seeds and herbs to harvest today! And probably pepper jelly is in the making, too. Have a great Monday!
Rebecca - Glutarama
I am SO glad I clicked on this post, I have my own herb garden and every year struggle to harvest everything and what I do harvest goes into the freezer, but I don’t always want frozen herbs – your microwave idea is genius! Thank you so much for posting these tips. #SundaysonSilverado
Leslie J Watkins
I am so happy that I could help! I am harvesting zinnias and herbs again today!
Melba
I am bad about drying herbs and need to. Yesterday I was thinking that very thing! You are the kick I needed! Thank you Leslie!
Leslie J Watkins
So glad I could help get you started! My herbs are needing harvesting now for sure. Can’t wait to hear you have great results!
Linda Johnston
Good drying tips! Like the Christmas gift wrapping too.
Leslie J Watkins
Thanks, friend. Always gifting from the garden produce for sure.
Cindy Rust
You have some great tips Leslie!! And I am crazy over that font too! Pinning!
Rebecca
Leslie, what a great post! I’ve never dried herbs before, but you make it look so easy. Thanks for sharing at CYS. Congrats! You’ve been featured this week 🙂
Leslie J Watkins
Thank you so very much, Rebecca, for the feature! I’m still drying herbs over here. It is just so easy and if you have extra, make the perfect gift.
Pingback:
Pingback:
Pingback:
Pingback:
Pingback: