Do You Need Garden Inspiration for a Screened Porch?
I have a friend who leads a group of us to write about a topic each month. This month’s topic is gardening. Now, if you have followed me very long, you understand that I LOVE to garden. My zinnia harvest was shared. Herbs were dried and saved and made into salts. As for a true garden? It has had to be on the deck or the screened porch and away from the deer who love my yard; and, if I am not careful, have my hostas for their salad buffet; or, my tulips for a morning snack.

I battle moles around my peonies and then the groundhog tried to dine on my zinnias one year.
Even as we speak, I had a raccoon take down a light fixture on the front porch to get into the attic above. He has now been evacuated and moved his address to a new location.
We have red fox that frolic. A few coyotes that have sauntered through.
My garden has taken on more of “deck” look, with the purchase of a garden tower last year and more raised beds and pots there than in plain grazing grounds on the lawn.
There will be lots of pots on that deck full of herbs and salad ingredients. Mint scatters the perimeter of the garden and “deer resistant” plants are in the plans to be added to their landscaping friends in pots and on the lawn.
I’ve gathered seeds. Cleaning of pots has begun with separating those out of those needed a fresh coat of paint or some fiberglass repair when the weather allows.
Then there is my screened porch.
A haven from all that wildlife that would love to enter. As the newness of spring is here, I began to ponder just why I loved all things gardening.

And then, I understood.
My faith teaches me that life began in a garden. It was so important to God that He created it’s beauty for us to enjoy. I had never really put the two together. Have you?
This week, the garden was a reminder of the last supper and my faith that Easter is a Sunday of resurrection.
It confirmed my need to make that haven with more of a garden feel.
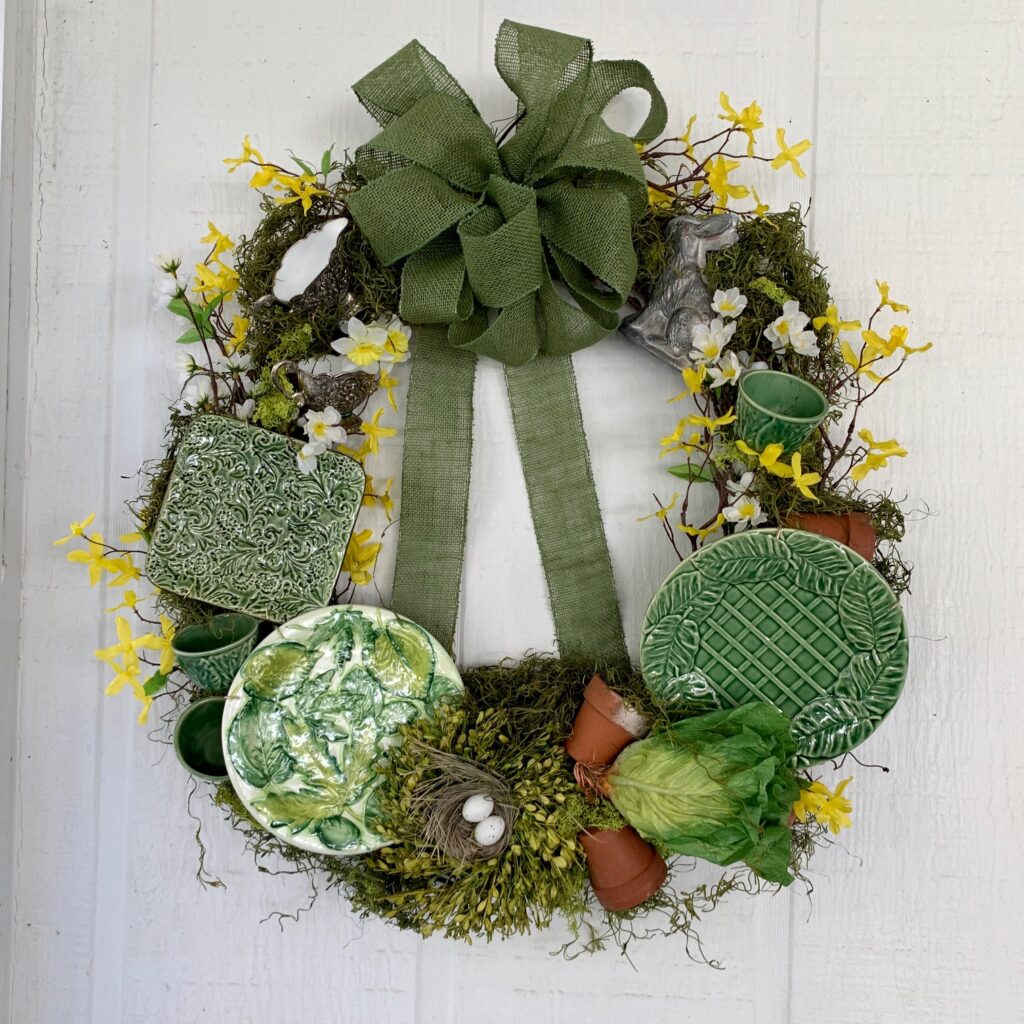
This week I began to prepare my screened porch for a bit of entertaining. I shared with you that Plate Wreath that had a garden theme and that set off my inspiration! It launched a vision for garden touches for the table, pillows and a redo for that screened porch. I LOVE entertaining on that porch and to make it more welcoming with “Southern charm” and a garden touch?!! All in for that one here.
It began with cleaning the screened porch.
The usual thing that one does every year.
The chairs and table and rug are removed.
Floors and walls cleaned.
Garden bench cleaned and reset.
Every window sill and planter cleaned.
It’s a part of my routine each year.
I’m sure that my screened porch furniture could use a new coat of paint this year…but, with a new theme…I’m not as worried about that.
Screens will be replaced and a bit of touch up painting will continue in the weeks ahead.
But, my focus this week?
To get that screened porch room ready for welcome entertaining.
Are you doing that, too? Preparing for days ahead when guests can arrive for conversation and meals?
That was my focus.
And then the weather changed.
Now, some of you saw my post of me on Facebook with the layer of dirt from mowing. As, I cleaned out beds, I found that first baby LIVE snake EVER in the over twenty years I have lived here. So…that layer of leaves around that mint coming up…it’s not completely moved yet.
I have tried to be more intentional with planting seeds and putting them in my tiny greenhouse shelves over the winter in preparation for planting…yeah, well, that hasn’t happened yet.
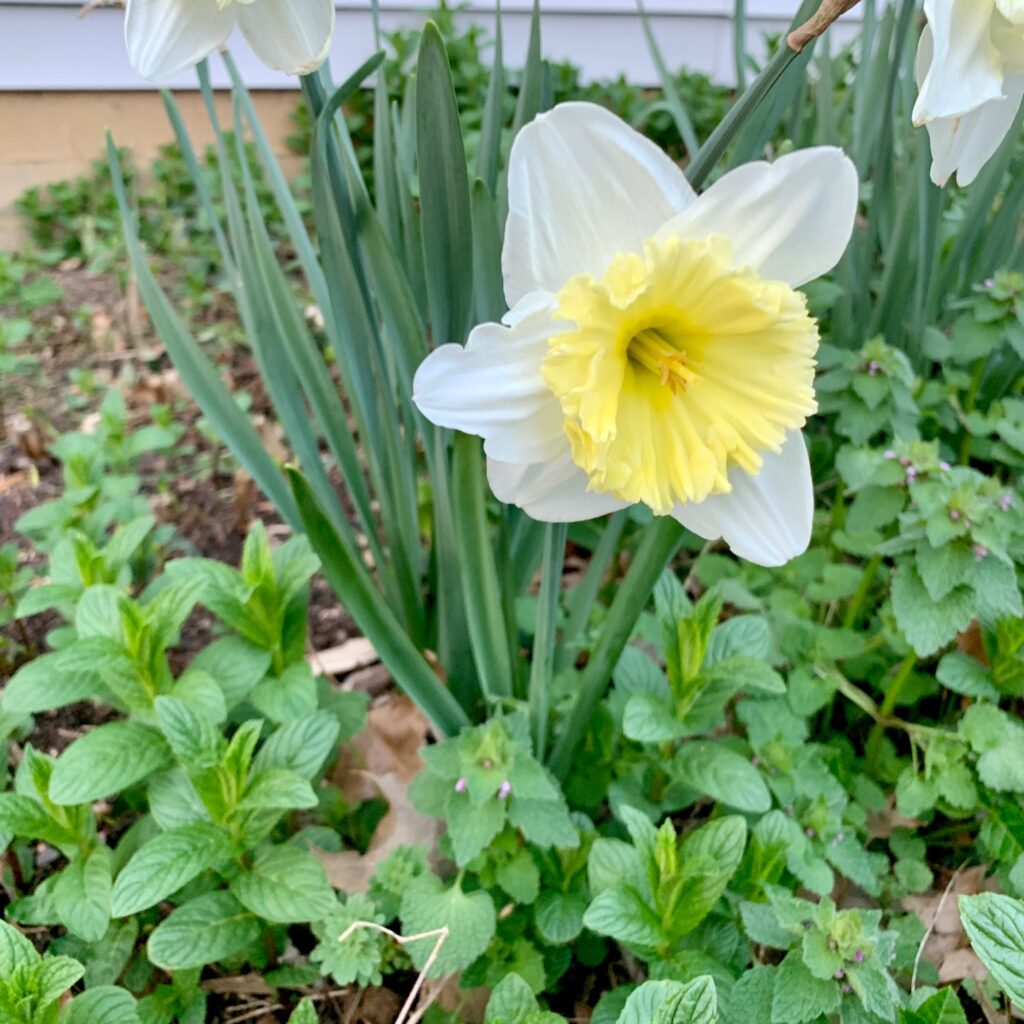
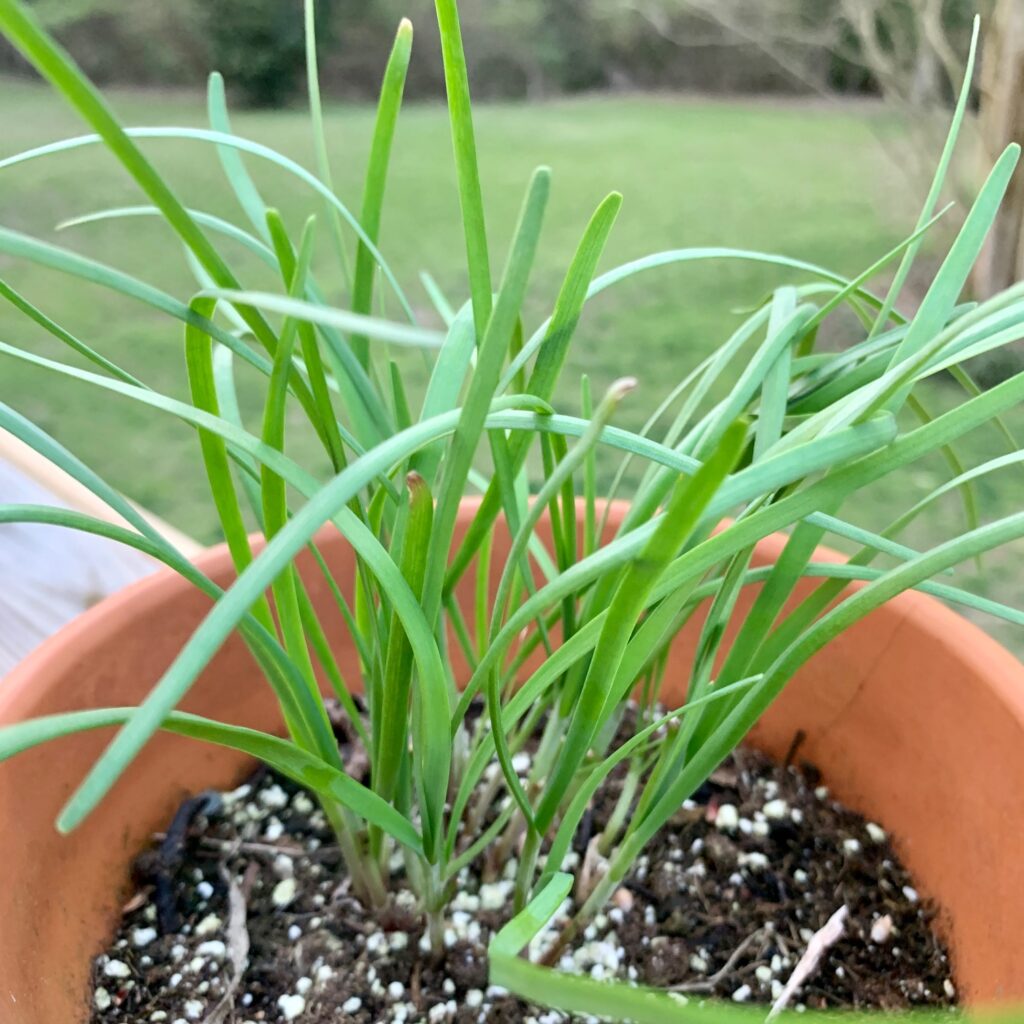
My mint and chives and thyme and herbs and peonies and tulips and hostas are shooting through soil and making my heart happy. Daffodils are ending their peak, but, oh, how I have loved them!
I bought new hydrangea.

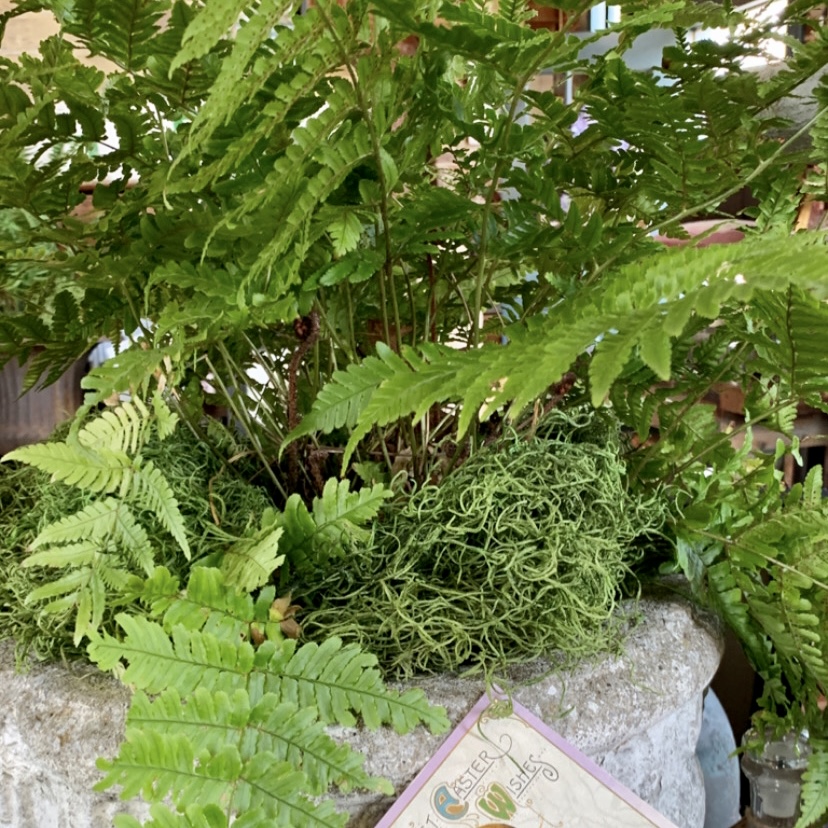
There were grand hopes for the screened porch redo. Ferns from inside brought to the planters and tables. Adding in past favorites and creating new ones. Inspirations from walks through my favorite shops.
We are in the in between time.
That crazy weather time between 26 and 70 degrees where planting is still a bit precarious. Which mean, power washing at 26 degrees would be postponed. Painting waiting until another day. So, onto new things I could do that would be indoors to prepare.
A mood board sprang from that wreath project.
I knew that the pillows that I had recovered with that wonderful outdoor material were just not working for me. A little too bold and bright for my mood this year. So, the first decision was made.
New pillow covers!
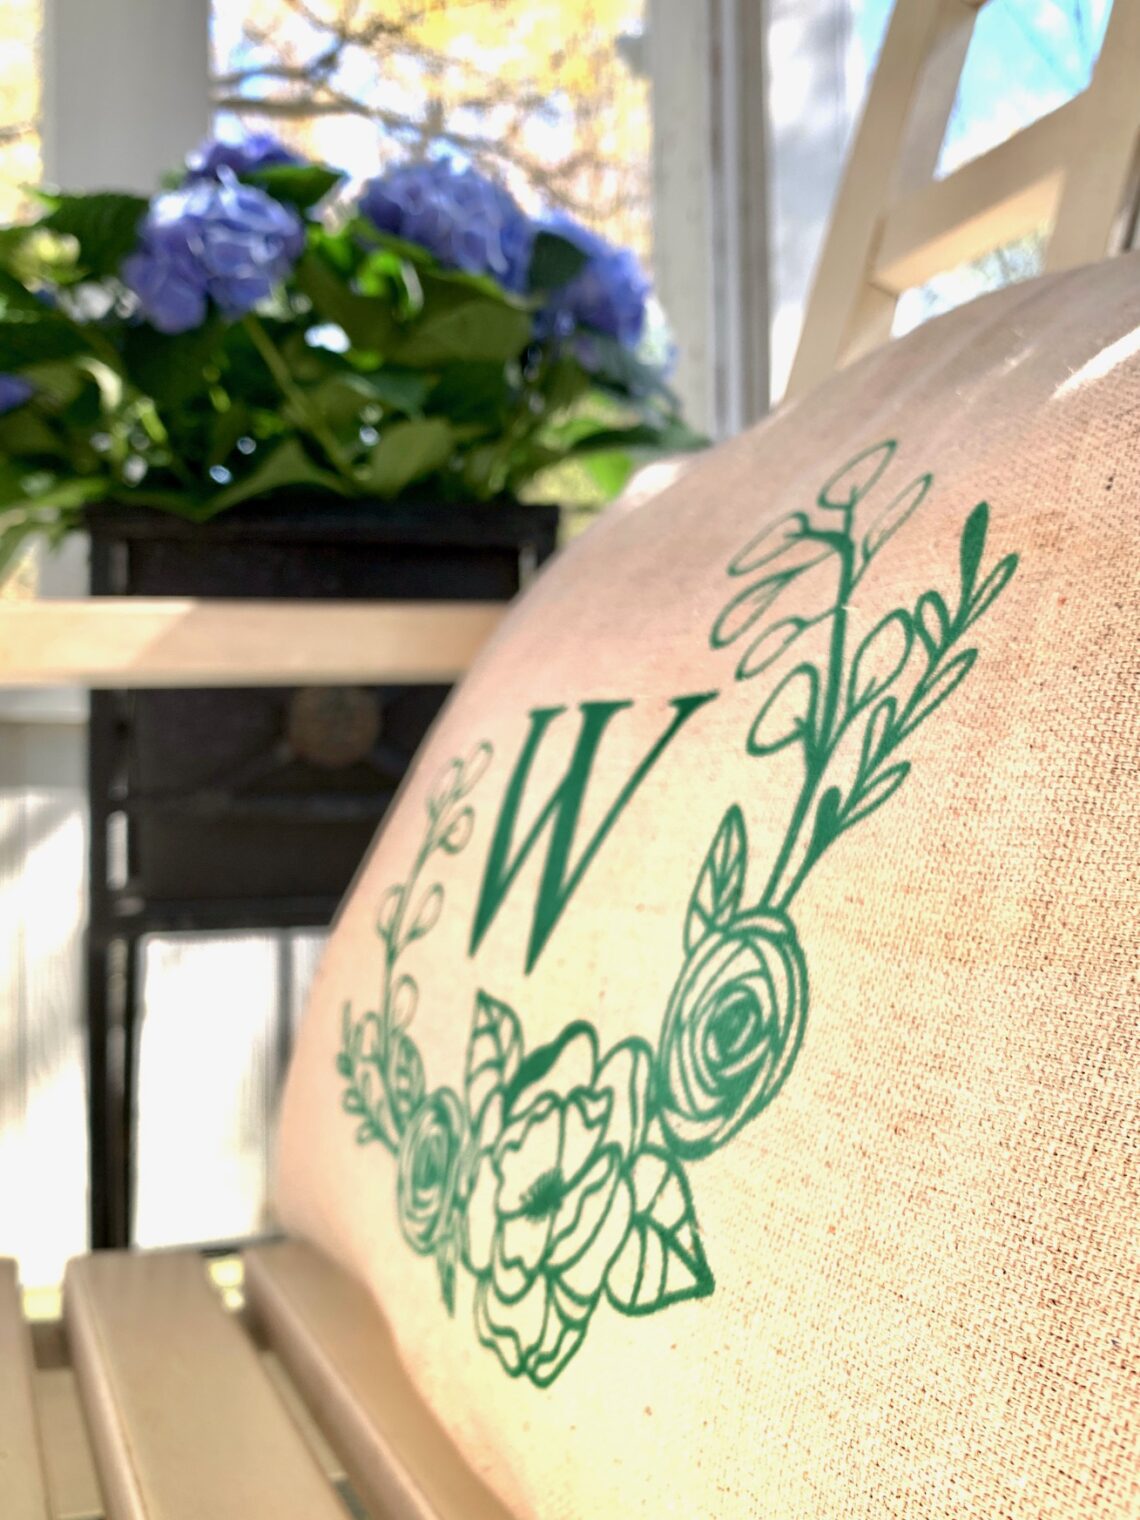
In my head I knew what I wanted and how I could do them inexpensively and creatively. I LOVE wreaths and how perfect to stencil a wreath in the center of each of those pillow covers for the chairs that surround my table in the screened porch.
There’s lots of drop cloth material in my stash, and how perfect to create a stencil, add a little paint and create pillow covers very much like I did with that spring nest pillow.
Now, I understand that the original outdoor fabric on them now is waterproof and sun damage resistant, but that’s why I would make those pillow covers removable to wash or replace.
Here’s how I began that project…
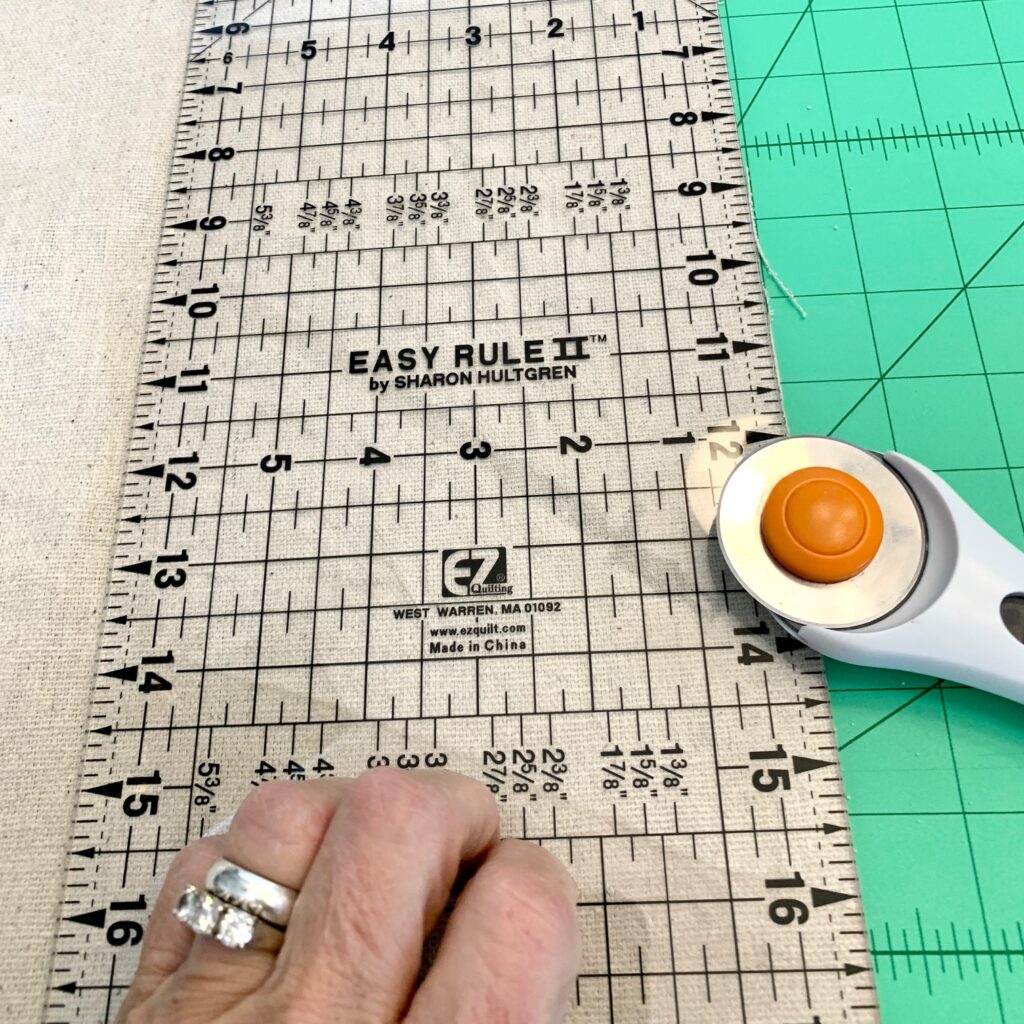
That was the plan! So, I measured my pillows that needed covers, added two inches to the width (to allow for adding velcro and stitching) and an inch to the length for stitching them together, and cut out two pieces of fabric for each pillow.
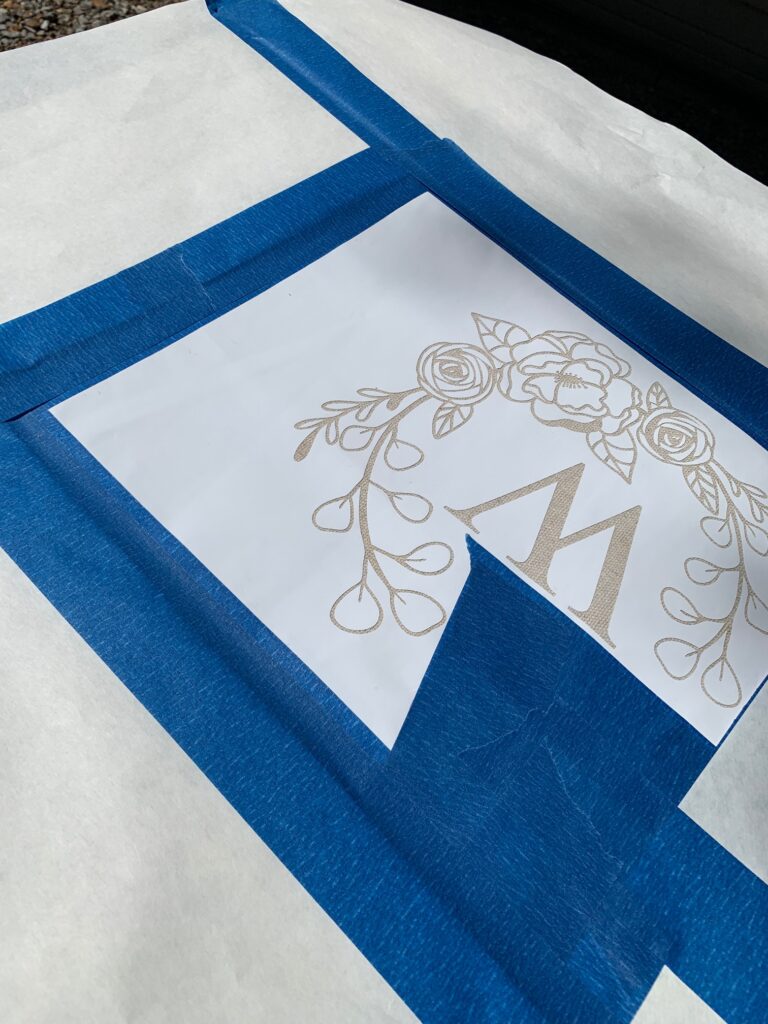
I searched for the perfect wreath pattern to use with my Cricut and cut a stencil to use to make the design.
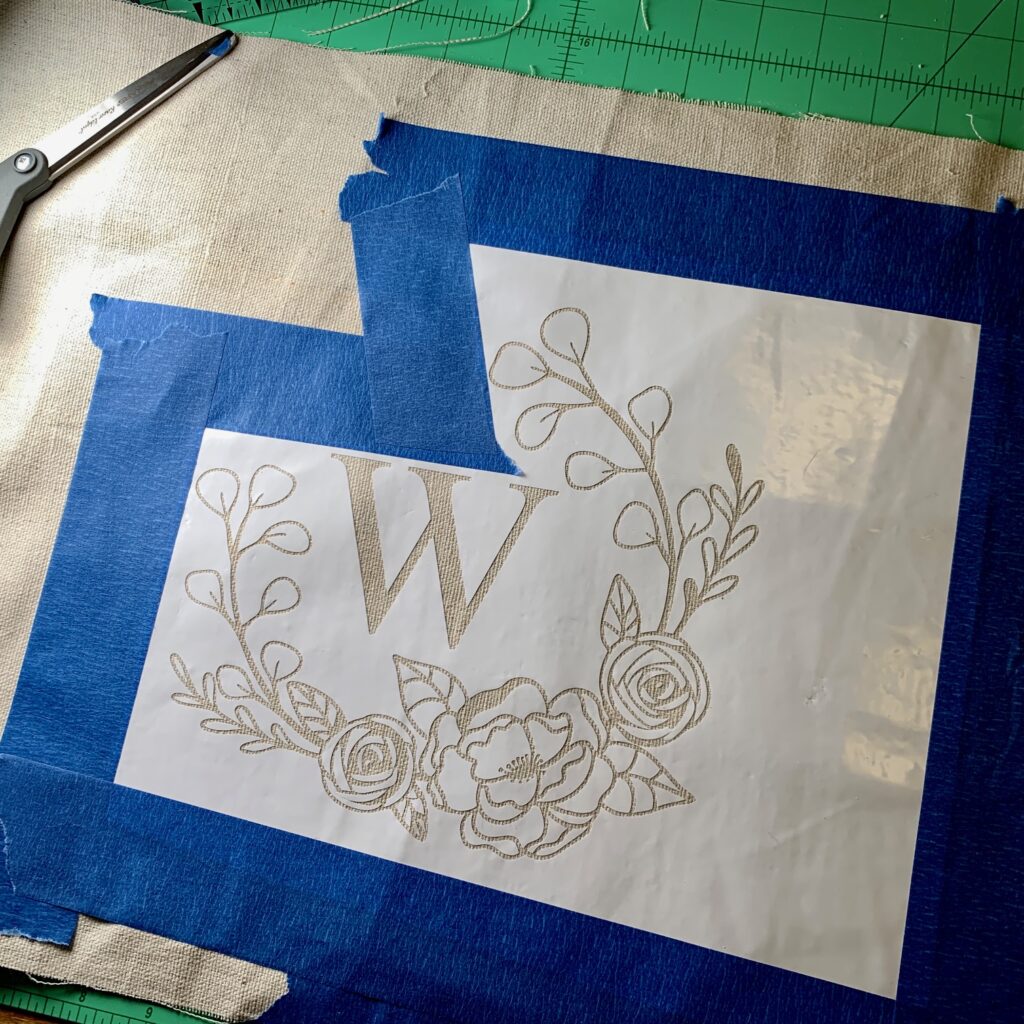
During my planning for this project, the infusible ink wasn’t the exact color I wanted; but, I found a new product of fabric spray paint I had never tried. I was in.

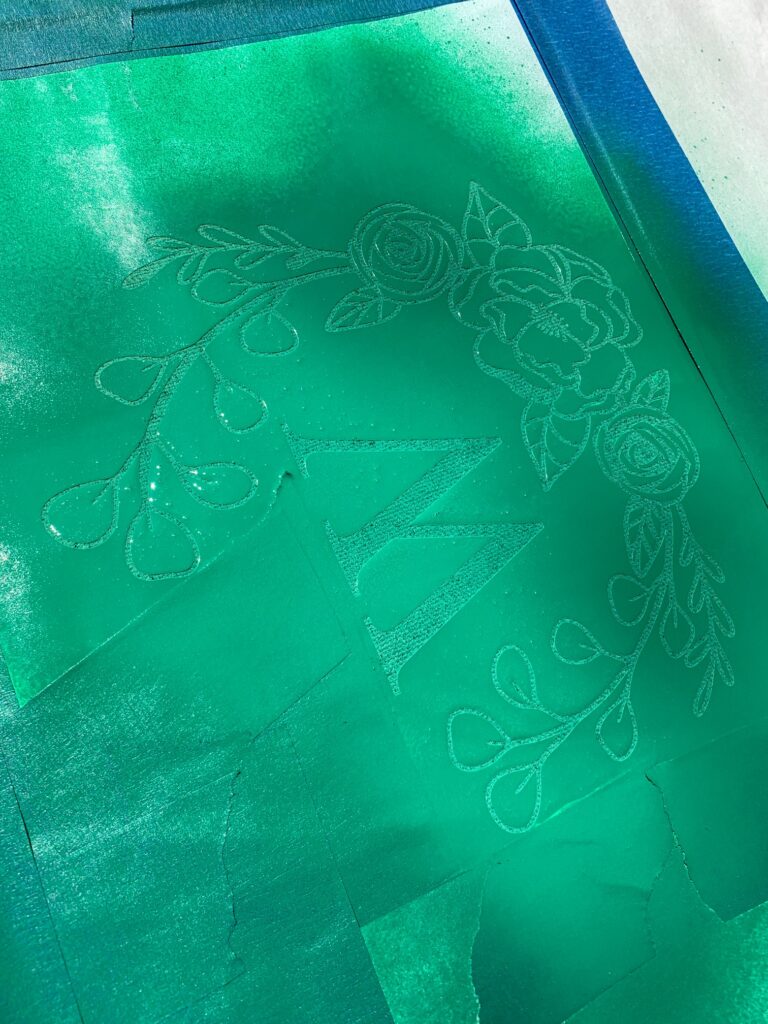
The stencil was centered on each front, and masked down with making sure that nothing else would receive a coating of the spray paint.
After painting each pillow front with the stencil, I left them out to dry completely before stitching them together.
You could use a heat gun or hair dryer to speed up the process, but, I had other arranging on the porch to do while they dried.
My next step was in working with the backs. These pillow covers would have a velcro closure, so, I cut that back of each pillow in half in the center.
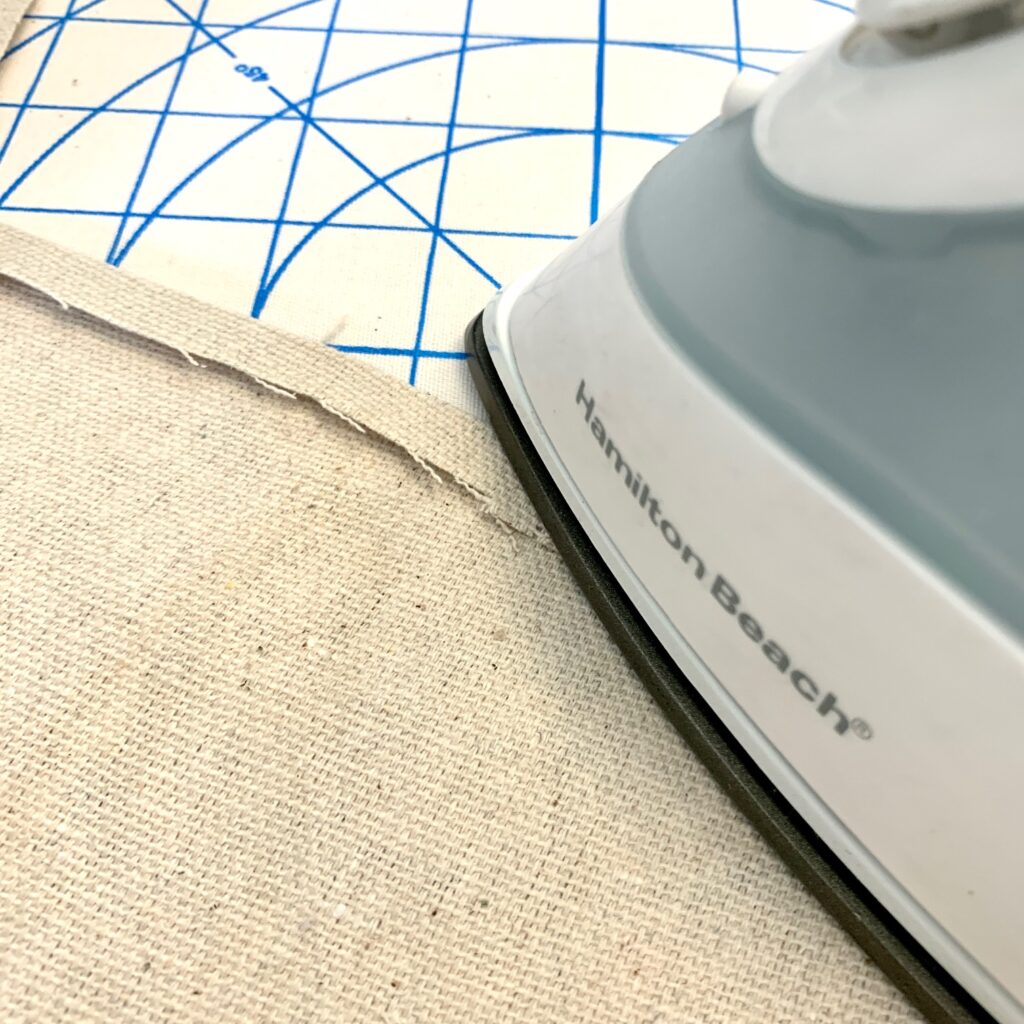
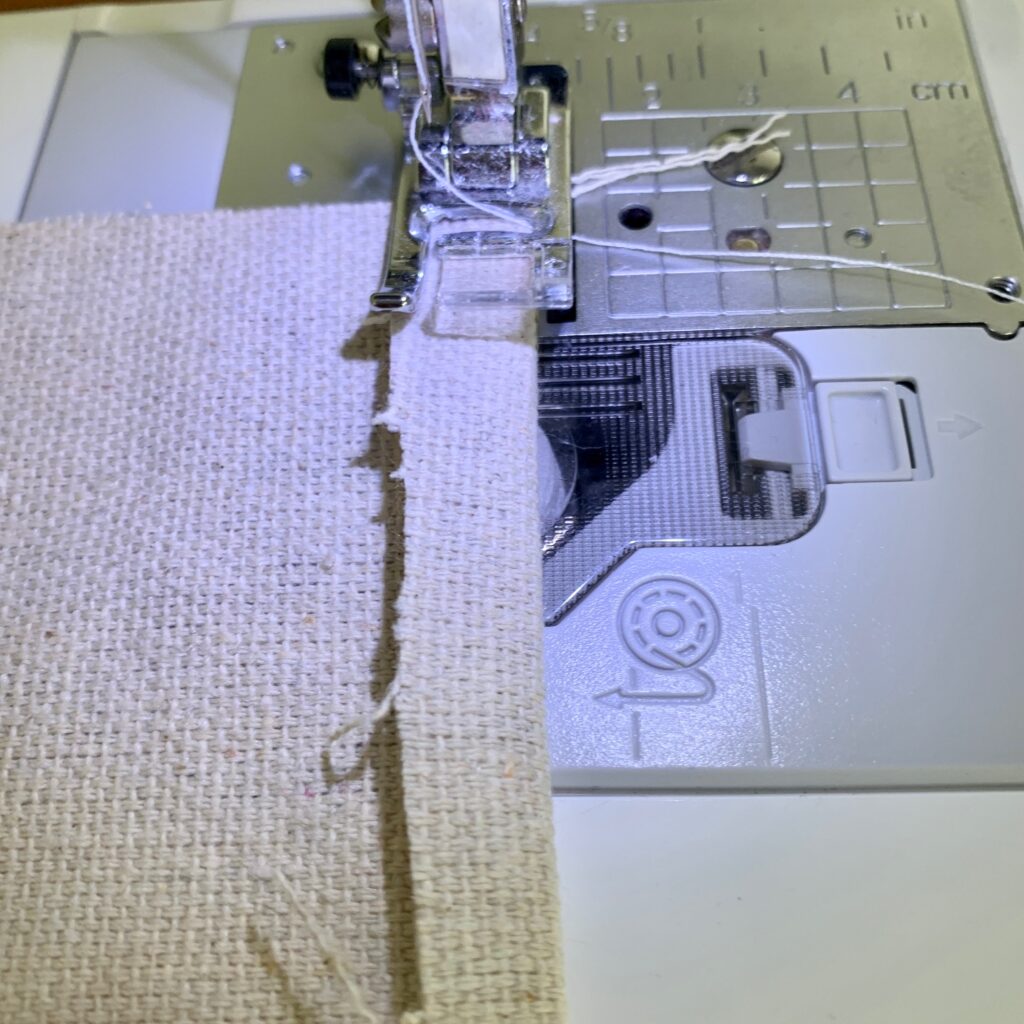
The next step in the process was to take those center cuts, fold down 1/4″, iron, and stitch from the right side so that the raw edge is inside.
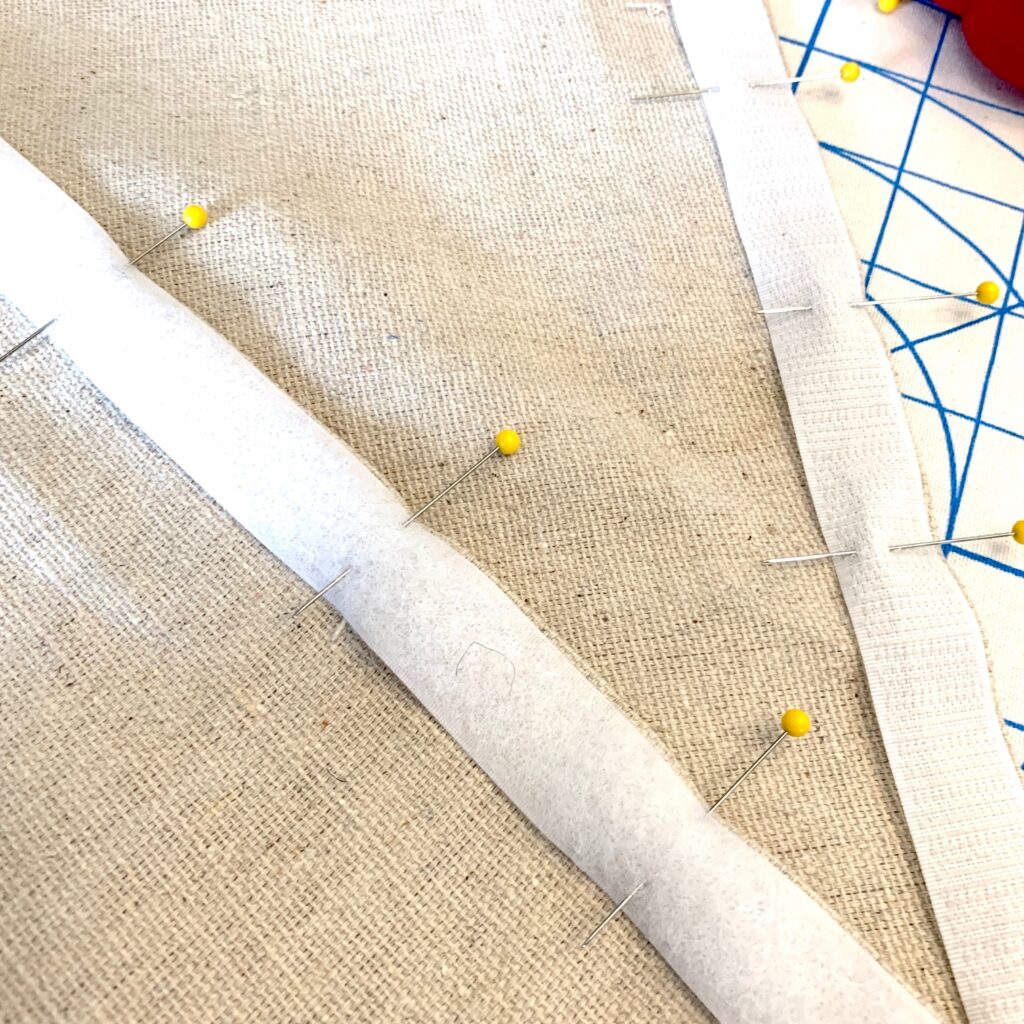
Sew on hook and loop velcro was measured and cut the length of that center seam. Next, I pinned a piece of velcro loop closure to the inside of one and the hook closure to the other side making sure that they overlapped after sewing for the closure.
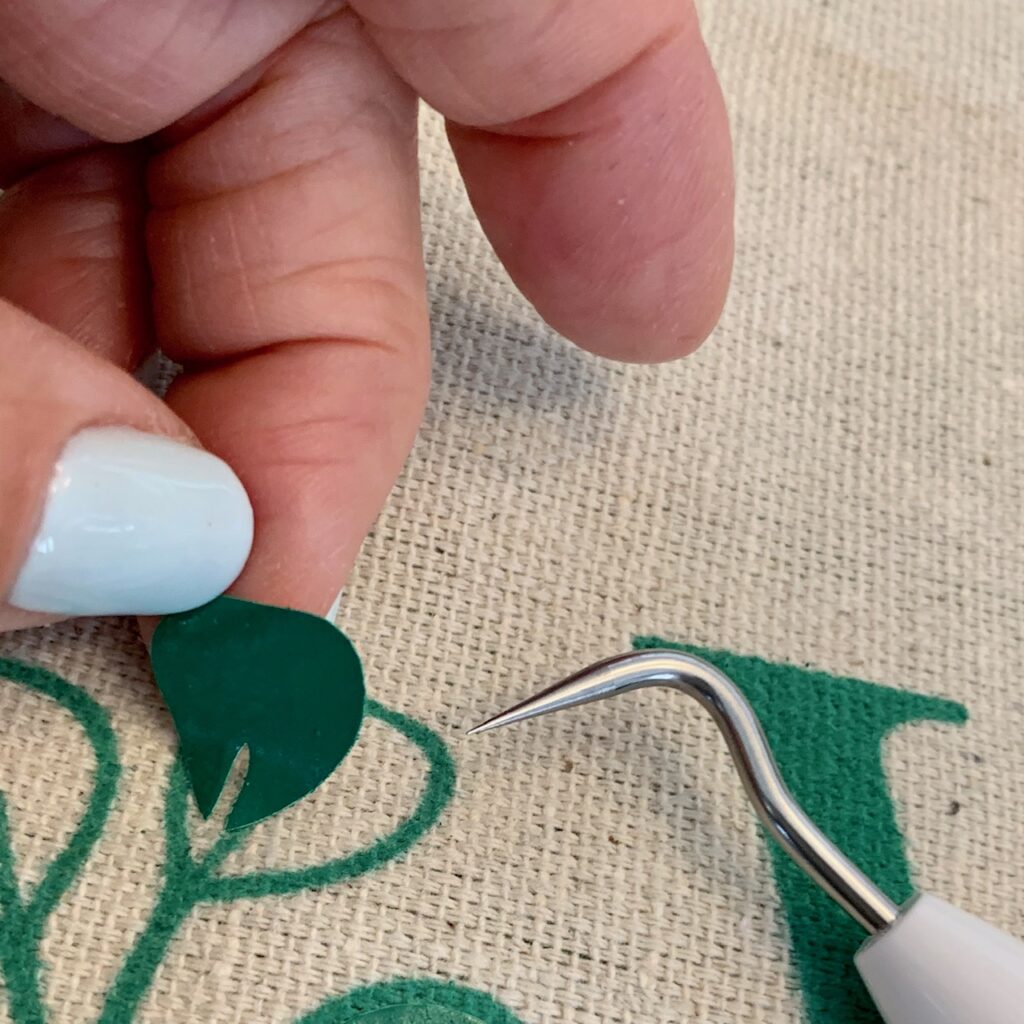
After the pillow front was dry, I weeded all of the stencil pieces from the front of the pillow.
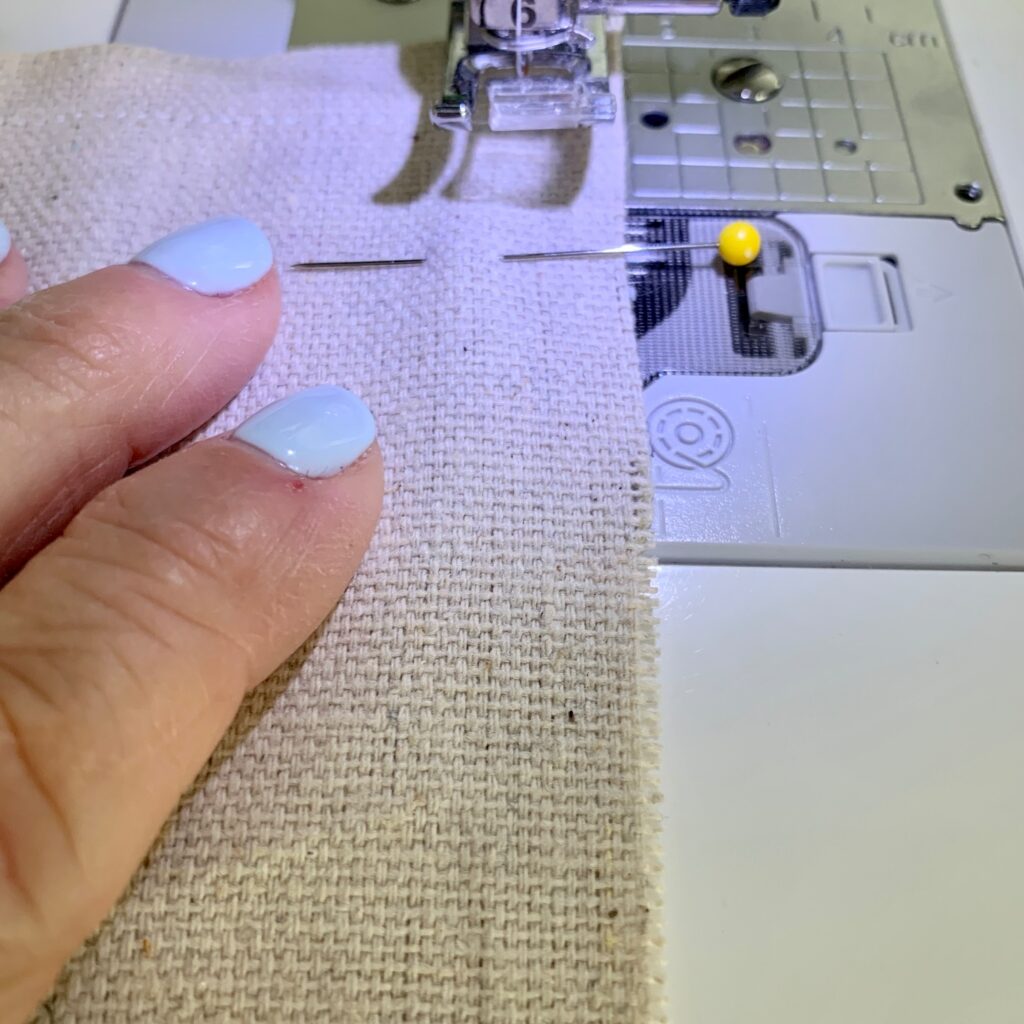
Then, I placed the right side of the pieces together, pinned and stitched 1/4″ all around pillow, backstitching at the end.
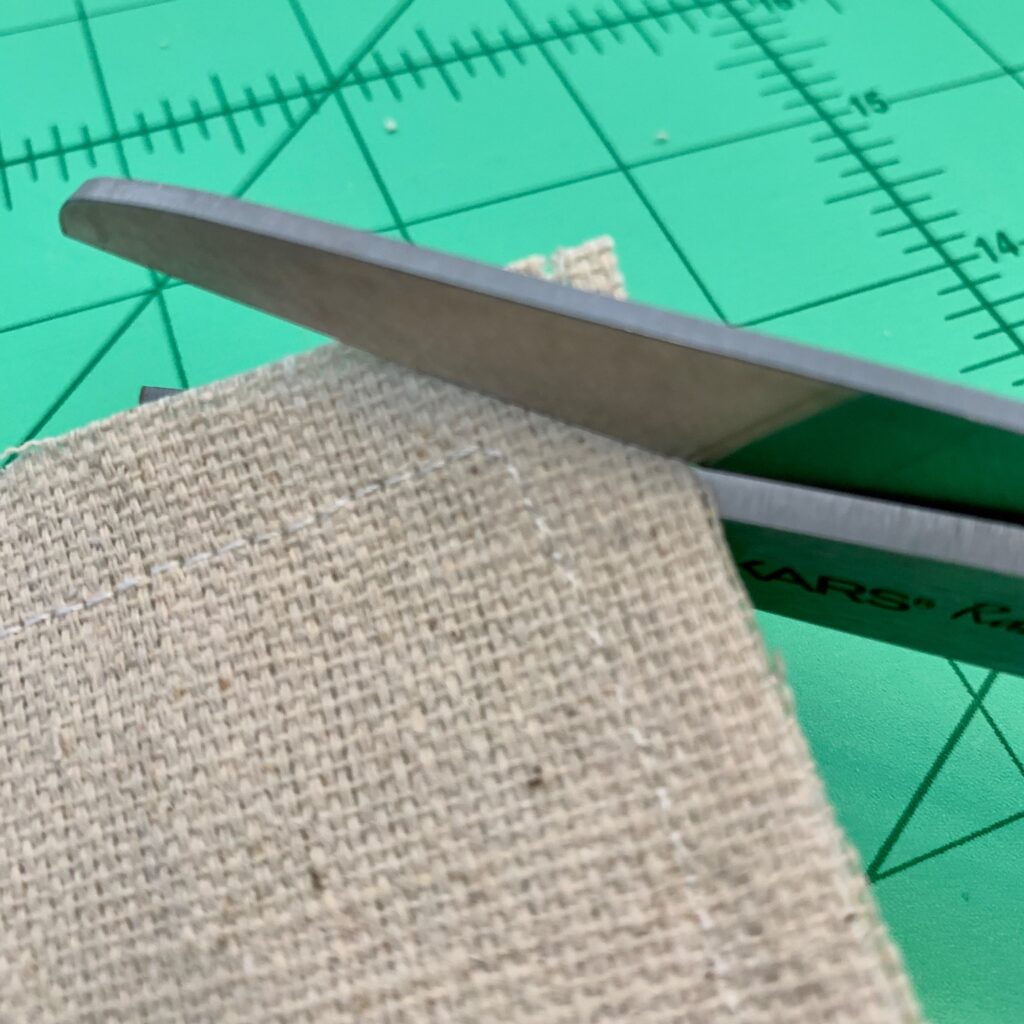
I always cut across corners before turning to make sure that you have a sharp point. Zigzagging or serging edges of the fabric is always a great idea with drop cloth fabric, too.
You will then turn that pillow cover right side out, insert that pillow form, and close the velcro.
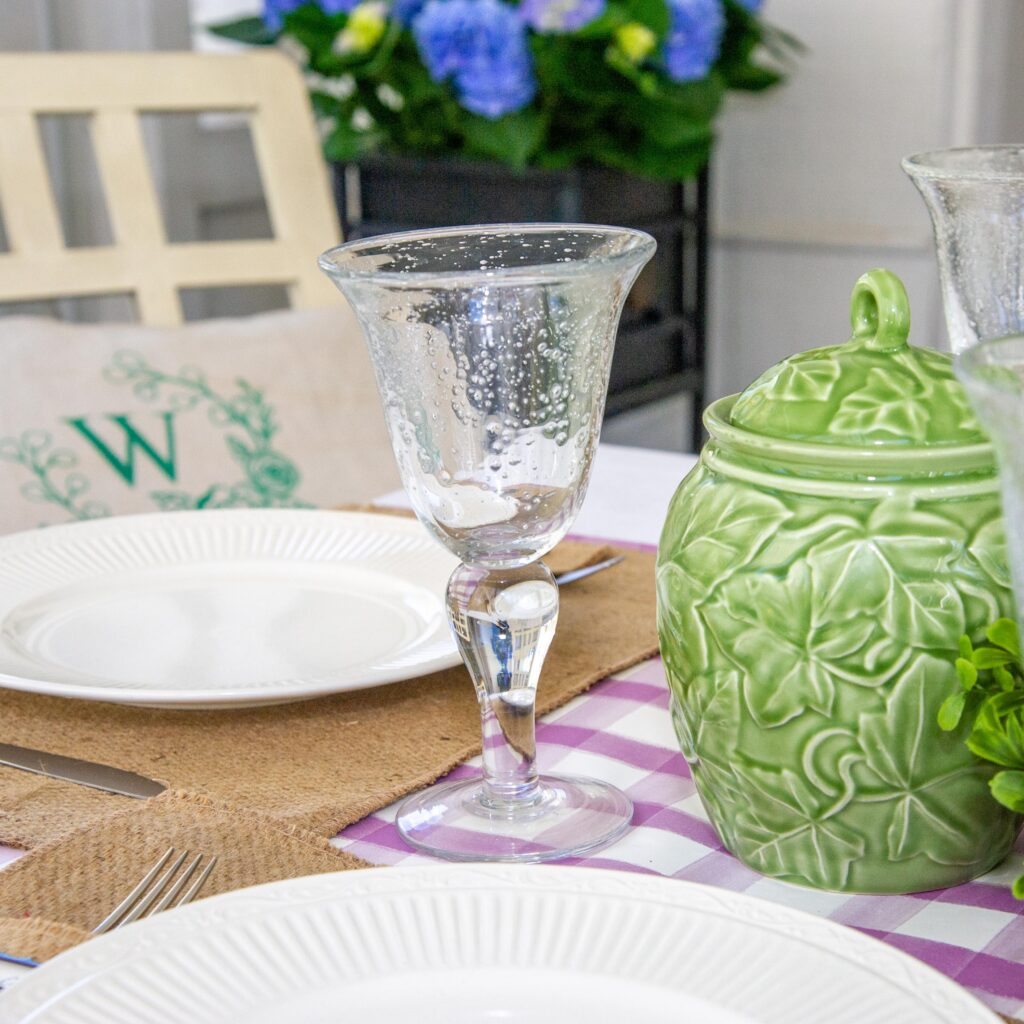
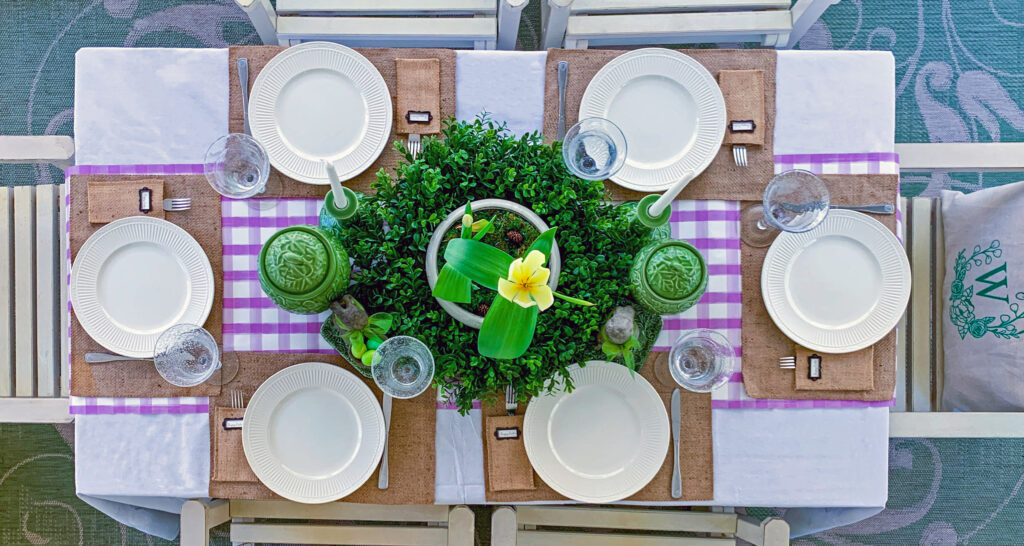
The table is set with a centerpiece of an antique bowl with tulips that was a Christmas gift from my sweet niece…now in bloom for Easter. Perfect.
Drop Cloth Pillow Covers
Equipment
- Cricut or vinyl cutter
- Sewing machine
- scissors
- Measuring tools
- Heat press or iron
Materials
- drop cloth material
- stencil design selected for stencil or infusing
- vinyl for stencil OR infusible ink materials OR Spray Fabric Paint
- fabric paints and brush if not using infusible materials
- thread
- sew on velcro closure
- sewing pins
Instructions
- Select a stencil pattern and how you want to add that design onto your pillow cover–either with fabric paint, fabric spray paint and a stencil OR infusible ink iron on method.
- Measure your pillow that you want covered and add 1" to both the length and width to allow for sewing allowances and closure.
- Cut out two pieces of drop cloth the size that you measured.
- On the front side, add the stencil design in the center of the top side either by using a stencil purchased or cut from Cricut or your vinyl cutter and fabric paint/brush; OR, print out and iron on your design using infusible ink materials.
- If you use fabric paint, make certain that the paint is completely dry before continuing.
- Take the back side of your pillow cover and cut in half using a straight edge ruler and a cutting blade or scissors.
- Turn each center edge in 1/4" and iron down and pin and stitch with presser foot close to the edge from the top side of the fabric.
- Measure the stitching edge and cut a piece of sew on velcro the exact length.
- Turn both back pieces to the inside and pin the hook closure to the edge (where it doesn't show from the front) of one piece and the loop piece to the inside of the other back piece.
- Stitch velcro to the backs.
- Close the velcro and pin the front side of the back to the front side of the back of the pillow cover.
- Stitch 1/4" all the way around the pillow, stopping and turning the pillow at each corner, to leave a good point when you turn it. Make sure that you stitch over the stitching where you began on the end.TIP: after stitching, I always trim a triangle above each corner to take extra fabric out and when you turn it you will have a sharp point. CAREFUL not to cut through stitching.
- Open the velcro and turn the pillow cover inside out and push the corners out so that they are nice and sharp.
- Insert your pillow into the opening and close the velcro opening.
Notes
I am in LOVE with how these turned out!
Now tucked into the chairs on that screened porch achieving an additional nod to gardening serenity.
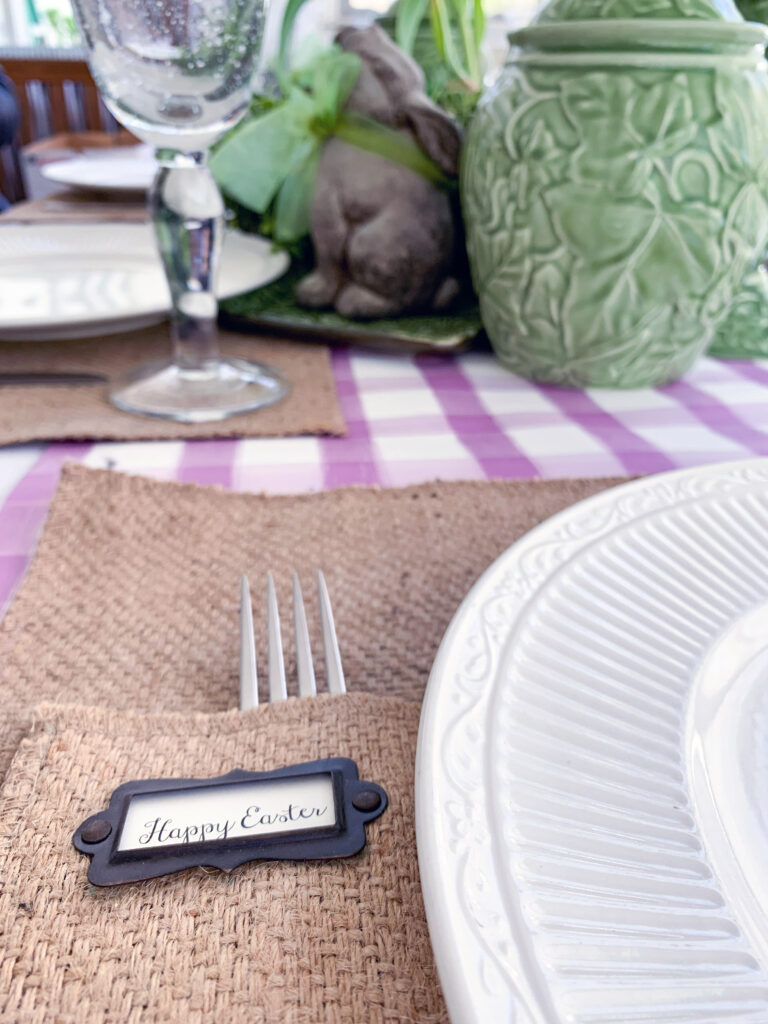
Touches of gardening with sweet plants and spring decorations now cover my table.
Ready for gathering.
Moments on the screened porch for conversation.
Laughter.
A great meal.
A get together.
I’m all about it…how about you?!
In case you need some help finding things to create this project, I’ve included them here as an Amazon Affiliate. Any purchases will cost the same to you, but may help blog continue to create and share along the way! See my disclosure policy here.
As the weather warms, I’ll be sharing with you that porch as new plants and gardening touches are able to be added. Until then, the weather on Sunday promises to be a warmer 70;so, gathering around this table is in the plans.
In the meantime, I have friends in Florida and California and other parts of the country who have already started gardening in full swing! Such inspiration I am sure we will all find! And, can I tell you? One of these in the group not only battles deer…but, black bear?! I think I will be content with my wooded friends, here!
Join them all here to see their garden inspiration…
I’m swooning over all of them. I’m inspired to create one of those enclosed gardens…add composting…add more herbs to my garden…and all of those succulents and garden bench? don’t all of us need a cutting garden? Check all of these great ideas below…and if you have joined me from Kimberly at From Farmhouse to Florida, I’m glad you followed me here. You will not want to miss my friend, Renae, at Peacock Ridge Farm and that cutting garden! Amazing!

Kippi at Home // The House on Silverado // Sand Dollar Lane // Sonya Burgess
🌱 🌱 🌱 🌱 🌱 🌱

My Family Thyme // Olivia O’Hern // Darling & Dapper Life // From Farmhouse to Florida
🌱 🌱 🌱 🌱 🌱 🌱

Happy Easter to you all friends! I hope that we have all inspired you to work on your gardens, add a bit of garden touches inside, welcome warm weather and beauty all around you! If a garden meant so much to my Creator and the One we celebrate this weekend, it’s important for me. A sign of new beginnings. Of new life.


39 Comments
Pingback:
Pingback:
Pingback:
Pingback:
Renae
Your porch is gorgeous! I especially love the pillows. Blessings to you.
Leslie J Watkins
Thank you, Renae. The paint color was still off, but I am happy that the porch is getting a more garden feel. I am swooning over your post today, friend! Happy Easter!
Vickie Ramey
I’m always amazed at your creativity! I’m trying to infuse more green in my back porch (called a lanai in FL!)! Since I have a brown thumb, we’ll see how it goes!
Leslie J Watkins
You sell yourself short, sweet sister! Your plants always look amazing. Their transition to my house last summer proved that point! Love you! Have a wonderful Easter with feet under your table.
Kimberly Jones Snyder
Oh my goodness, Leslie! Everything is STUNNING! You are incredibly talented! Thanks for sharing your talents with us!
Leslie J Watkins
Thank you, Kimberly! The weather didn’t want to cooperate with the garden theme this week! But, I am so happy to get started on the back porch. Makes my heart soooo happy. Thank you, again, for your kindness, friend.
Leen Curinga
What a cute pillow! I love you not only decorated but made the pillow too!
Leslie J Watkins
Thank you, Leen. It’s so fun to be creative–especially when it’s my porch! My favorite area when the weather allows!
Sonya
Everything is so beautiful, so ma y wonderful things in this post. We have a screened in porch as well and it had been a great place to keep some plants safe. So happy to be on the tour with you. Happy Easter
Leslie J Watkins
Thank you, Sonya! My screened in porch is my favorite place to be when weather allows. It has been the perfect space today to write and blog and create. Happy Tuesday!
Martha Wallace
It looks fabulous girl!!!
Olivia O'Hern
Good to know the color shot spray works so well! I have seen it around, but have always been skeptical. Super cute pillow. Thanks for sharing.
Leslie J Watkins
It was sooo easy. Not sure I am totally sold on the color, but the spray worked well! I’m sure you will do amazing things with it, Olivia! Can’t wait to see how you use it! Happy Tuesday!
Niky
Wow, there are so many things to love about this post! The deer in eating your tulips is sad, but oh my they are cute, too. We battle the same thing here!
I also love your pillow AND the wreath with the green plates is genius!
I’d love to invite you to share your talent at the Sundays on Silverado link party too, which is open now. 🙂
Happy Easter,
Niky @ The House on Silverado
Leslie J Watkins
Thank you, Niky! How sweet. Yes, those little deer make my heart happy…but, eating my hostas and tulips…not so much! We have found that Repels All works amazingly. But, you have to be consistent, especially after it rains to keep them away. The hardest is when those mamas stand back and watch babies eat EVERYTHING! I did link to your Sundays on Silverado Link. I am ALWAYS a FAN of those parties! Hope your Easter was a very happy one. Happy Tuesday, friend!
Libbie@alifeunfolding
Leslie,
So many beautiful ideas you have shared! I can’t wait to get started on my own porch now. thank you for the inspiration!
Leslie J Watkins
Thank you, Libbie. It truly is my favorite place and I have been working there all day today! It never gets old!
Kim
Very pretty! I have a screened in porch and this year I’m thinking about giving it a small makeover. Thanks for the pretty ideas and inspriration!
Leslie J Watkins
Thank you! I am working at that table this morning, with that sweet pillow tucked behind me. It NEVER gets old! Just simply can’t get enough!
Leslie J Watkins
Thank you, Kim. My screened porch is my absolute favorite. I am writing from here this morning. It ALWAYS makes my heart happy to feel the breeze and hear the birds and the chimes on the hour of a local church. Simply can’t get enough!
Kippi Ohern
Gorgeous spring porch decorating ideas. I adore your DIY pillow for your porch table setting.
Happy gardening,
Kippi
Leslie J Watkins
Thank you, Kippi. I am sitting and working at that table this morning. Perfect weather and location! It’s beginning to look lush and green here and I can’t wait to bring gardening past the frost point of planting and adding new life everywhere. Happy Tuesday, friend!
Allison
I love it all! Especially the pillow covers. I just love a good pillow makeover and these ones are just so elegant.
Leslie J Watkins
Thank you, Allison. I just love getting that porch ready for entertaining. Today the weather is gorgeous and I am working here with that pillow right behind me. Treasured times, for sure. Happy Tuesday!
Linda Johnston
Love how your pillows turned out. Enjoy your beautiful porch!
Leslie J Watkins
Thank you, Linda. I’ve been working on that porch all day with that pillow tucked behind and it has been glorious! Beautiful weather. A light breeze. And birds chirping. Happy Tuesday!
Lynne
Your porch looks like such a beautiful place to rest, relax, or welcome guests. I love all of your spring touches, especially the pillow covers. It was so much fun to hop with you. Happy Gardening, my friend!
Leslie J Watkins
Thank you, Lynne! That hopping is always fun with that group, isn’t it?! That porch is simply my favorite place to be when weather allows. Happy Gardening, to you, too, my friend!
Cindy
I enjoyed this post very much. We moved from a high elevation where we had many of same animal issues you deal with. I know all to well the frustration.
That being said, now the frustration continues because rabbits eat everything. So our deck has become our Garden Room.
I can’t wait for warmer weather in NJ to plant and have Mother Nature’s gifts of plants.
Love your pillow tutorial too. It turned out beautifully.
Cindy
Leslie J Watkins
Thank you, Cindy. We had a first this spring. A raccoon in the attic. Hopefully we have closed his residence there for good! He took down a light fixture on my front porch, so a new porch design is in the works! Repels off works for rabbits, too. Give it a try! Thank you for stopping by. It means sooo much!
Pingback:
Pingback:
Pingback:
Pingback:
Pingback: