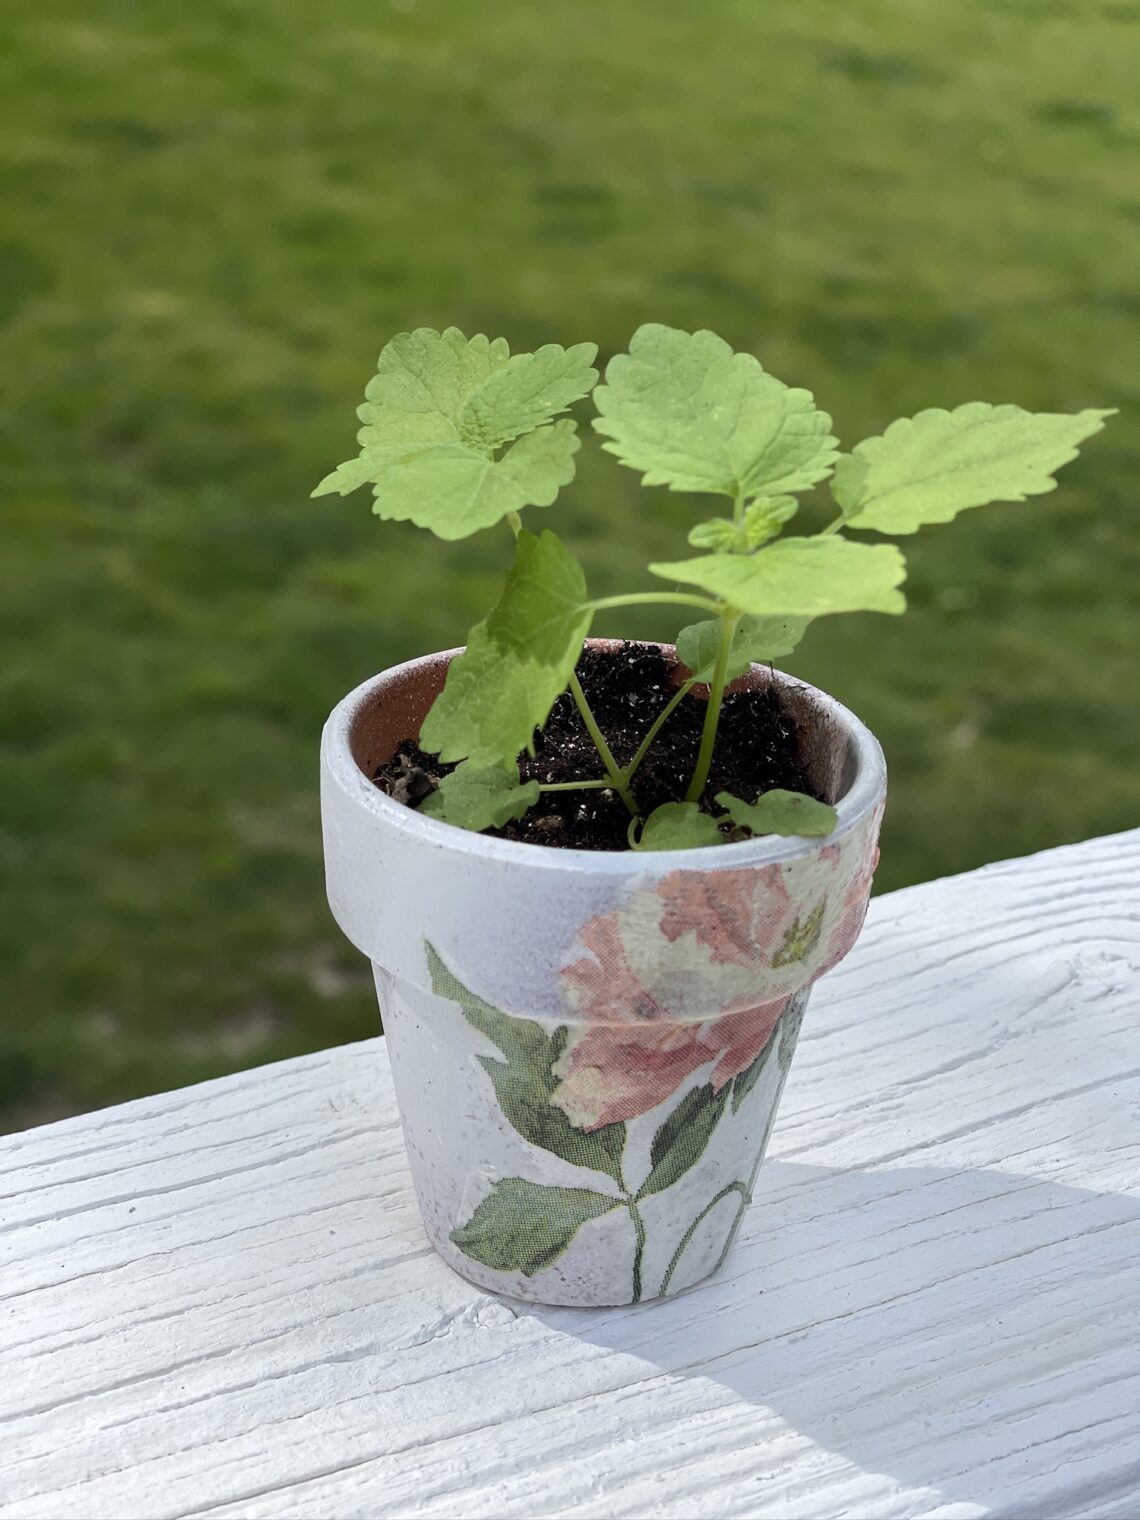
An Easy DIY–Herb Garden Pots
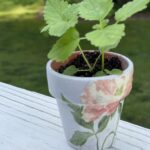
Do you have events this summer that need something special in your table setting? Perhaps gifts from the garden? This EASY DIY herb garden pot project adds a special touch to clay garden pots that makes them beautiful to use for gifts OR decorating for events.
My garden is brimming with herbs this time of year. There’s mint, chocolate mint, chives and lemon balm returning in pots on the deck and spaces in the garden.
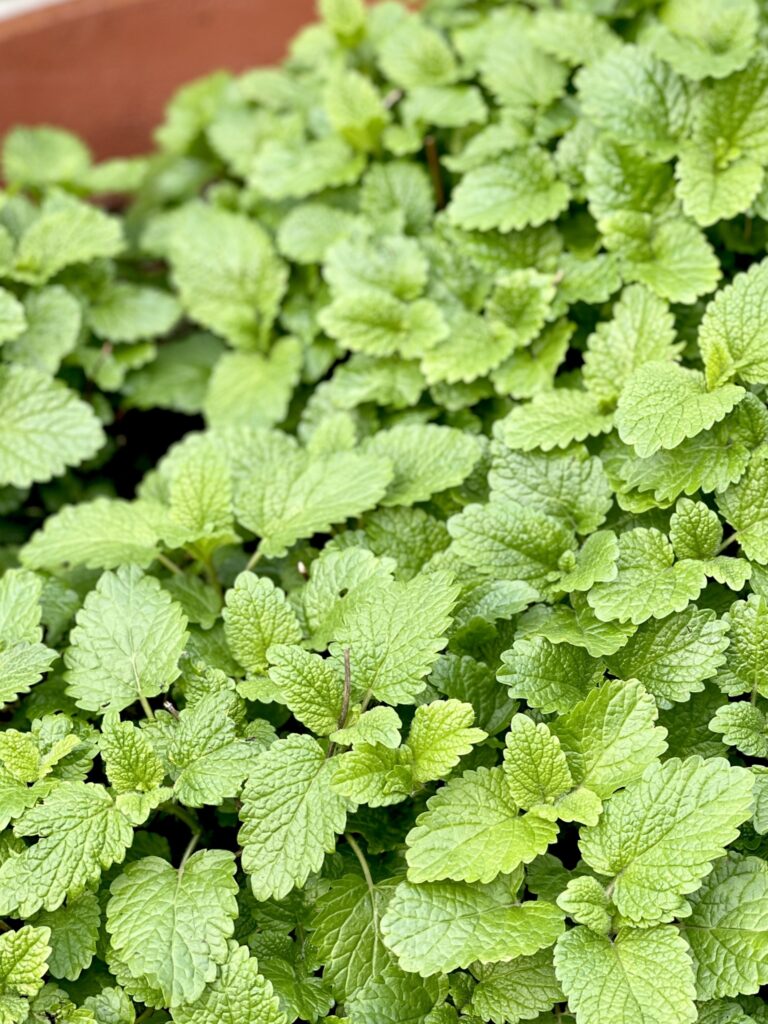
When it’s overabundant I love to divide them and “gift” them.
I’m hosting a brunch for family after my sister’s wedding this summer. Even though we will use wedding flowers for decorating the tables, why not add more herbs tucked into sweet little pots among the tables, serving area and gathering spots on the lawn.
PLUS, it’s so healthy to begin dividing those plants. So often some of the herbs get root bound and create the need to completely repot. That’s when those tiny new plants sprouting need a new home.
Hence..
DIY Herb Pots
You see, my husband’s twin sister left me trays of these tiny terracotta clay pots years ago. Although Gayla is no longer with us…you can read more about her here…my sister worked for her at our Water Slide when she was in high school and college. They were the best of friends.
When I was thinking about what touches to add to the lawn party for my sister’s wedding brunch, those tiny clay pots came to mind. How sweet to include Gayla for this gathering.
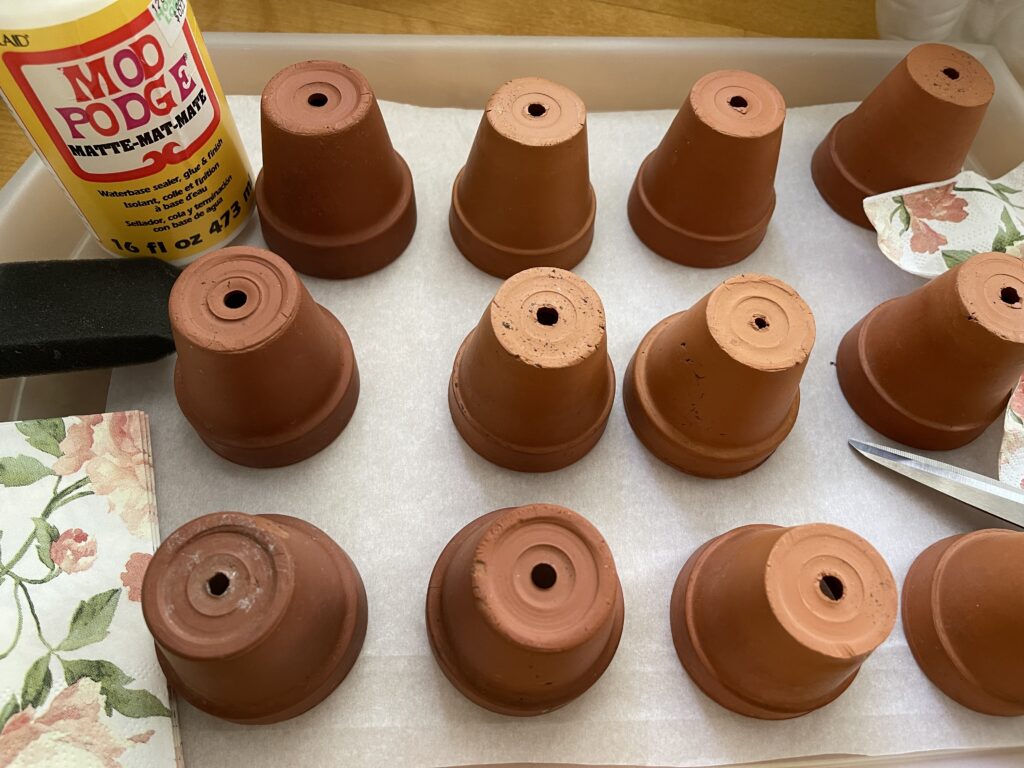
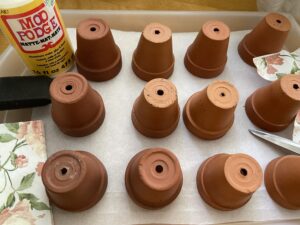
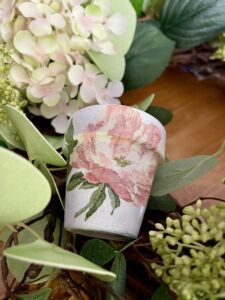
Out came the pots…the white spray paint…napkins left from the last wedding we hosted…some scissors..Mod Podge…the infamous brown craft paper…and off to work we began creating these sweet pots.
I have made these all my life and even when decoupaging appeared to go “out”of style…there seem to continue to be occasions when these work.
Do you find yourself with an occasion that these cute DIY spring garden pots will be the perfect touch?
Well…then…keep reading!
Small pots to hold herbs? Perhaps decorations or favors? A sweet way to share herbs from your garden?
I’m your new best friend.
Spring Garden Pots
Materials
- 12 tiny clay pots, cleaned
- 1 can spray paint
- several cocktail napkins
- 1 bottle Mod Podge
- 1 small sponge brushes
- 1 small bag potting soil
- small herb plants or seeds
- moss to decorate the top
- paper plate to hold Mod Podge
- scissors
Instructions
- Begin by cleaning your clay pots. Adding them to the dishwasher is an easy way to make sure they are clean and sterilized.
- When the pots are clean and dry, set them on a surface safe for crafting. Brown paper or cardboard works well.

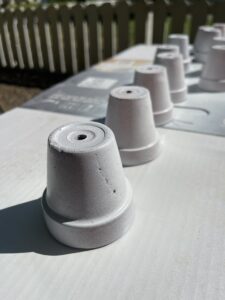
- Turn the pots upside down and spray paint or brush white paint with a sponge brush over the outside of the pot, keeping paint out of the inside of the pot.

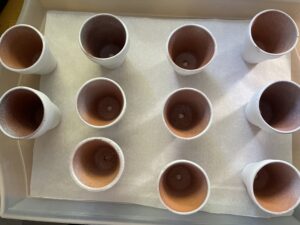
- When paint is dry, flip pots over and make sure that the edge of the pot is painted. If some paint gets on the inside edge that will show after the soil is added, that's fine.

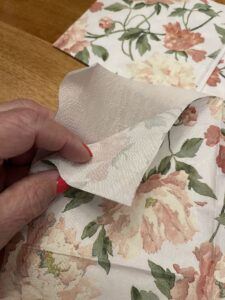
- Remove backing from napkins before cutting them apart to add to pots. Discard backing tissue.

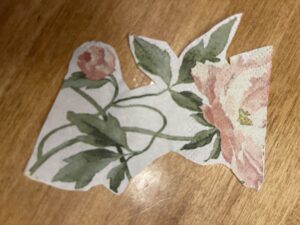
- When pots are small, it is easier to cut out flowers or pieces of your napkins that will fit when arranged on the pots.

- Cut out your favorite parts of your napkins for your pots.TIP: It's easier to cut out sections for each pot and add to the inside to form an assembly line as you begin adding them to the pots.

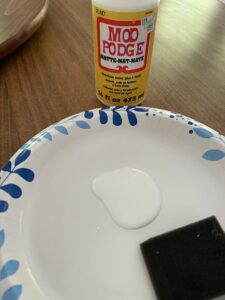
- TIP: Add the Mod Podge to a paper plate to toss for easier clean up.

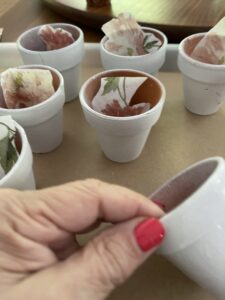
- Using a clean sponge brush, brush the outside of the painted pot with Mod Podge.

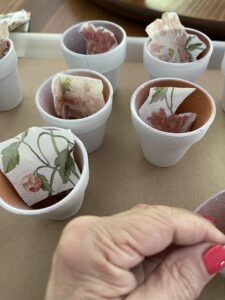
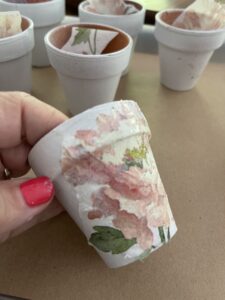
- While the Mod Podge is still wet, arrange the cut pieces of napkins onto the pots and press the napkin piece onto the Mod Podge to secure.

- Once positioned, brush Mod Podge over the entire cut section to seal. Since it easily tears, feel free to use your finger to smooth out gently. Be careful! It can tear easily.
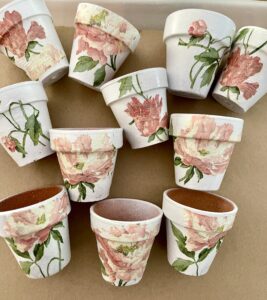
- Once you have finished with decorating the pots, set aside to completely dry.

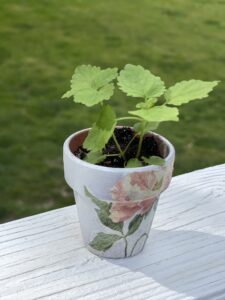
- Fill each pot with potting soil and plant an herb in each pot either with seeds or small plants.

- TIP: You may stop here or print name tags for each pot with your favorite font on cardstock. Add them to your pots with a favorite garden stake.OR Wire them onto a wreath for additional fun!

Notes
Tips about those DIY Garden Pots
Since terracotta is a porous material and the traditional choice of gardeners world wide, this was the perfect choice for planting these herbs.
Ensuring they are clean with fresh soil for transplanting those herbs is important, too.
If you have time…plant the pots with seeds, as directed on the package, and watch them come up flourish. For lemon balm seeds it usually takes about 10-14 days if kept at the right temperature, about 68 degrees. Keep that amount of time in mind if growing seeds in pots before your time to “gift” or for your event.
TIP: You might choose not to paint or decoupage the napkin to the inside to allow more “breathing” room for the plants.
Aren’t these the cutest little garden pots to gift or use?
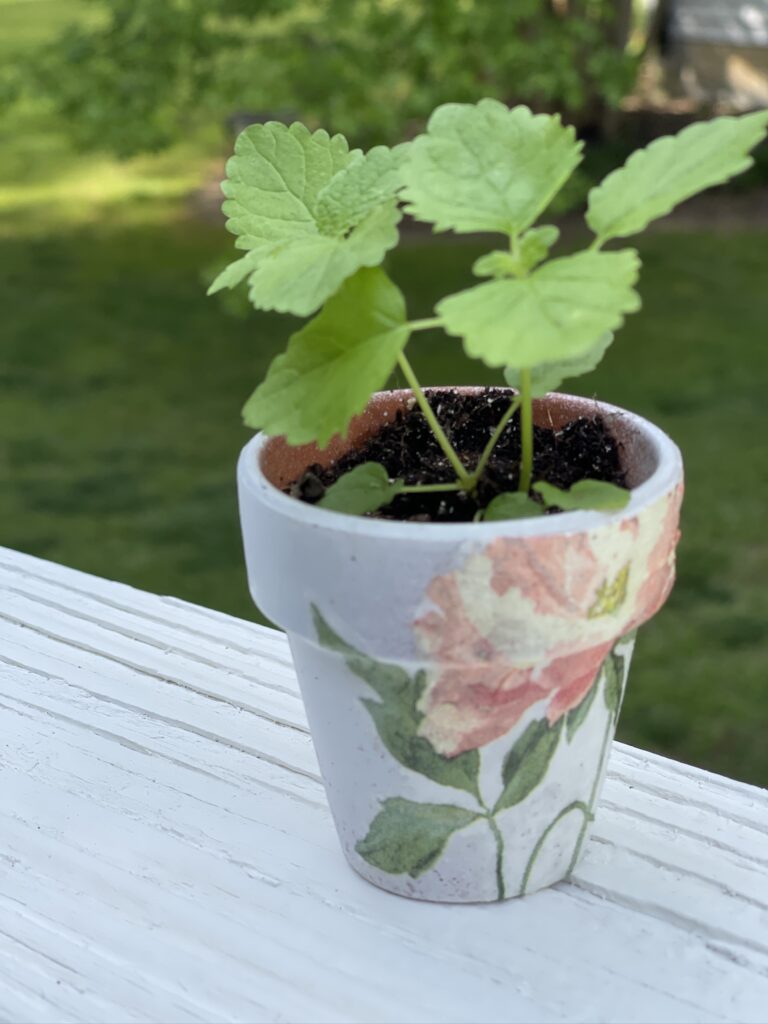
I’m in love with them.
I’ll have to share with you how they look after the brunch.
In the midst of changing out wreaths…another idea hit! Aren’t they the cutest addition to this wreath? Summer here we come!

Isn’t that just the sweetest? Now to create more! Goodness, who knew they were the perfect addition to change out the screened porch wreath, too... Be watching!
Here are a few things that I found to use. As an Amazon, LTK and Walmart affiliate, I simply add links you can click on to easily shop. At the same great price for you…but, may offer a tiny amount for me if you purchase.

Hope you can create these for an event you have planned.
Thanks so much for joining me and following along in the fun,

You May Also Like
Tips in the Journey of Wedding Planning
April 23, 2024
How to Transition to Fall With Pine Cones
September 10, 2024


11 Comments
Cindy Walker
This is just the cutest thing I’ve seen in a long time! I just added it to my to-do list! Thank you!
Leslie J Watkins
Thank you, Cindy. I am in love with them!
Kim Felean Jones
As always you never seize to amaze me with your creativity and eye for the beautiful! I can’t wait to try this. I am not crafty but your instructions are so easy to follow I think even I can do it!!
Thank you Leslie
Leslie J Watkins
Awwww, that makes my heart so happy! Hope you create beautiful ones!
Pingback:
Pingback:
Pingback:
Martha Wallace
So cute!!! So easy!!! Love it!
Leslie J Watkins
Thank you, Martha!
Pingback:
Pingback: