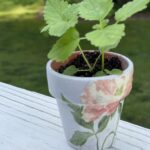
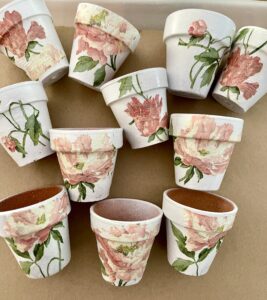
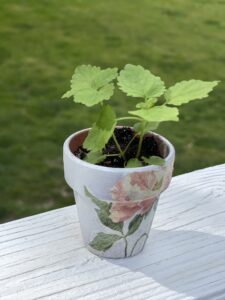
Spring Garden Pots
Spring decorated pots filled with herbs to use for your garden party tables!
Yield: 12 pots
Materials
- 12 tiny clay pots, cleaned
- 1 can spray paint
- several cocktail napkins
- 1 bottle Mod Podge
- 1 small sponge brushes
- 1 small bag potting soil
- small herb plants or seeds
- moss to decorate the top
- paper plate to hold Mod Podge
- scissors
Instructions
- Begin by cleaning your clay pots. Adding them to the dishwasher is an easy way to make sure they are clean and sterilized.
- When the pots are clean and dry, set them on a surface safe for crafting. Brown paper or cardboard works well.

- Turn the pots upside down and spray paint or brush white paint with a sponge brush over the outside of the pot, keeping paint out of the inside of the pot.

- When paint is dry, flip pots over and make sure that the edge of the pot is painted. If some paint gets on the inside edge that will show after the soil is added, that's fine.

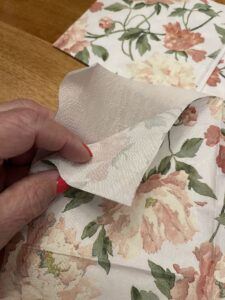
- Remove backing from napkins before cutting them apart to add to pots. Discard backing tissue.
- When pots are small, it is easier to cut out flowers or pieces of your napkins that will fit when arranged on the pots.
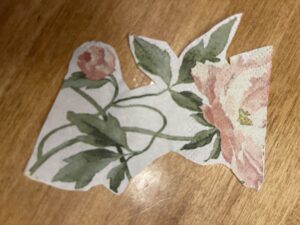
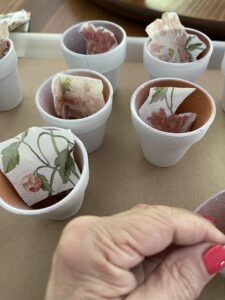
- Cut out your favorite parts of your napkins for your pots.TIP: It's easier to cut out sections for each pot and add to the inside to form an assembly line as you begin adding them to the pots.
- TIP: Add the Mod Podge to a paper plate to toss for easier clean up.
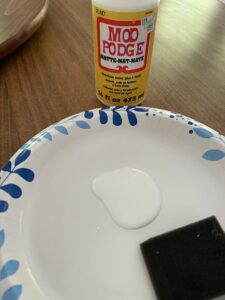
- Using a clean sponge brush, brush the outside of the painted pot with Mod Podge.
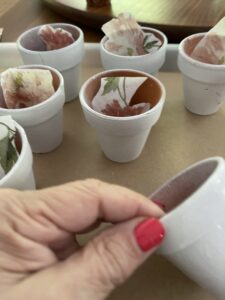
- While the Mod Podge is still wet, arrange the cut pieces of napkins onto the pots and press the napkin piece onto the Mod Podge to secure.
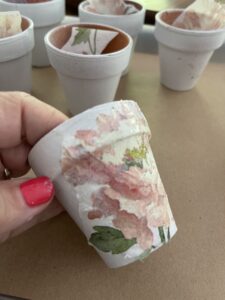
- Once positioned, brush Mod Podge over the entire cut section to seal. Since it easily tears, feel free to use your finger to smooth out gently. Be careful! It can tear easily.
- Once you have finished with decorating the pots, set aside to completely dry.
- Fill each pot with potting soil and plant an herb in each pot either with seeds or small plants.
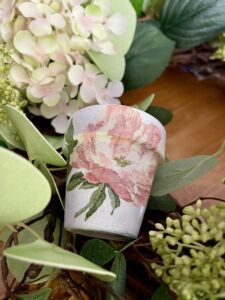
- TIP: You may stop here or print name tags for each pot with your favorite font on cardstock. Add them to your pots with a favorite garden stake.OR Wire them onto a wreath for additional fun!
Notes
These are perfect decorations or gifts for a tea party, wedding brunch, or ladies luncheon.
Add your creativity to fit your gathering!