Would You Love the Best Pickled Okra?
Do you love pickled okra? This wasn’t an intentional recipe. I am the ONLY one in my household who loves okra of any kind…much less pickled okra.
As I begin looking through my pantry to plan what needed to be canned and replenished? Pickled okra needed to be added to the list.
Last summer this friend of mine called with an abundance of okra from the best organic farm and I heard myself say, “Sure! I’ll take it!”

So…in thinking about what people who might have their feet under my table would love…pickled okra was the perfect offering for casual gatherings, picnics, or appetizer trays.
How to Can Pickled Okra
Retreating to my canning books, there was a recipe that I could “tweak”. I needed to learn HOW to pickle okra! Never done it…but, you know new recipes don’t scare me.
Last year, I had dill in my garden that was dried and in my spice organizer which was a better option than dill seeds from the grocery.
Get the Water Bath Canner ready.
Make sure there is enough water in the water bath canner that it will cover the jars when added by 1-2″.
TIP: I place a jar to the outside of the canner and “guesstimate” when I am adding water to the canner so I don’t have to add more water when the jars are loaded. I have my electric tea kettle ready with hot water in case I do need more water to cover them.
Let the canning begin!
The recipe called for small red peppers. In my negligence…the jalapenos in my garden had turned red and sweet. Perfect!
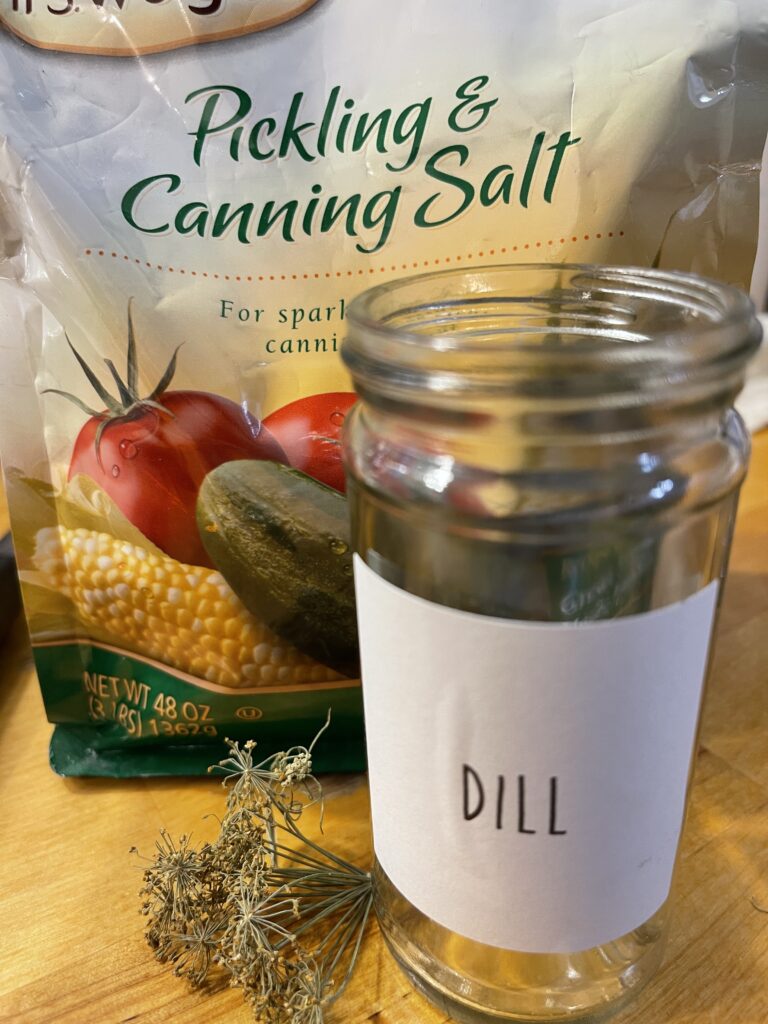
Vinegar and canning salt are a staple in my pantry so those were checked off of the list.
Although the original recipe called for 3 1/2 lbs. of okra for 4 pints…I found that amount of okra tightly fit 8 pints! That meant I needed to adjust the vinegar solution. Done!
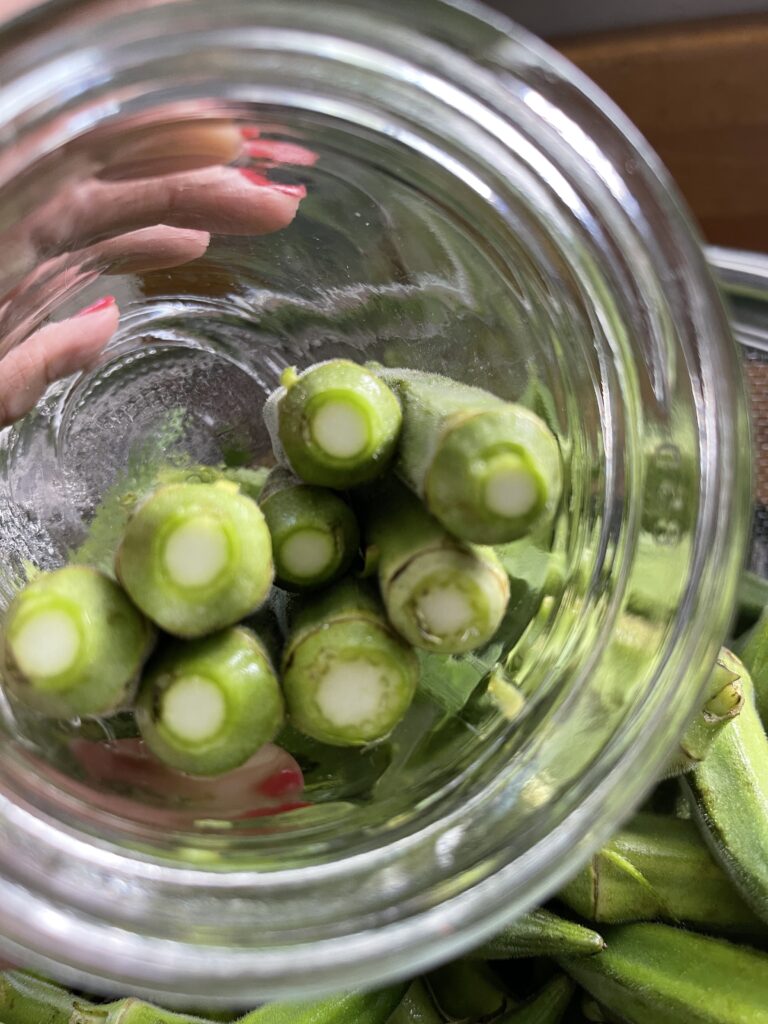
The first step was washing the okra in cold water. Drain in a colander and then trim the stalk off–stem only and not too close to the okra itself.
Wide mouth jars were washed and ready for loading.
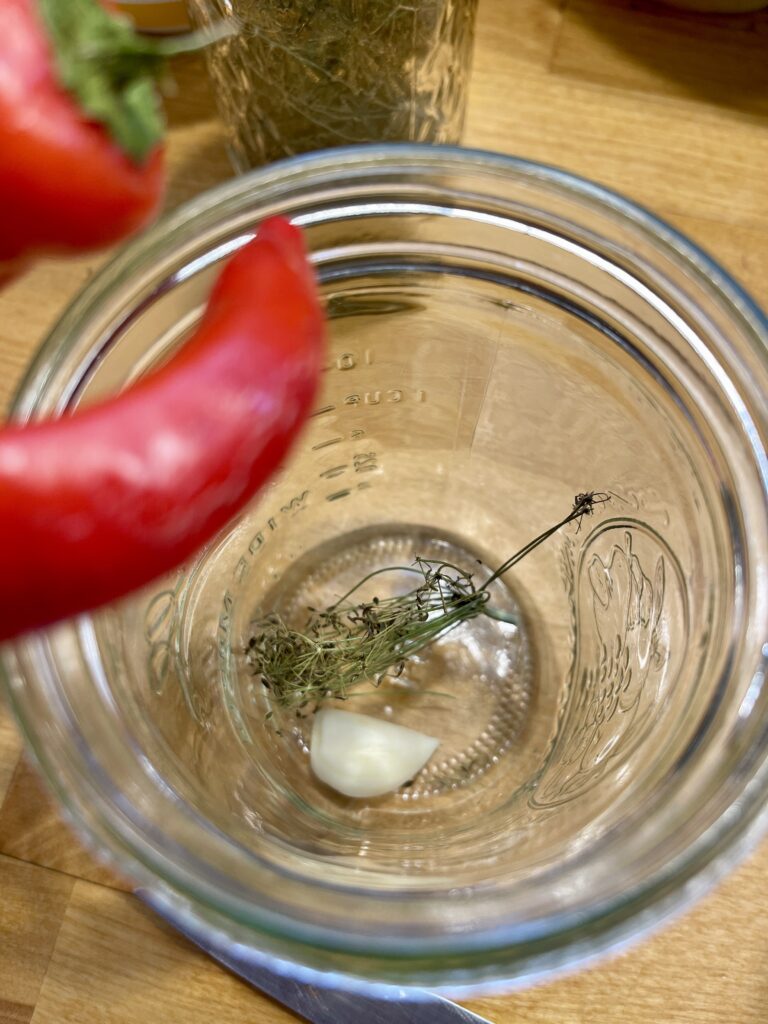
Then, add dill, one clove of garlic and a half of a small red pepper to each jar.
Pack the okra by laying the jar sideways and fitting in as many as possible.
Once all of the jars are packed with okra, begin making your brine,

Prepare the Pickling Brine
Begin heating the water in the canner while preparing the brine.
Add the vinegar, water, salt and dill seeds (or dried dill) to a saucepan and bring to a boil.
Pour the brine into each jar, remove the air bubbles with nonmetallic spatula, and wipe each rim with a damp towel.
Put on the lid to the jar and screw the rings on just “finger tight”.
Use the jar lifter and add jars to the canner and cover with the canner lid.
When boiling begins, start process time for 15 minutes. Remove the canner lid and after 5 minutes, place the jars on a towel covered counter away from drafts for 24 hours before moving to storage.
Listen for the pings of the lids sealing! If any jars don’t seal, add them to the refrigerator to enjoy.
Like other pickle recipes, wait about a month for curing of the pickling process before giving these a try.
Pickled Okra Recipe
Pickled Okra
Equipment
- 1 saucepan
- 1 water bath canner
- 8 wide mouth pint jars with lids/rings
- 1 Jar lifter
- measuring spoons/cups
- 1 liquid measuring cup
- 1 paring knife
Ingredients
- 3-3 1/2 lbs small okra pods enough to fill 8 pint jars
- 2 1/2 T canning salt
- 4 C apple cider vinegar
- 4 C water
- 1 T dried dill OR dill seeds
- 8 cloves garlic, peeled
- 4 small red jalapenos, seeded and cut in half
Instructions
- Wash okra in cold water and drain in a colander.
- With a paring knife, trim the end of each stalk, being careful to not cut into the pod.
- Wash the wide mouth pint jars and add one clove of garlic and one half of a red pepper to each jar.
- Begin by laying the jar sideways and stacking the okra pods. Make sure that the okra will not be higher than 1/2" from rim of jar so that it will be covered when adding the brine.
- Fill the water bath canner with enough water that when the pints are added water will be 1-2" above the cans.TIP: Place the jar next to the canner to "guesstimate" how much water will be needed when jars are added. If you have an electric tea kettle, heat extra water if more is needed after jars are added. Cover the canner and begin heating water as you make the brine.
- Mix together the vinegar, dill, water and salt in a saucepan and bring to a boil.
- Use a liquid measuring cup to add the brine from the saucepan to each jar–fill within 1/4" headspace.
- Use a nonmetallic wand or spatula inserted around and in the middle of each jar to release any air bubbles.
- Using a damp cloth or paper towel, wipe the rims of each jar and add a NEW lid and ring/band to "finger tight" tension–not too tight! NOTE: NEVER reuse lids.NOTE: it is no longer recommended to boil lids–a change in manufacturing methods make boiling before use more likely to cause them not to seal properly!
- With a jar lifter, add the jars to the water bath canner making sure that there is 1-2 inches covering the jars.
- Cover the canner with the lid.
- When you know that the water is coming to a boil, begin the processing time of 15 minutes.
- When processing is complete, remove the lid of the canner and turn off the heat.
- Wait 5 minutes before removing the jars from the canner with a jar lifter and setting them on a towel lined counter out of drafts.
- Listen for the pings and look for the indention on the center of the lids making sure that they have sealed. If you have one that doesn't seal, simply add it to the refrigerator and enjoy the contents!
- Do not move the jars for 12-24 hours.
- When they are ready to move, label with date and contents before storing.
Notes
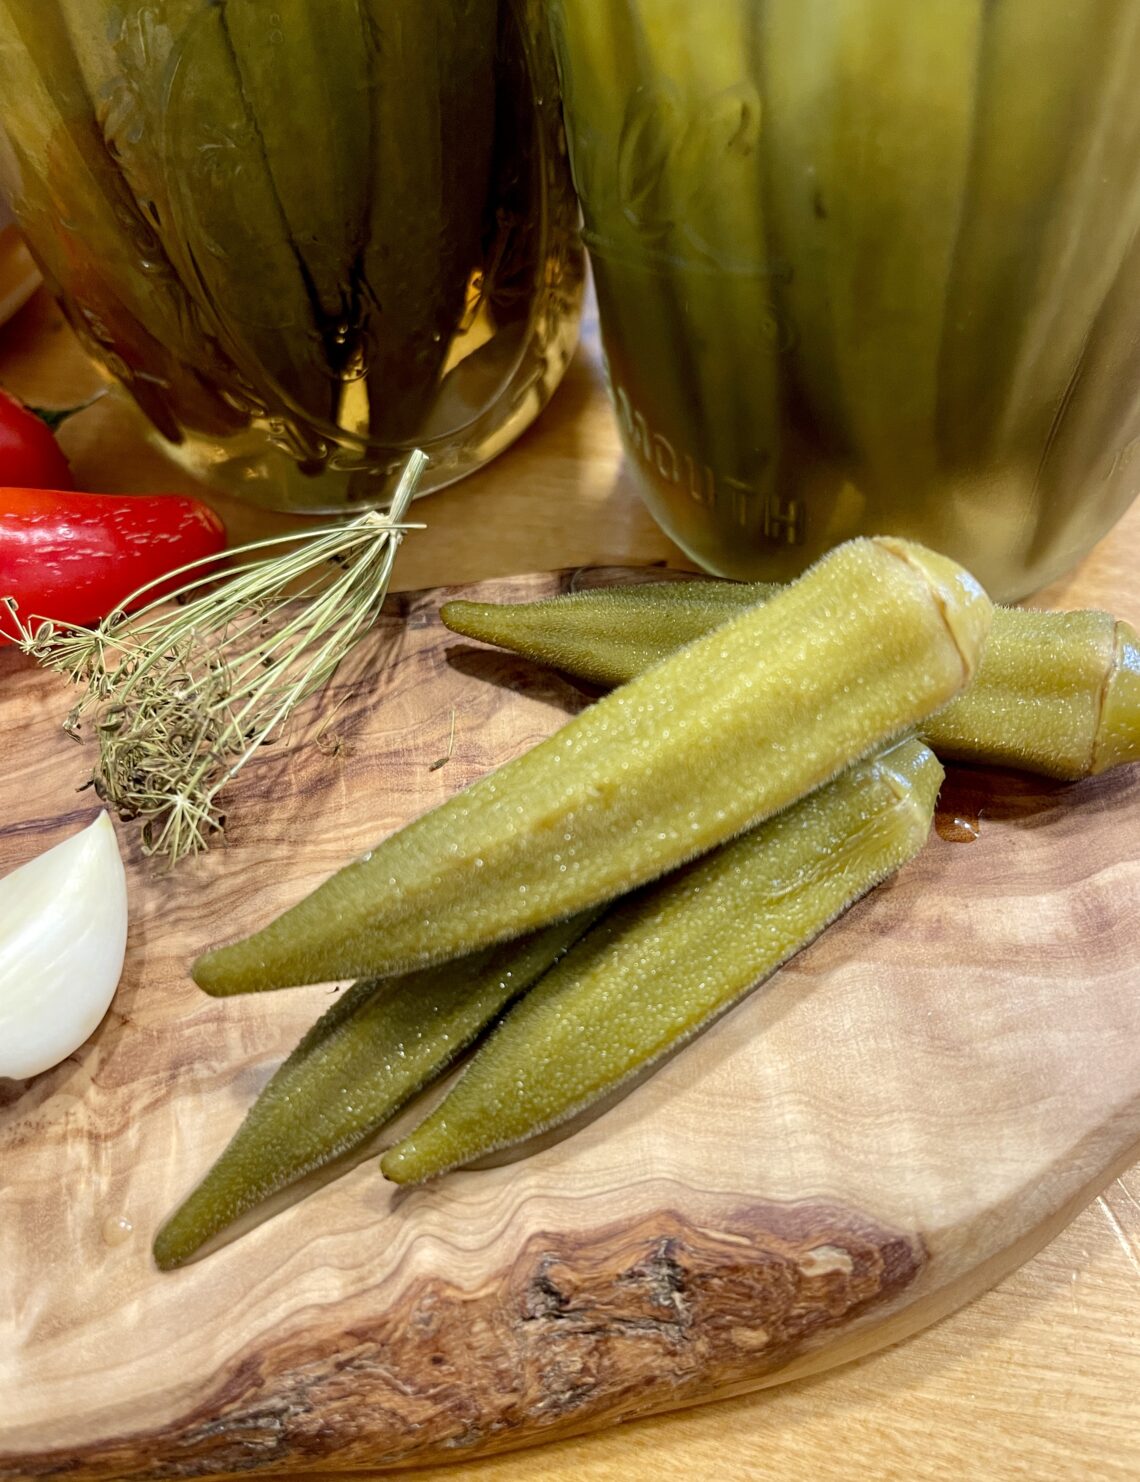
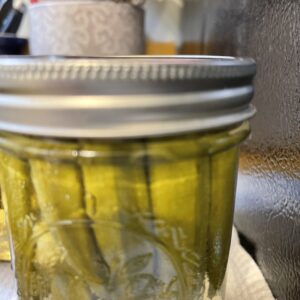
Pickled Okra Recipe and Canning completed!
Can I tell you that this was the EASIEST and FASTEST canning recipe EVER?!!!
They turned out so good!
Can I be real with you?…even though I packed them well…they floated a bit more toward the top after processing!
But, when I open and set them out for everyone to enjoy…I hope they will love the flavor!
It will soon be okra season, friends! These are perfect for an appetizer or charcuterie tray…add to a relish tray…a great addition for sandwiches, soups, or grilling season.
Here are a few tools that I love for canning season…just in time to get prepared if you are thinking of joining the canning fun.

Enjoy!

As an Amazon, Walmart and LTK affiliate, at times I may provide affiliate links to products that may offer an easier way to find products that I mention or use. Same price for you, but beneficial to this blog and at times, may offer compensation if you use them to shop. See my disclosure policy here.

Cinco de Mayo Favorite Recipes

You May Also Like

Great Additions to A Fall Charcuterie Board

Quick and Easy Eggs Benedict- Breakfast Hot Brown