One Room Challenge DIY BATHROOM REVEAL
Drumroll, please. Are you ready for the One Room Challenge DIY Bathroom Remodel Reveal?

The bathroom is finished. It’s time to reveal the results.
Since we last shared, here’s what we’ve done:
- Painted all the walls, trim and ceiling.
- Hung the crown moulding.
- Laid the luxury vinyl flooring.
- Installed the toilet and bidet.
- Set the vanity and finished attaching the plumbing.
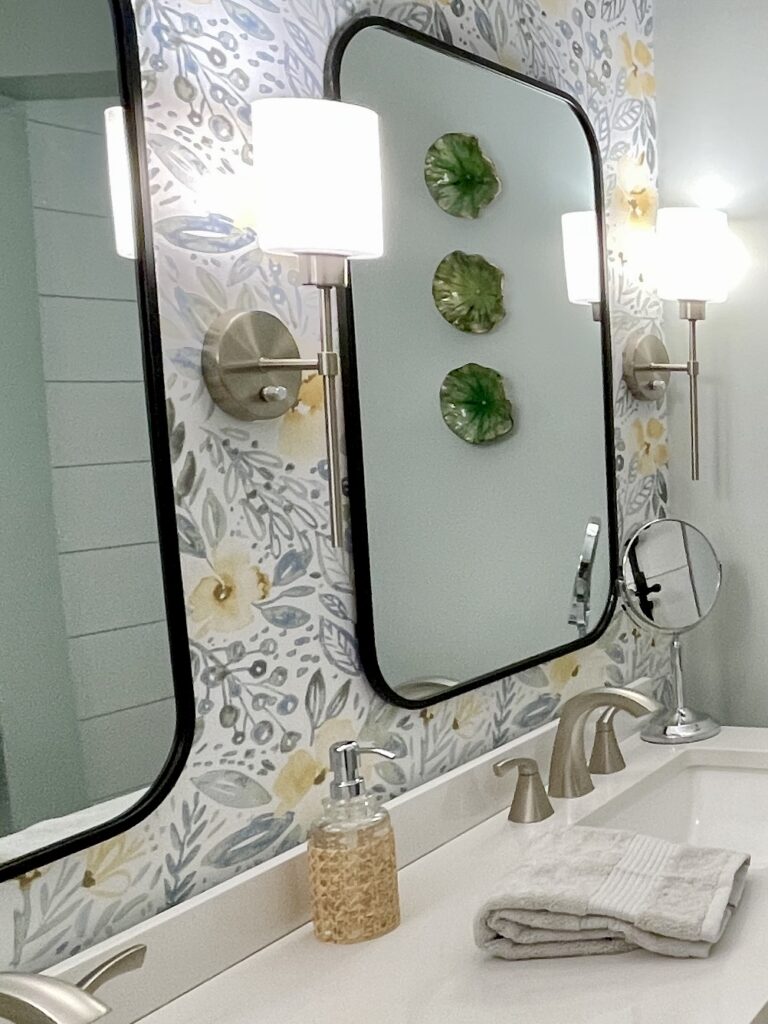
- Hung mirrors.
- Accessorized.
One Room Challenge DIY Bathroom Reveal… here you go!!
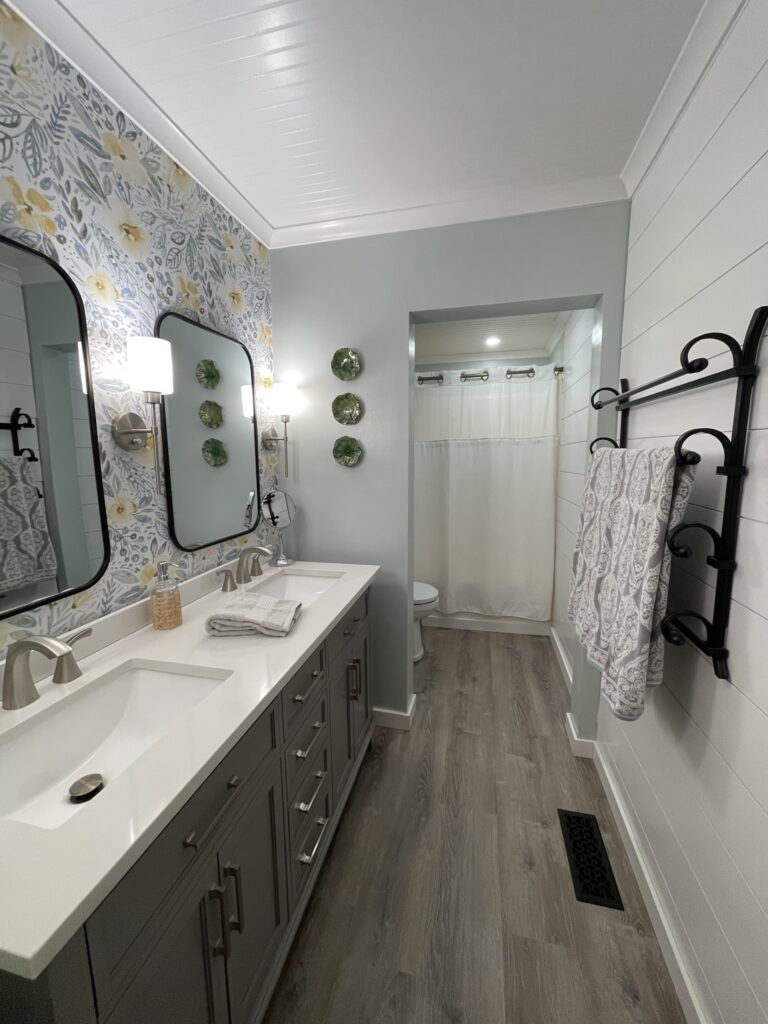
New waterproof Luxury Vinyl in all it’s glory.
Shiplap that covers one wall’s flaws.
New can lighting over the tub!
We are in LOVE with this DIY Bathroom remodel!
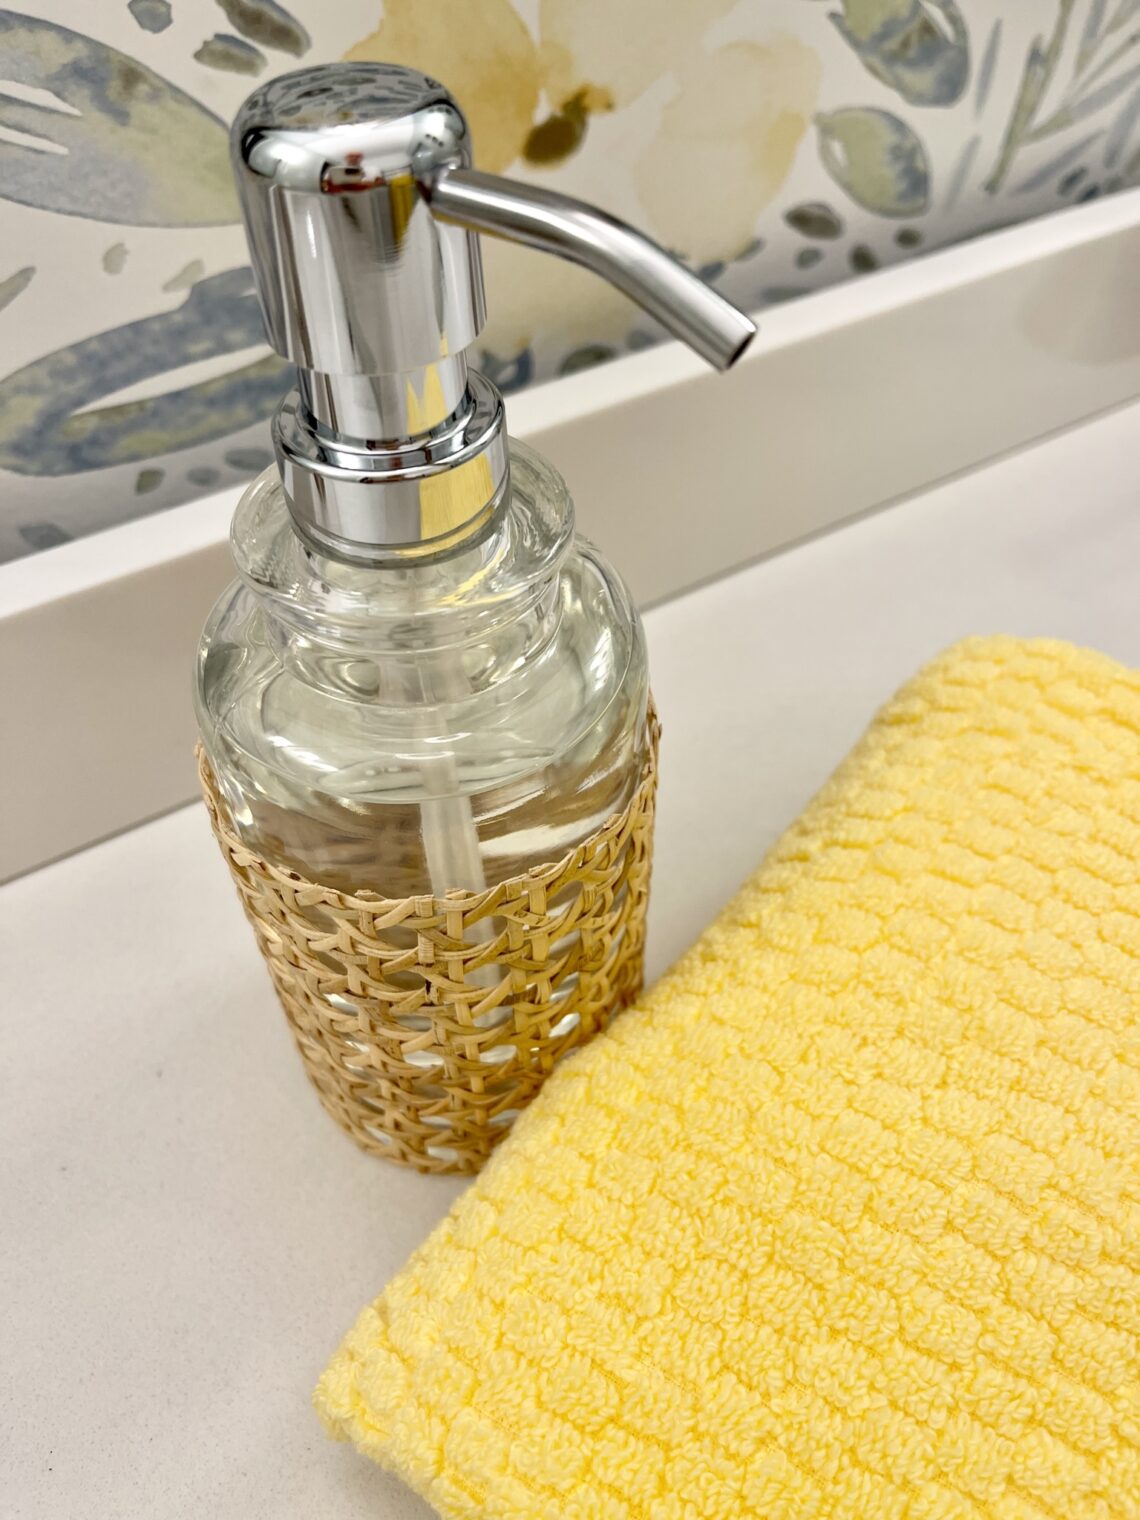
Sweet petal antique dishes just made me happy to use on that wall. Touches of natural with the soap dispenser, prints and touches of black with the mirrors and towel rack seemed to soften the formality just a bit.
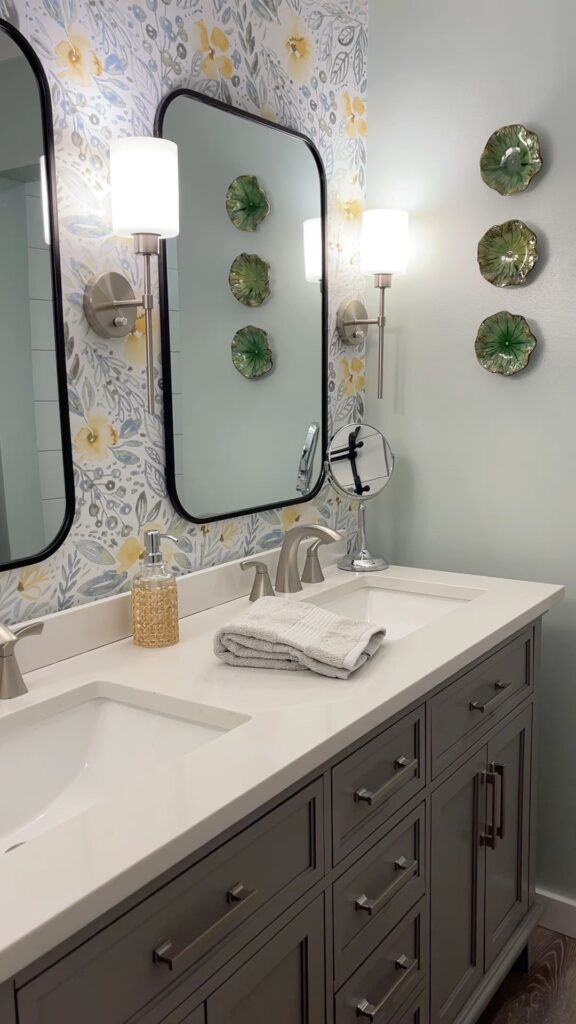
Can I tell you how happy I am that that full wall mirror is gone?!
And that peel and stick wallpaper! I’m in love.
A vanity that has TWO sinks, a drawer with hidden electrical for hair dryer, flat iron, etc. Compartmentalized drawers that make organizing a breeze.
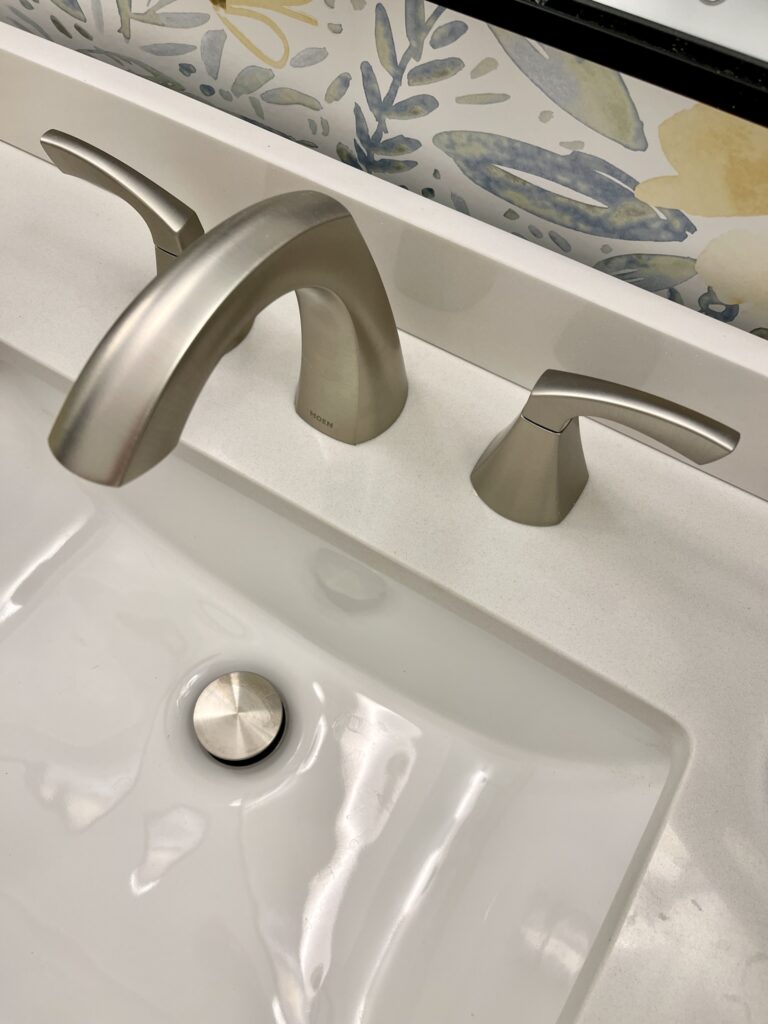
New lighting added…with electrical outlets added and switches replaced. New plumbing that adds unseen improvements and updating to the 1907 portion of this home.
A new commode with a bidet. Gracious! Luxury at its finest.
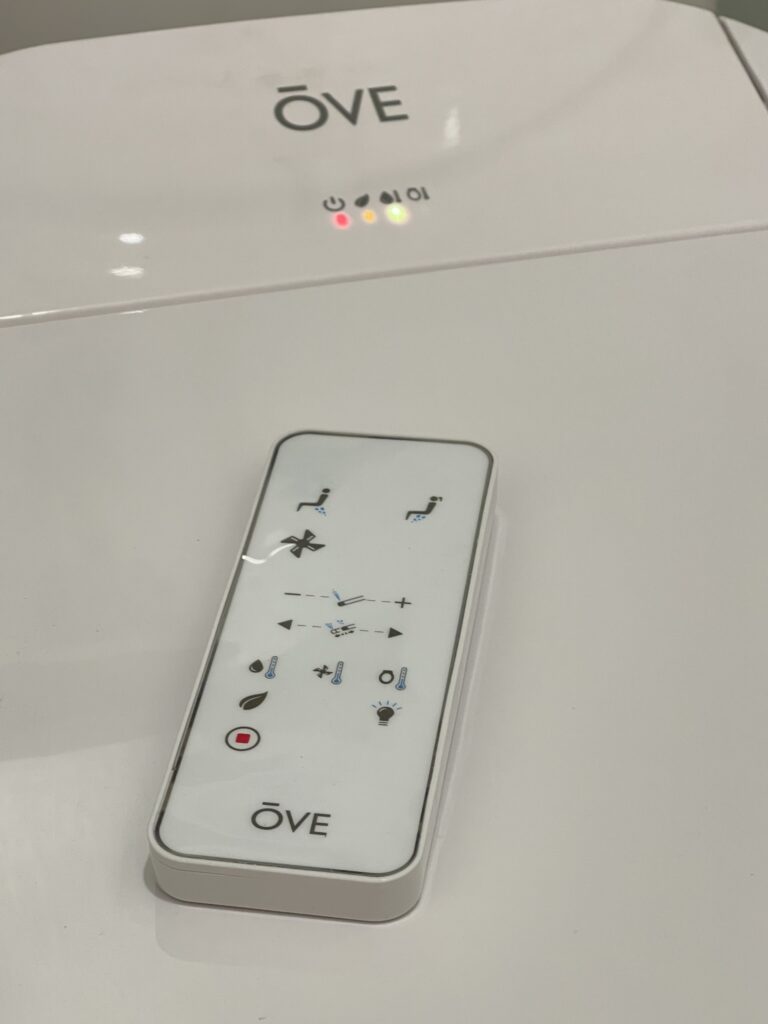
So much easier to clean that skirted commode, too.
And I am in love with the new artwork from Home Goods. They ALWAYS have the best selections that work.
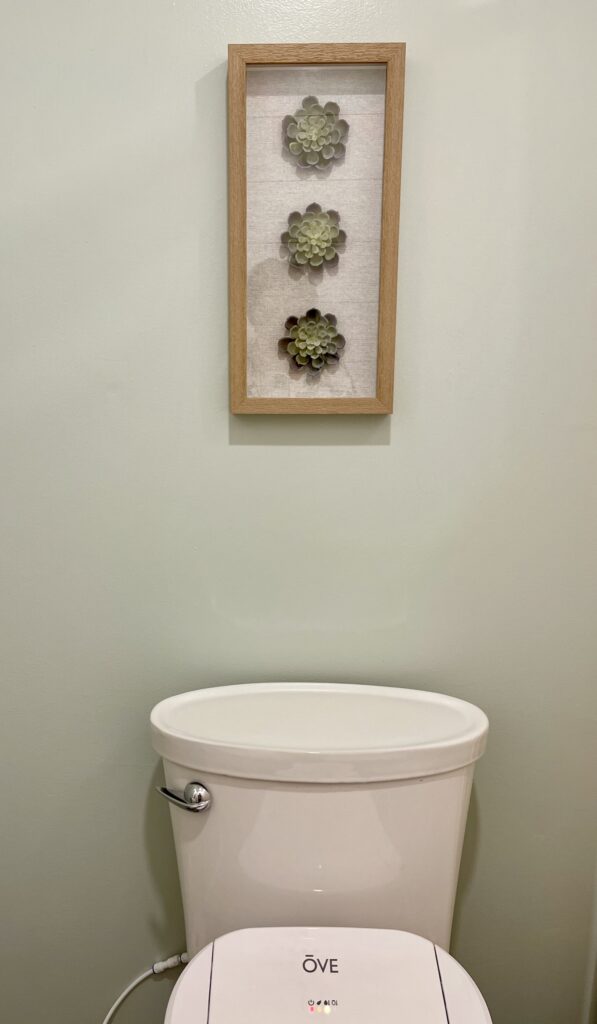
Loving these shadow boxes that will be added to the shiplap wall…
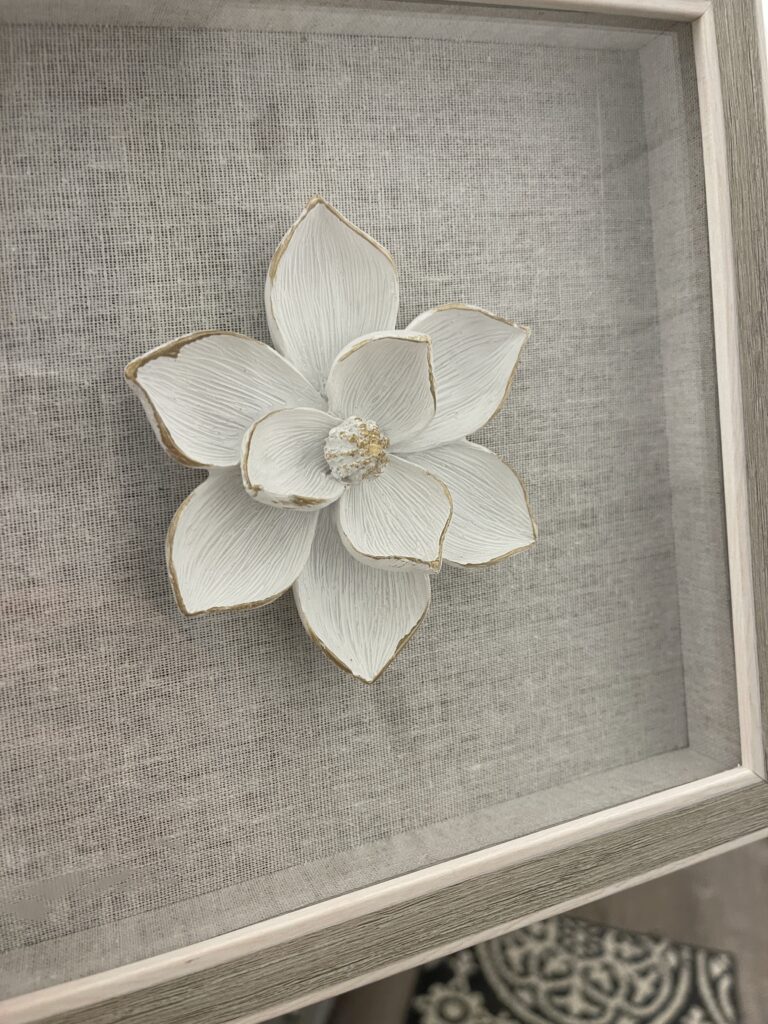
The only thing now left to finish in this bathroom is hanging these new floral shadow boxes and a bit of trim around the bathtub. A new shower curtain, towels and rug are still in the “searching for” category.
Through all of the carting back and forth of “potential” shower curtains and rugs, we just haven’t found the right fit. Truly, the white original shower curtain looked better than others that tried to “beat” it.
TIP: Simply use 84″ curtains with a liner behind to give you a great length for your shower. So much better than those 72″ ones that are always too short.
And who doesn’t love new linens, right? Still looking for the right shade of yellow for the towels.
On the struggle bus with the rug choice. But, even with those few loose ends?? I’m considering we have made it to the finish line.
Perseverance.
That’s the word for this project. My husband gets the award!
Perseverance through the wiring in the attic and installing the can lights.
Then perseverance with the plumbing with new lines added. My husband is truly a jack of all trades.
Patience with the shiplap, flooring, painting and wallpapering.
Keeping on to get this DIY project finished prevailed!
So happy to move that room off the list.
Claiming back the entryway and hallway from random vanities and toilet box littering the past few months.
A clean slate added there!
Don’t we all do better when projects are completed?
Don’t forget to follow along on Instagram @Feetundermytable, @oneroomchallenge, and @apartmenttherapy to see how projects in the one room challenge are coming along! More to be inspired by there.
Thank you so very much for following on this project!
You all are the BEST!
I’m attaching some affiliate links for your shopping convenience of things we added to finish this bathroom at no additional cost to you…simply click on the photos to shop. See my disclosure policy for more information on affiliate links.

Here are some final tips for bathroom renovation:
- Make a step by step plan BEFORE beginning to make sure that you are completing things in the correct order. For instance, we had to complete the electrical before adding new sheetrock. Sheetrock was hung before new floors were laid. everything has a domino effect!
- Don’t try and keep sheetrock that has layers of wallpaper or a textured finish. Replacing it is the first tip we learned with the first bathroom redo we did a couple of years ago.
- Do as much as you possibly can of your DIY bathroom renovation. This tip alone helped make this a budget friendly bathroom. We have learned this the hard way–especially since Covid. A reliable team to come and give quotes and follow up can be difficult to find.
- Seek professional advice and turn over project parts to professionals if you aren’t able to do the work yourself. If you are learning from You Tube lessons, make sure that you have a reputable person you are “learning” from and watch many different ones to make sure you are getting the correct information before beginning a step with which you aren’t familiar. Always seek professional advice!
- Make sure that you have ground fault outlets in the bathroom and that they are located in the correct locations for use…whether lighting or plugs.
- Can lights over your tub area is the best decision ever.
- Make sure to consider everything that you purchase is waterproof for your bathroom renovation. From lighting, paint, flooring and wallpaper– make careful choices with that in mind.
- Love the peel and stick wallpaper! Making sure that you have it in hand when selecting other paint colors is a must.
- Professionals suggest semi gloss paint works best in bathrooms.
- Select cabinetry that works for you and those who use the bathroom. The vanity that we selected for this bathroom renovation has pullouts for hair dryers, outlets, and drawer dividers that we loved. Two separate vanity sinks were a luxury that we haven’t had and knew we wanted and needed for this bathroom renovation.
- Covering up the ceiling with bead board was genius! No need for sanding bad ceilings or rehanging new sheetrock.
- Curved crown moulding gives an illusion of a higher ceiling..who knew?
- Luxury vinyl is my new favorite bathroom flooring! Easy to install and clean!
- Consider adding a bidet…no need to say more!
- Function and form have to go hand in hand with your bathroom renovation.
THANK YOU FOR CHEERING US ON!
Until the next project,


18 Comments
Cindy Walker
Great Choices! Absolutely Beautiful!
Leslie J Watkins
Yay! Thank you! and thank you for always cheering me on! You are sooooo very much appreciated for your sweet comments!
Missy
This is GORGEOUS, Leslie! I love every single detail! The wallpaper is beautiful, the ceiling is genius, the vanity and mirrors are so elegant, and the artwork is perfect! We also installed a skirted commode… a game changer when it comes to streamlined look and easier cleaning! I think you did an amazing job with this ORC project. Bravo!!!
Vickie Ramey
Absolutely beautiful! Your choices and Gary’s hard work made this bathroom a show stopper! Can’t wait to see your entryway again, too!
Leslie J Watkins
Thank you! There’s still a trail of tools and equipment strewn as he finishes caulking baseboards today. So ready to have my entryway and home back again!
Leslie J Watkins
Oh, friend! That means so much coming from you! My heart is happy…every decision was a surprise to both of us…it seemed to take on a life of it’s own! Makes my heart happy for the results!
Tracey+Buchanan
It’s fabulous! You guys did an amazing job!! I know you’re thrilled–both that’s it’s completed and that it turned out so beautifully! Well done!!!
Leslie J Watkins
Thank you! We both love the results!
Martha+Wallace
The most stunning bathroom redo ever! Can’t wait to see it in person! I know it was a long process, but it was worth it! And every bathroom needs a double vanity! Excellent job! Now rest!
Leslie J Watkins
Thank you! G has only one bit of trim to finish and it is finally complete. He has worked tirelessly! Still looking for the right accessories…but, that will fall into place when I find them! Now…if I can get tools and equipment out of the hallway! lol
Wendy McMonigle
Looks fabulous, Leslie. I love the cabinet color and the wallpaper. Great job.
Leslie J Watkins
Thank you! I am in love with the transformation. With each addition, it surprised me a little bit more.
Pam
Love the bathroom! It is so bright and cheerful. I especially like the bead board ceilling with the crown molding.
Hope you treated yourself to a long soak in bubbles with a glass of champagne (or wine)!!!
Leslie J Watkins
Thank you! I’d love that ceiling in other rooms, too. With the curved moulding, it looks more like a tray ceiling. Haven’t begun the celebrating yet! G is caulking all the trim as I type this!
Crystal
Leslie your bathroom makeover is gorgeous! Love the wallpaper and mirrors you chose. It all looks so good!
Leslie J Watkins
Thank you, Crystal! So happy to have it finished…makes my heart so happy!
Pingback:
Pingback: