Finding Friday- The BEST Painting Tips!
We’ve made our way back to Friday! So many great things to share with you since the last update. In the middle of the restoration, we discovered the BEST painting tips to share with you! Time saving and those that will make your painting much easier.
So, let’s go!
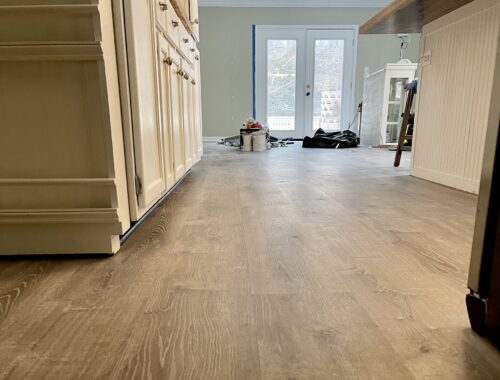
This week, the flooring has been finished with only the doorway transitions left– on order–the way of Covid these days.
With floors down, painting began on the walls, doors and new trim added that required caulking and painting.
My husband had already learned new painting tips from the master bedroom paint and trim and they are simply too good not to share with you.
Here you go!
The BEST Painting Tips!
Let’s talk about the first painting tip…
The newest tip that we learned in the bedroom that helped with the kitchen restoration was—are you ready???–an 18″ paint roller and tray.
What?!! We had no clue one existed! Talk about a time saver and better coverage provider. Both were huge improvements!
It covered so well that we could have almost gotten by with one coat over the primer in the bedroom.
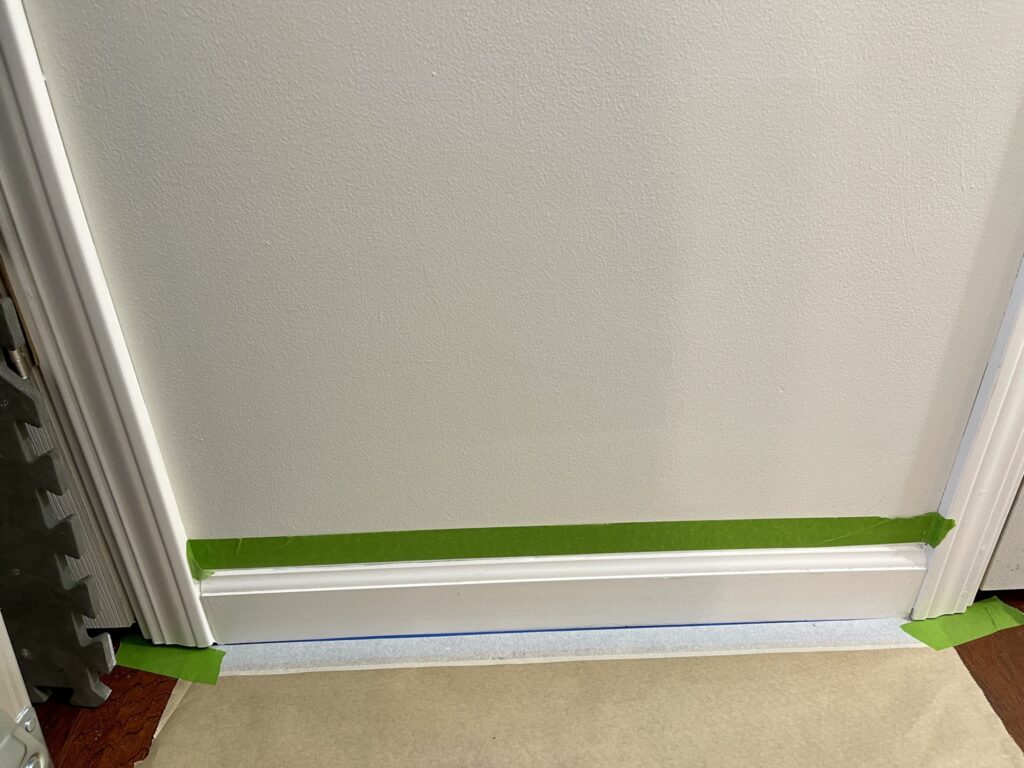
The second painting tip was a “new to us” caulk method.
You may not know this one either.
We found this on the Idaho Painter’s You Tube channel. Who knew that you that you could paint the walls– then tape the trim–and then caulk and paint the trim while the caulk is wet…what???!!
While the trim/caulk are wet, immediately pull the tape. It results in a perfectly straight line with perfect caulking every time.
Frog tape for the win on this one! We tried other painter’s tapes, but FROG TAPE won the award!
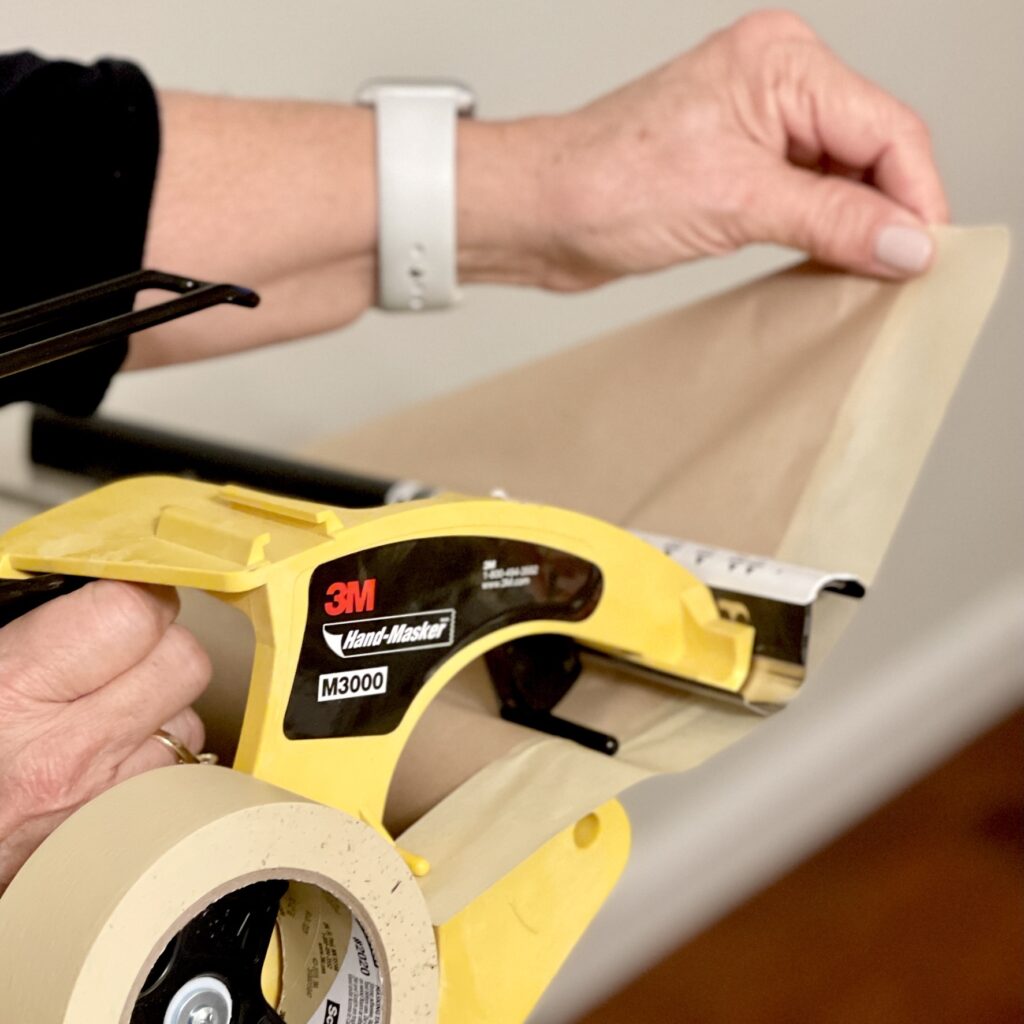
The third painting tip was new tools.
The first tool was the hand masker that is perfect to add the wide brown masking paper to areas you don’t want paint. It’s fast and simple to apply. It’s available in 9″ and 12″ paper.
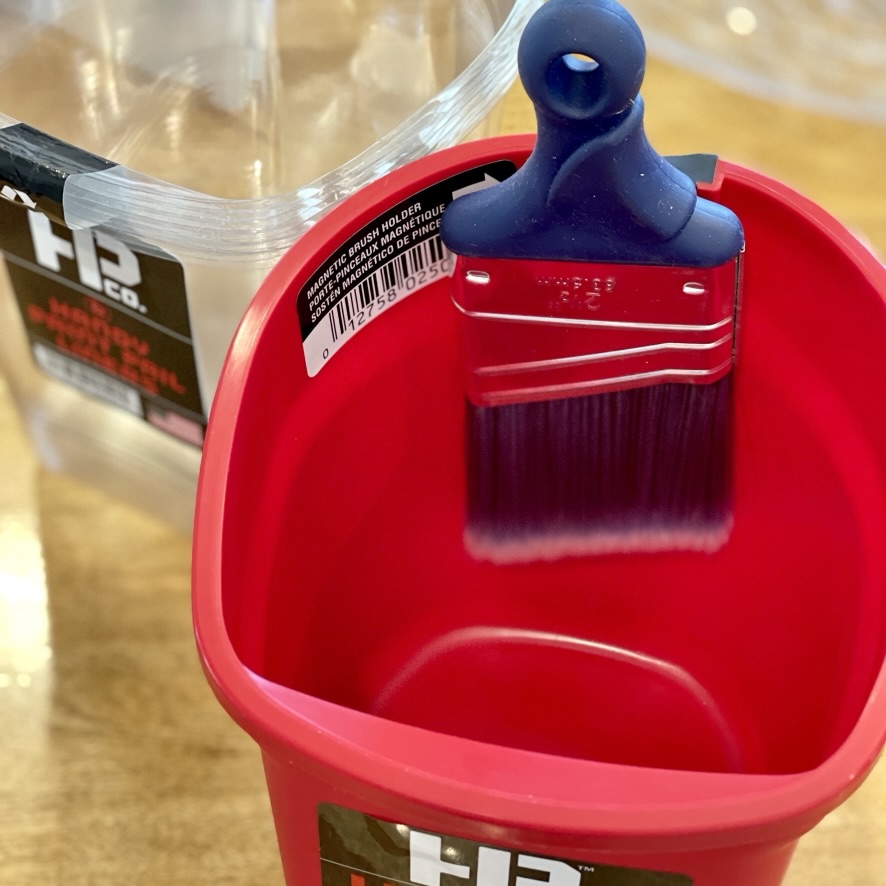
The next tool–in walked that cute painter and in her hands was a “handy pail” with a handle on the side for the most comfortable hold and a magnet inside to hold the paint brush.
As a result…one of those for upcoming painting projects in my life was purchased. You may need one in your life, as well!
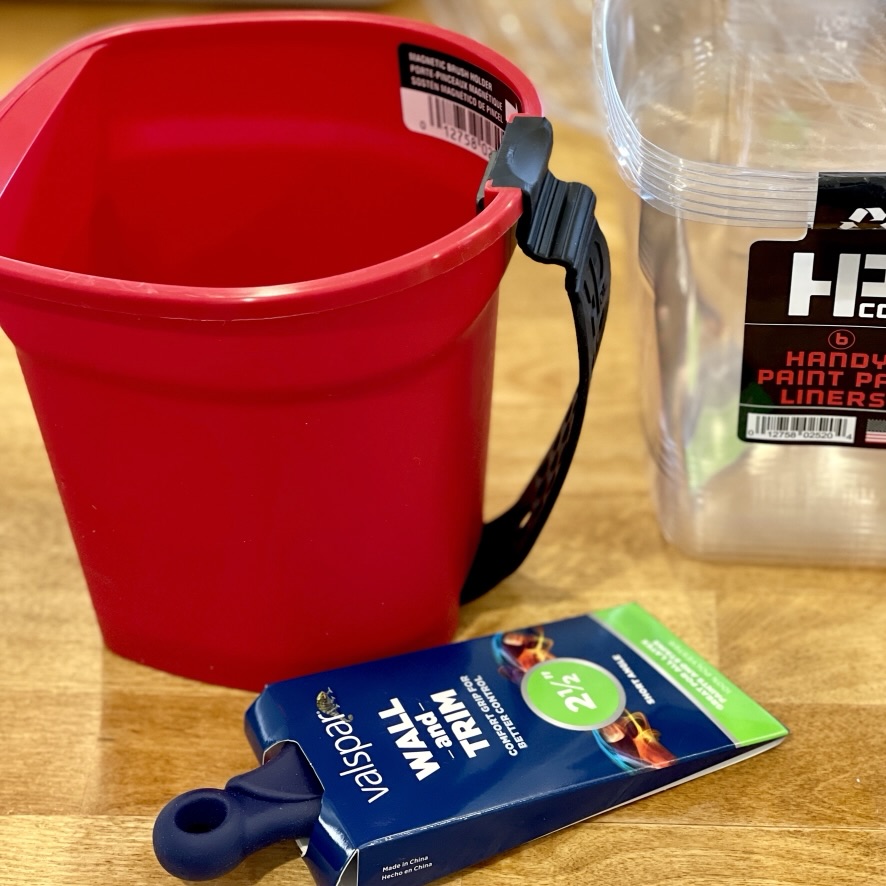
If you want to buy locally, I found one at Lowe’s and the plastic liners to fit which makes clean up a breeze.
But, then? She pulled out a new brush…short, comfortable to hold and easy to grip. Perfect. I love that the magnet on the inside of the handy pail holds that little paint brush inside to keep it from slipping into the paint.
The fourth painting tip was a product new to us.
The new French doors required painting inside and out and meant that the other set of French doors needed a new refresh, too.
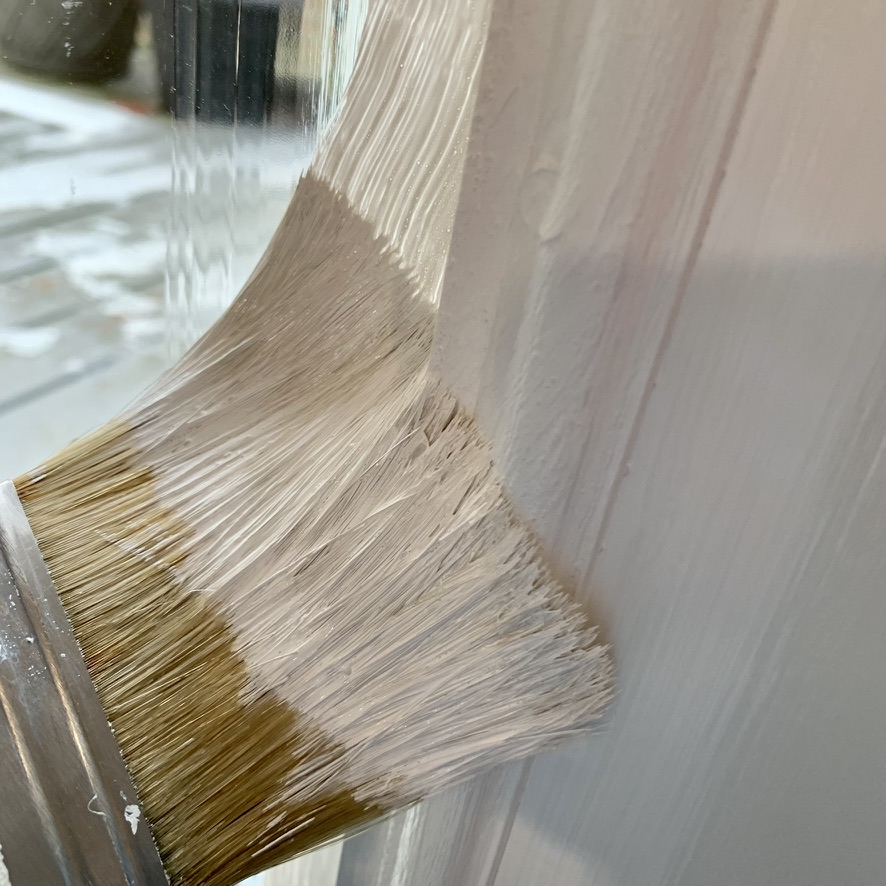
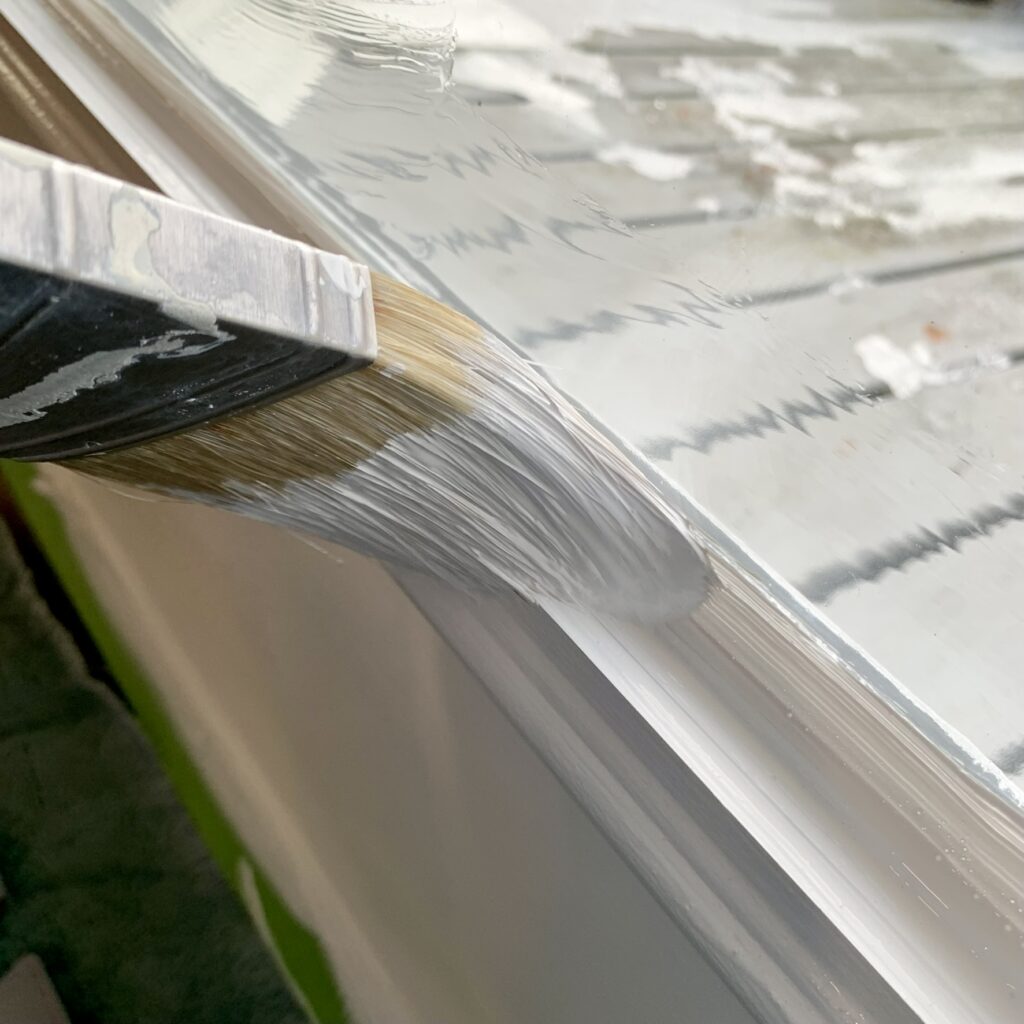
Enter the new product! You may have heard of this one, but it was new to us and boy did we love using it! Jasco Liquid Mask & Seal is brushed around the edges of glass, (we found two coats was easier to remove), and let it dry before painting.
It’s dries clear as shown on the window below.
Here’s a great video that shows this one in action.
This was so much easier than using other products on the glass to prevent scraping paint off later.
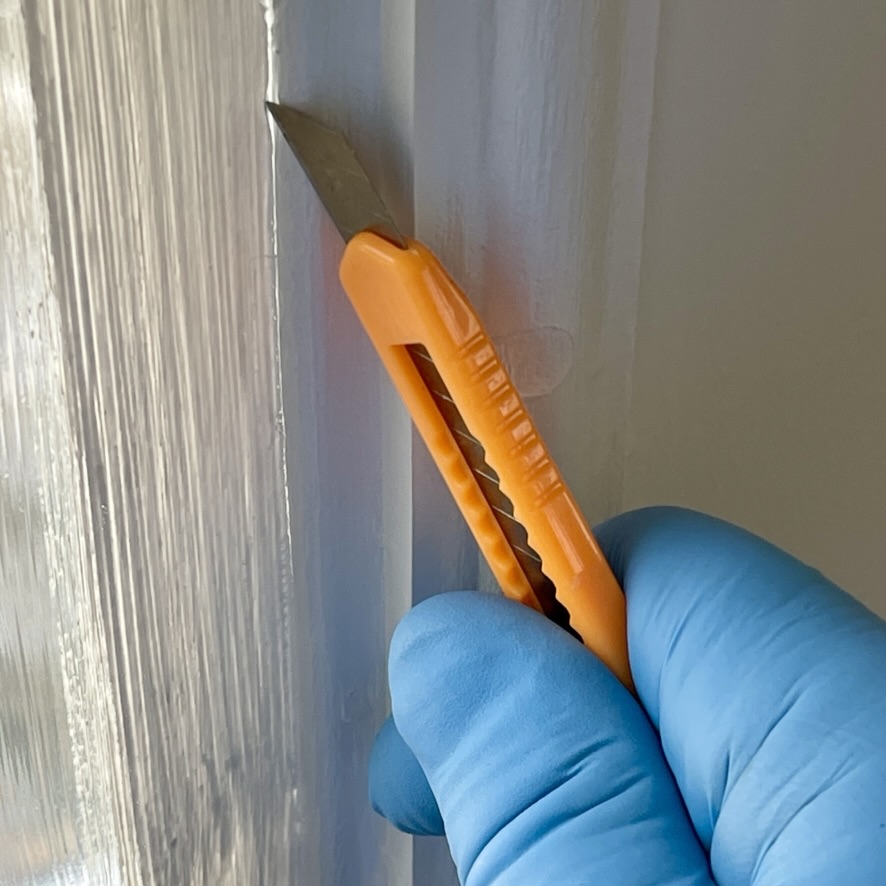
As soon as the mask dries, you paint the doors/window casings. Then use a razor blade to cut and separate the painted mask on the glass from the paint on the wood frame of the door.
Then just peel the mask off.
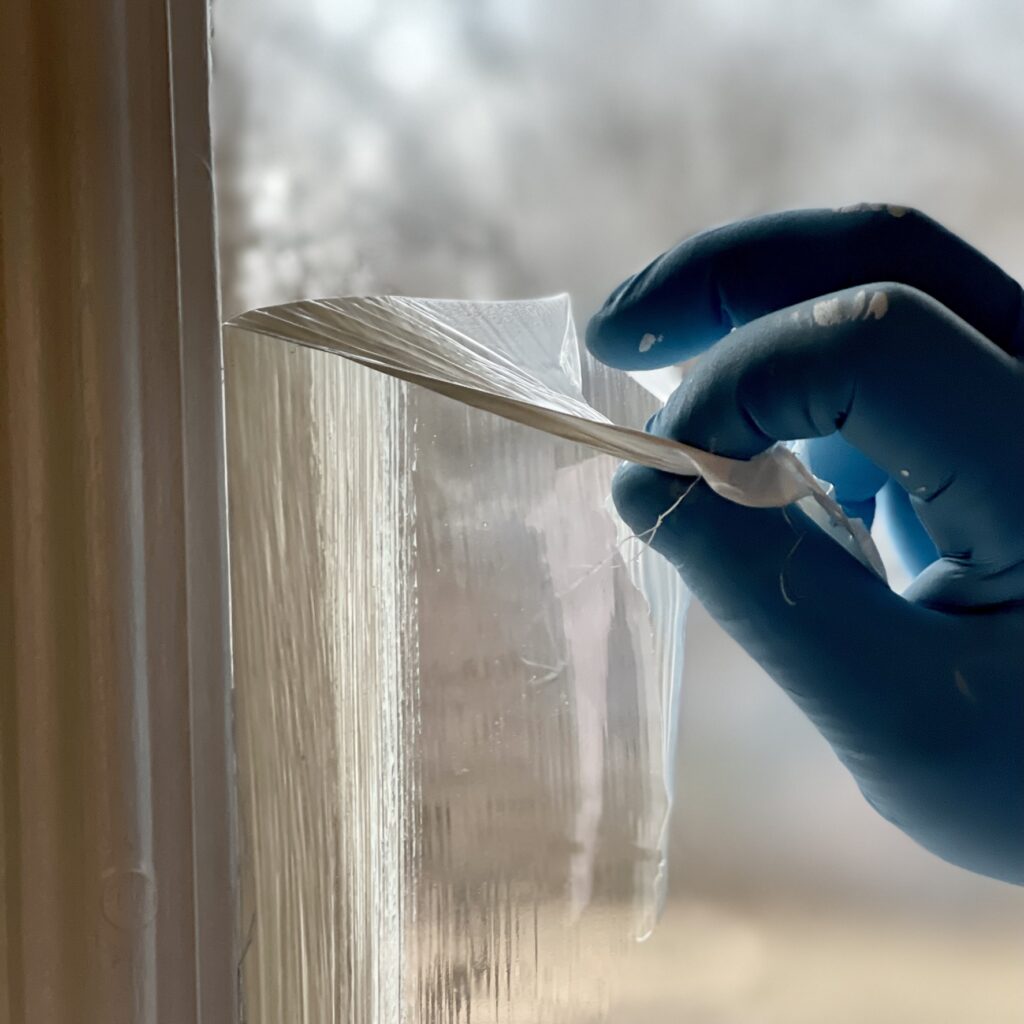
Can I tell you, again, how much we loved this product?
The last tip is in using a paint sprayer.
The interior doors were hand painted, but my husband, the spray painter of amusement park rides at Noble Park Funland for years and years, required the exteriors of doors to be sprayed.
I’ll be sharing about that sprayer with the table restoration soon.
We love using the roll of wide brown paper masking to protect around the doors to keep the paint off of the house. So much easier than taping brown paper by itself.
When painting those doors the stationery door was masked and sprayed in place.
Our brown craft paper that we use for everything and even newspaper was used to completely cover the glass of the outside of the doors when spray painting.
The moving door was removed from hinges, laid on saw horses, and sprayed. One more tip we learned on the exterior doors was that the plastic frame around the glass needed to be primed with a “plastic” Krylon spray primer before adding the coat of paint.
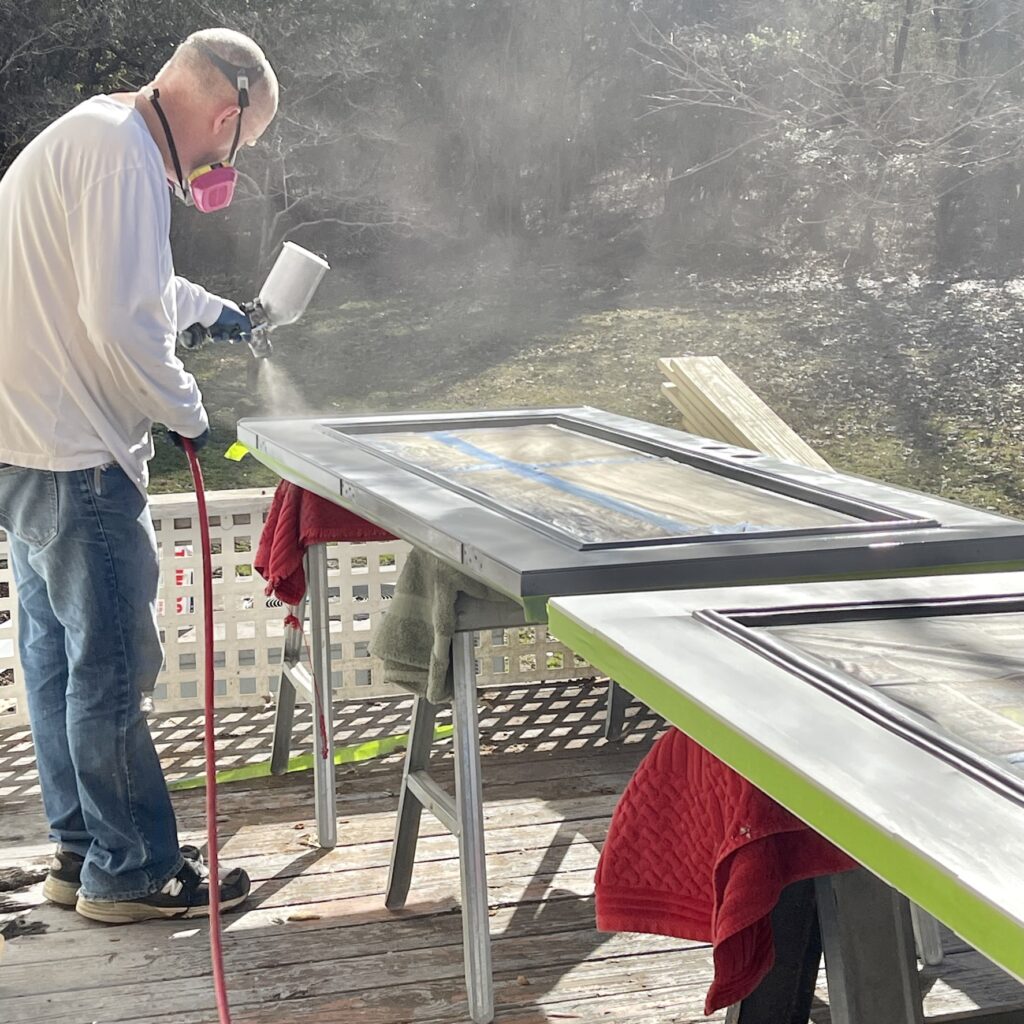
We chose a great exterior black paint recommended to us by professionals and that met my husband’s approval.

Now for the rest of the Restoration Update???
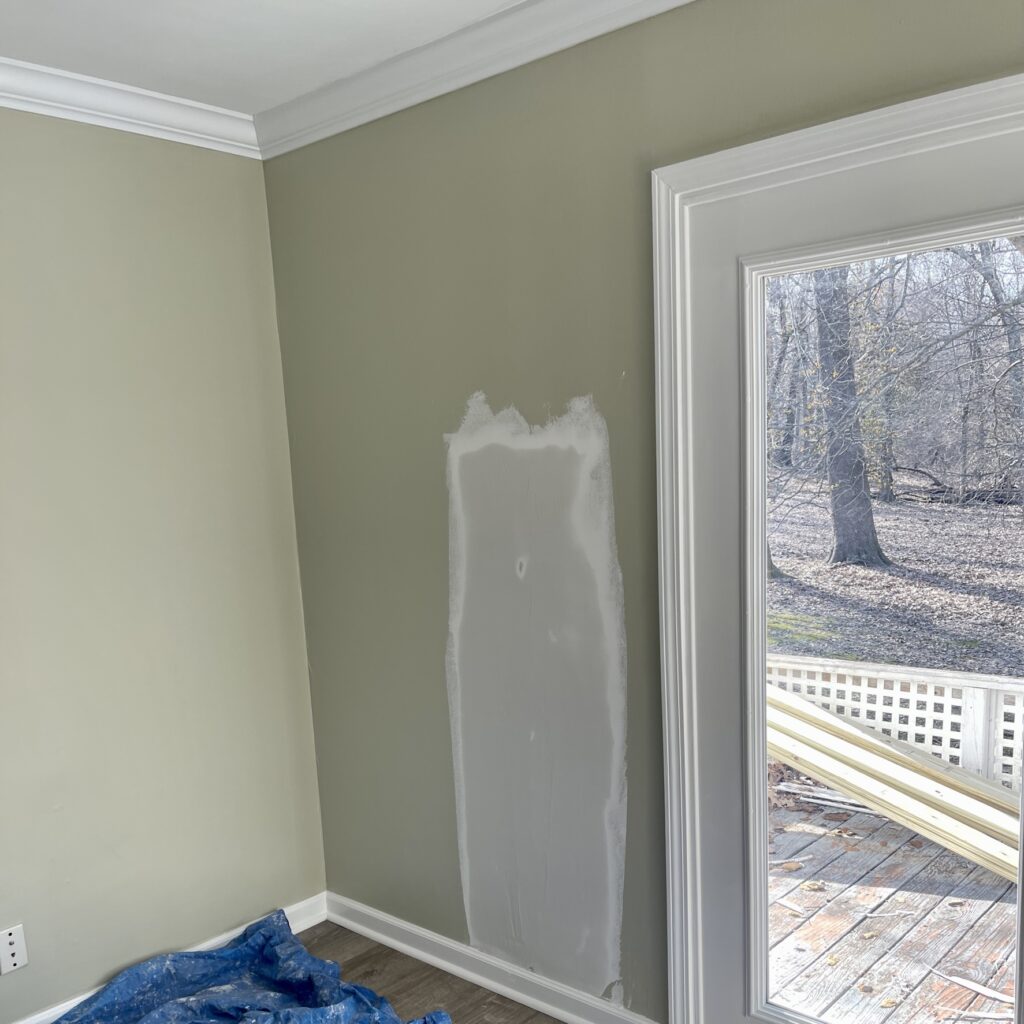
Sheetrock Tim came to check the ceilings and area around the new door and decided more sheetrock needed to be smoothed…again. THANKFULLY, this only required sponging and no sander was used this go around.
Another note about painting ceilings after resurfacing–paint allows any imperfections to appear and the need for more repair to smooth those spots out. Who knew?
Whew! I’m still washing dishes and cabinets this week in response to last week’s Kitchen Organization update.
It’s been a gloriously beautiful week outside here with temperatures above 70 making siding moving closer to finishing.
What’s next in the restoration process? Check back with me each Friday to see!
Ultimately?
Restoring normalcy, cleanliness, beauty and less chaos will be welcomed.
SPRING CLEANING continues here…how is it in your home?
May it be filled with signs of spring inside and out…and if you need more inspiration there, don’t hesitate to read this one before you go.
Happy Friday, friends!


19 Comments
Vickie Ramey
Your “spring cleaning” after renovation is much different from my “spring cleaning”!! I pray you have continued energy as you continue this process to a beautiful home! Can’t wait to see it soon!
Leslie J Watkins
I hope it is in much better shape with a table to have your feet under when you arrive! Can’t wait to have you HOME!!!!
Cindy
Leslie, a great post! My husband is the paint king.
You shared products he doesn’t know about. Thank you for sharing.
I’m so excited for you to be almost ready for feet under your table.
Pinned!
Leslie J Watkins
I am so glad to locate products your paint king husband will love! The work is continuing on the table in the garage that I’ll be sharing about soon…I cannot wait til there are feet under that table!
Cindy Walker
First, thank you for all the painting tips! I can’t wait to share all those tools for an easier painting job. My husband’s “honey-do” list may be reachable?
Leslie J Watkins
You are so welcome! Thanks for joining me here…these new tips and products have been a game changer!
Elizabeth
I HATE PAITING! I am just not good at it. Two years ago I painted the mudroom, I used 1 quart and 1 gallon of paint. I originally purchased a quart and when I went back for the gallon the lady at SW was aghast, she wondered what the heck I was doing. All of that said, these are fabulous tips and I am bookmarking the post just in case I have to paint something.
Leslie J Watkins
Oh, friend! I am not very good at painting either…Gary “lets” me help occasionally! But,I was ecstatic when I found the “mask”, that cute little pail and brush and learned how wonderful that frog tape truly is! Glad you liked the tips!
Martha+Wallace
Wow! Great tips! I had the short pail and brush not none of the other super duper things! Thanks for sharing! Almost complete!
Leslie J Watkins
We located some of the BEST products this time! Enjoy!
Renae
Such great painting tips! The glass mask is amazing. I will definitely have to try that. Hugs to you
Leslie J Watkins
You will love that glass mask. Two coats works better than one!
Marieza
I love this post, Leslie; it’s right up my alley!
These are all fantastic products. I love them all, but I still can’t use a paint sprayer for the life of me!
Leslie J Watkins
I haven’t truly conquered the paint sprayer yet. Spraying the picket fence is on my agenda when warm weather happens!Glad you loved all of the products.
Nancy Beck
My dad taught me to paint and I still enjoy this skill today. During Covid quarantine I painted my kitchen, removed the master bath wallpaper and painted the walls, and stained our porch. I also painted the master bath cabinets navy with an amazing product called Fusion Mineral Paint. Listened to a lot of podcasts during the process. Thanks for all the tips. You did introduce me to some new products. Never too old to learn new things!
Leslie J Watkins
You have been busy! I love fusion mineral paint. I am so glad you found some new products. Continuing to learn is always the best. Your navy cabinets sound gorgeous. I have navy to paint some nightstands for our bedroom…but, can’t quite convince myself I have the right color. Thanks for joining me, Nancy. It makes my heart so very happy to see your comments, here, sweet friend.
Tammy
Not sure how I missed commenting on this post. I remember us talking about it. I have got to try the 3M Hand Masker and that liquid masker. I remember you telling about that liquid masker and how great it worked on the door. It would be wonderful to use on my French doors to paint them.
I have that little pail with the magnet for the paint brush. Love it!
Leslie J Watkins
Isn’t that pail the best?! I think I need to paint more just to use that pail and brush!!
Pingback: