Finding Friday– Easy Steps to Refinish a Table!
Good morning, friends! It’s Friday! We have all made our way to Friday. Yay for all of us! Do you have a piece of furniture that needs a bit of refinishing? Sharing some easy steps to refinish a table today.
If you are new to our fire restoration…you can back up and read our journey so far here, here, and here.
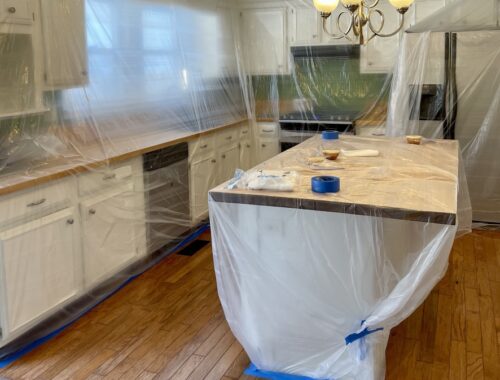
In emptying the dining room for the new ceiling, floor, doors and paint…the dining room table made its way to the garage for storage. That’s where this part of the restoration began.
Easy Steps to Refinish a Table
To begin, you need to evaluate the finish that is currently on your furniture.
In our case, we had been recommended a topcoat finish that was too soft for our dining room table which scratched easily. It was beautiful, but definitely too soft a wood to leave unprotected with that satin finish.
The first realization that we needed to refinish the table came a year ago when that cute bunny planter made his appearance with the austral gem fern in the center. Thinking the planter was waterproof was a huge mistake.
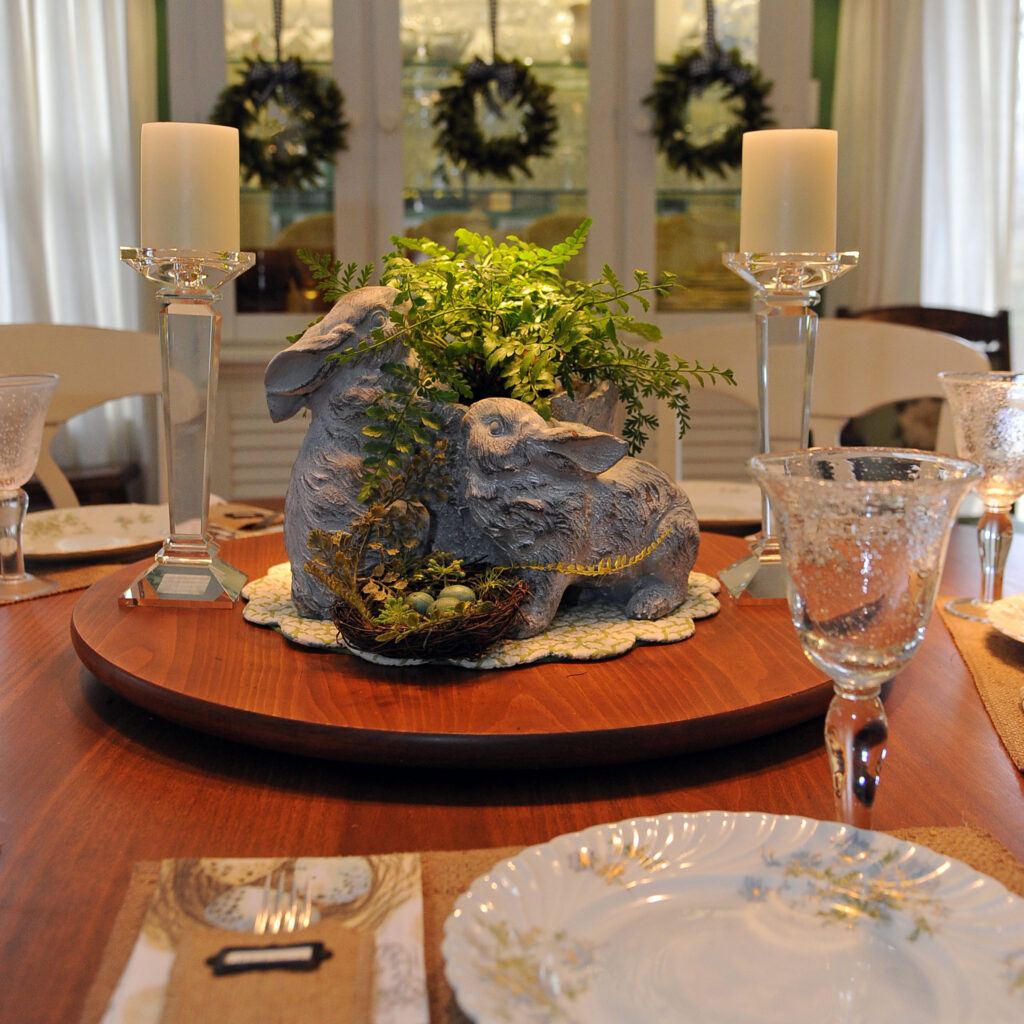
The water seeped under that placemat and raised the grain of the lazy susan. First mistake.
This table was the creation of a woodcrafter in Ohio who did a beautiful job; however, the softness of the wood and lack of protection left it open to scratches with obvious use and wear as we used it.
It was long overdue to refinish the table.
Enter the fire restoration project.
The table was dismantled to get it out the door–it’s a 5 foot round–and then carefully carried to the garage for safekeeping.
As the project inside continued, my husband decided that it was the perfect timing for the top of the table to be refinished…again.
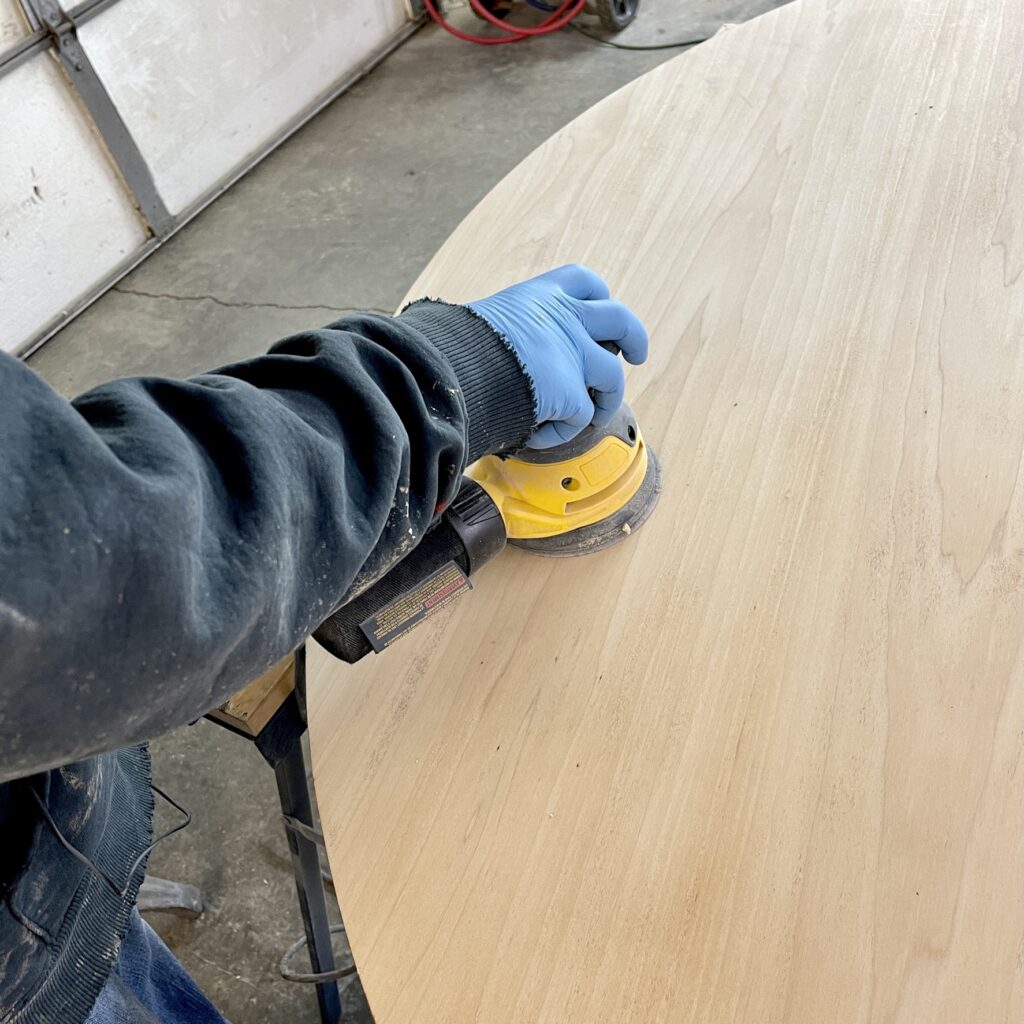
Step 1 in the Refinish Process- Sanding
He dismantled the lazy susan and added both to work horses in the garage.
The first thing he did was sand off the finish with 180 grit sandpaper and his orbital sander…sanding in the direction of the wood until the stain was removed from the table.
If you notice dips in what you are refinishing, pay close attention to those areas.
NOTE: You will want to make sure to protect other items in the area you are sanding because the wood dust will cover everything around the area you are working.
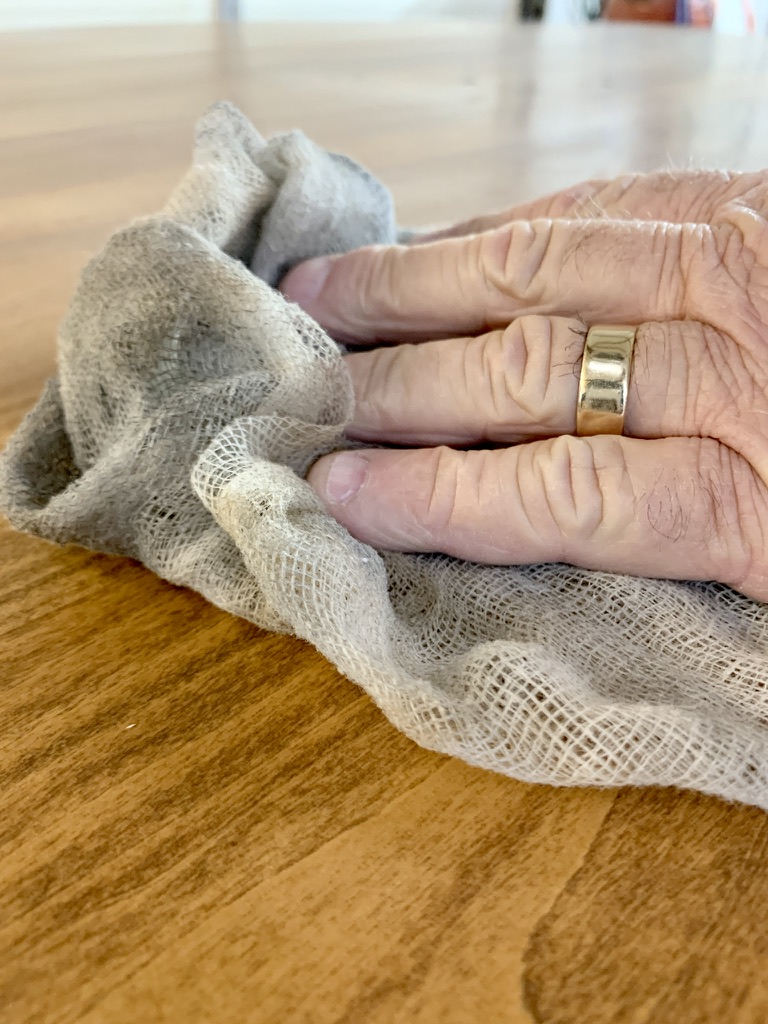
Before you begin staining, wipe down the furniture with a wet cloth OR Minwax Pre-stain wood conditioner that will raise the grain of the wood. Let it dry completely before resanding off the raised grain for a smooth surface.
Step 2 – Add the stain
Make sure that you have wiped clean the furniture with a bit of denatured alcohol on a soft cloth or use a tack cloth to remove any residue before staining.
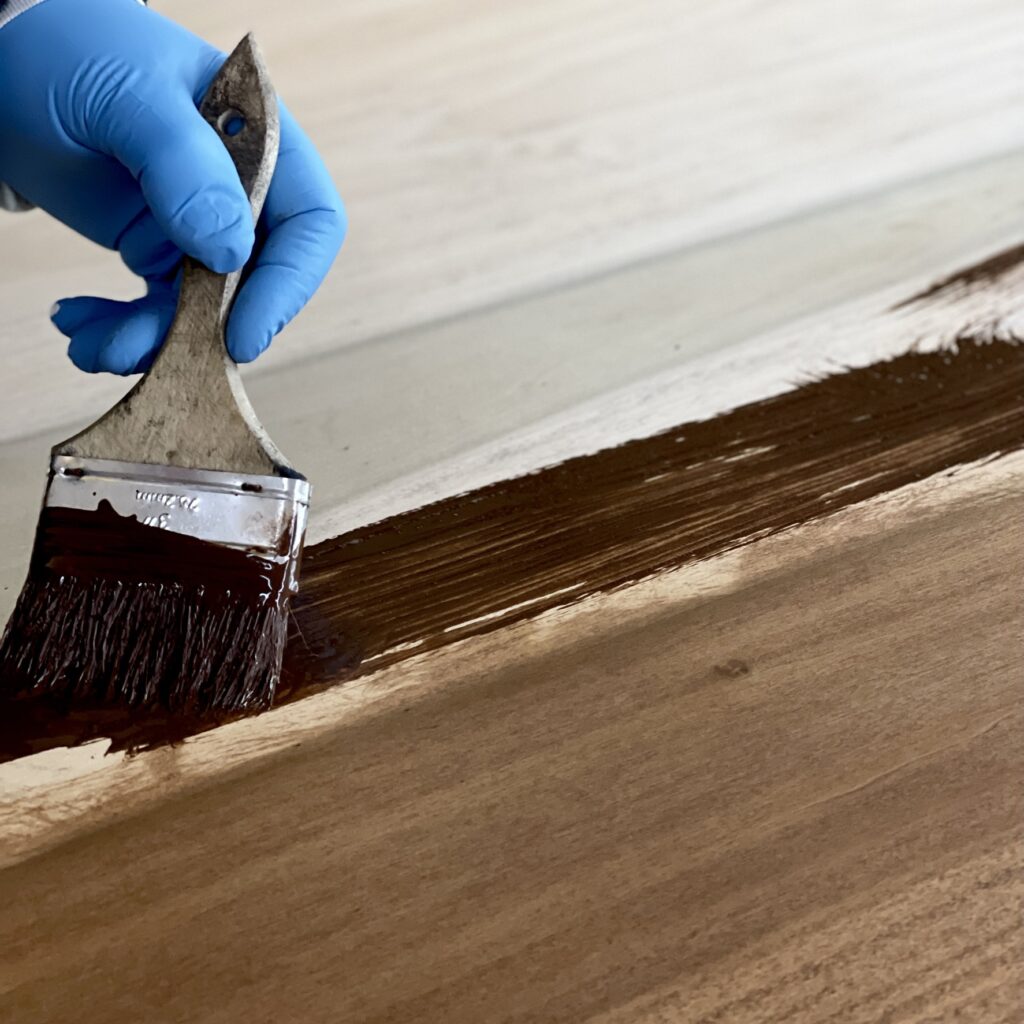
Select the stain color and type that you desire and add to a disposable container. Use a chip brush to wipe onto the furniture with the grain in a small area.
NOTE: gloves are always needed for this project!
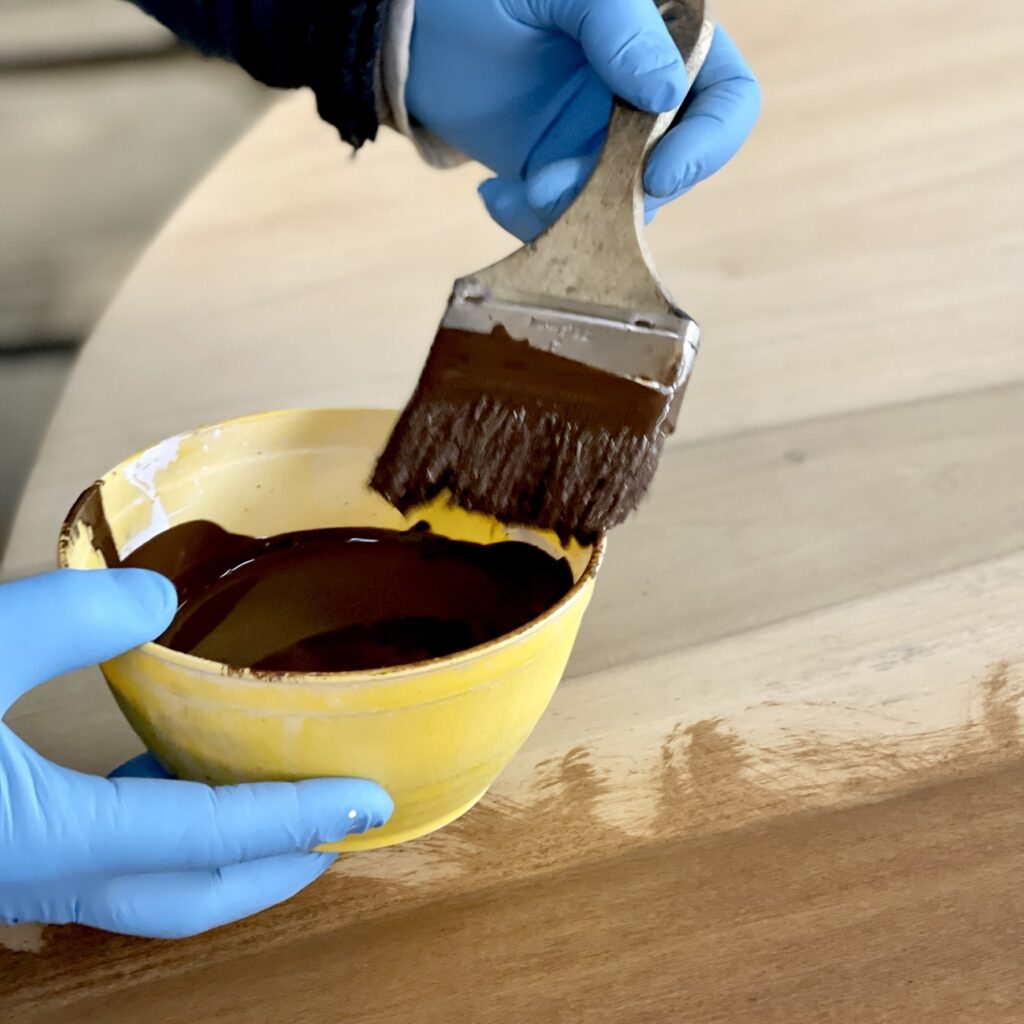
In our case, the stain was added to about half of the table with a chip brush.
Then, we wiped stain off with a soft cloth and repeated with the other half.
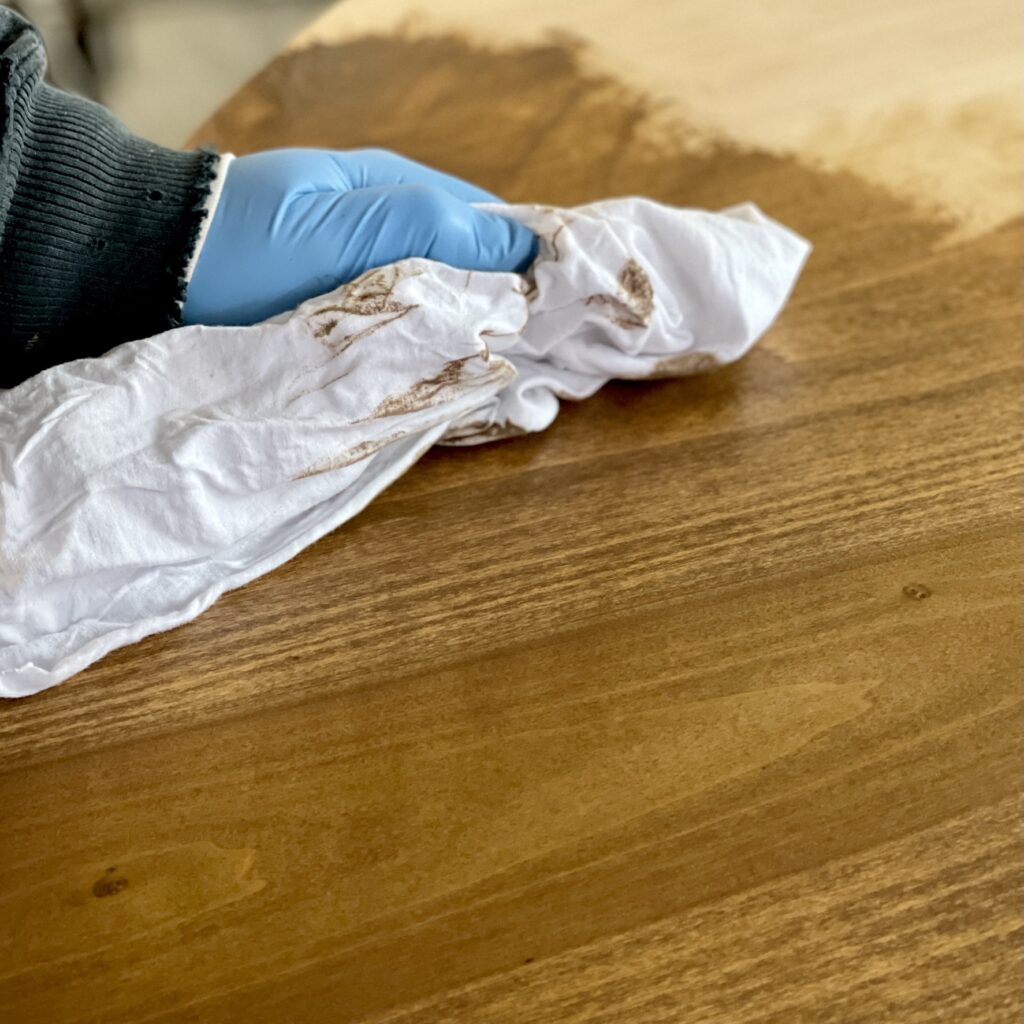
Let it dry over night before applying a top coat.
Step 3- Seal
Because of the softness of the wood, we chose to use a water based polyurethane and spray it on with a DeVILBISS HVLP paint sprayer. If you don’t have a sprayer, use a sponge brush to apply.
TIP: Our method is to lay a tarp under the piece of furniture and add wet towels to the tarp to prevent dust from getting into the polyurethane as it is applied. Those wet towels will attract the dust which helps hugely!
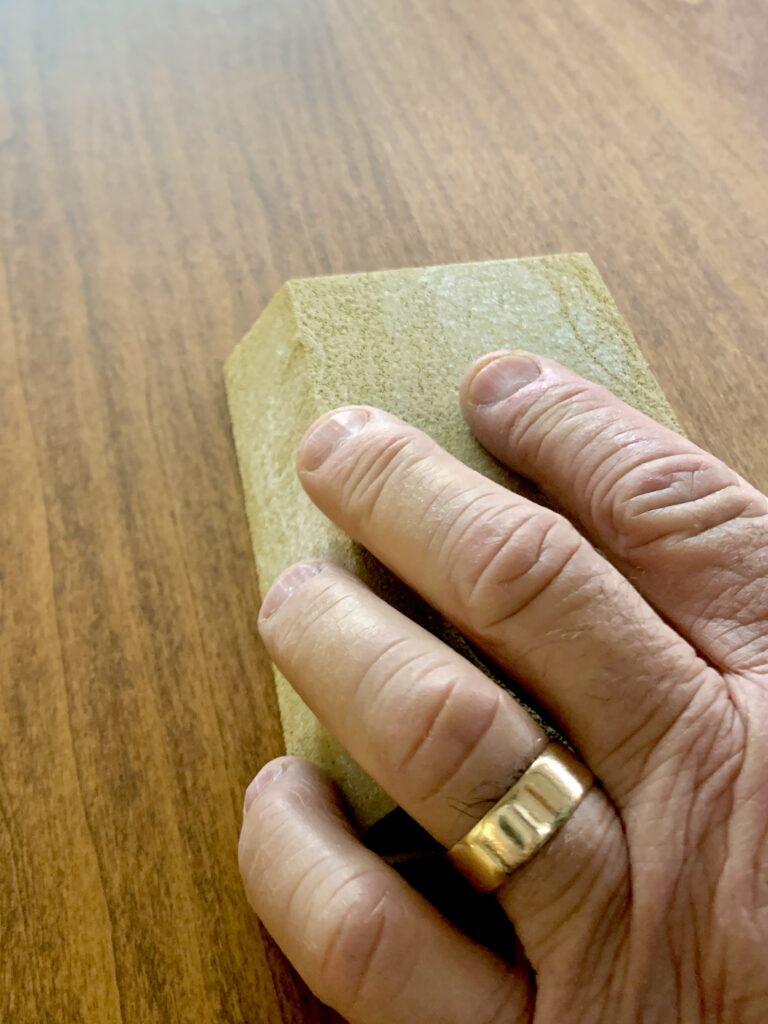
After the polyurethane has dried, use a 3M edge detailing 320 grit sanding sponge to sand the polyurethane in the direction of the grain of the wood after each application.
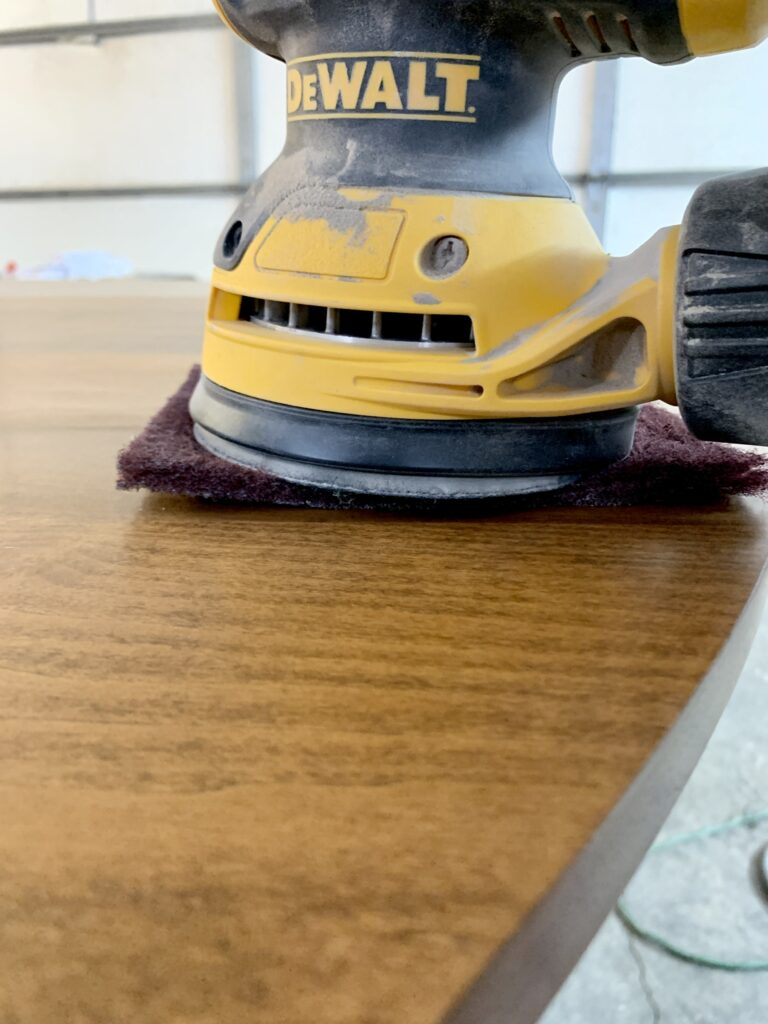
Then use a scuff pad and sand by hand or orbital sander (pro tip: the scuff pad will adhere to the orbital sander for easy scuffing) between each coat. Make sure again you scuff with the grain of the wood.
Between each coat, make sure that you wipe the surface clean with a lightly damp cloth to wipe off residue followed with a tack cloth to reduce the dust.
Depending on the need for protection or your desired look, it’s recommended to add 3 to 5 coats of polyurethane of your choice.
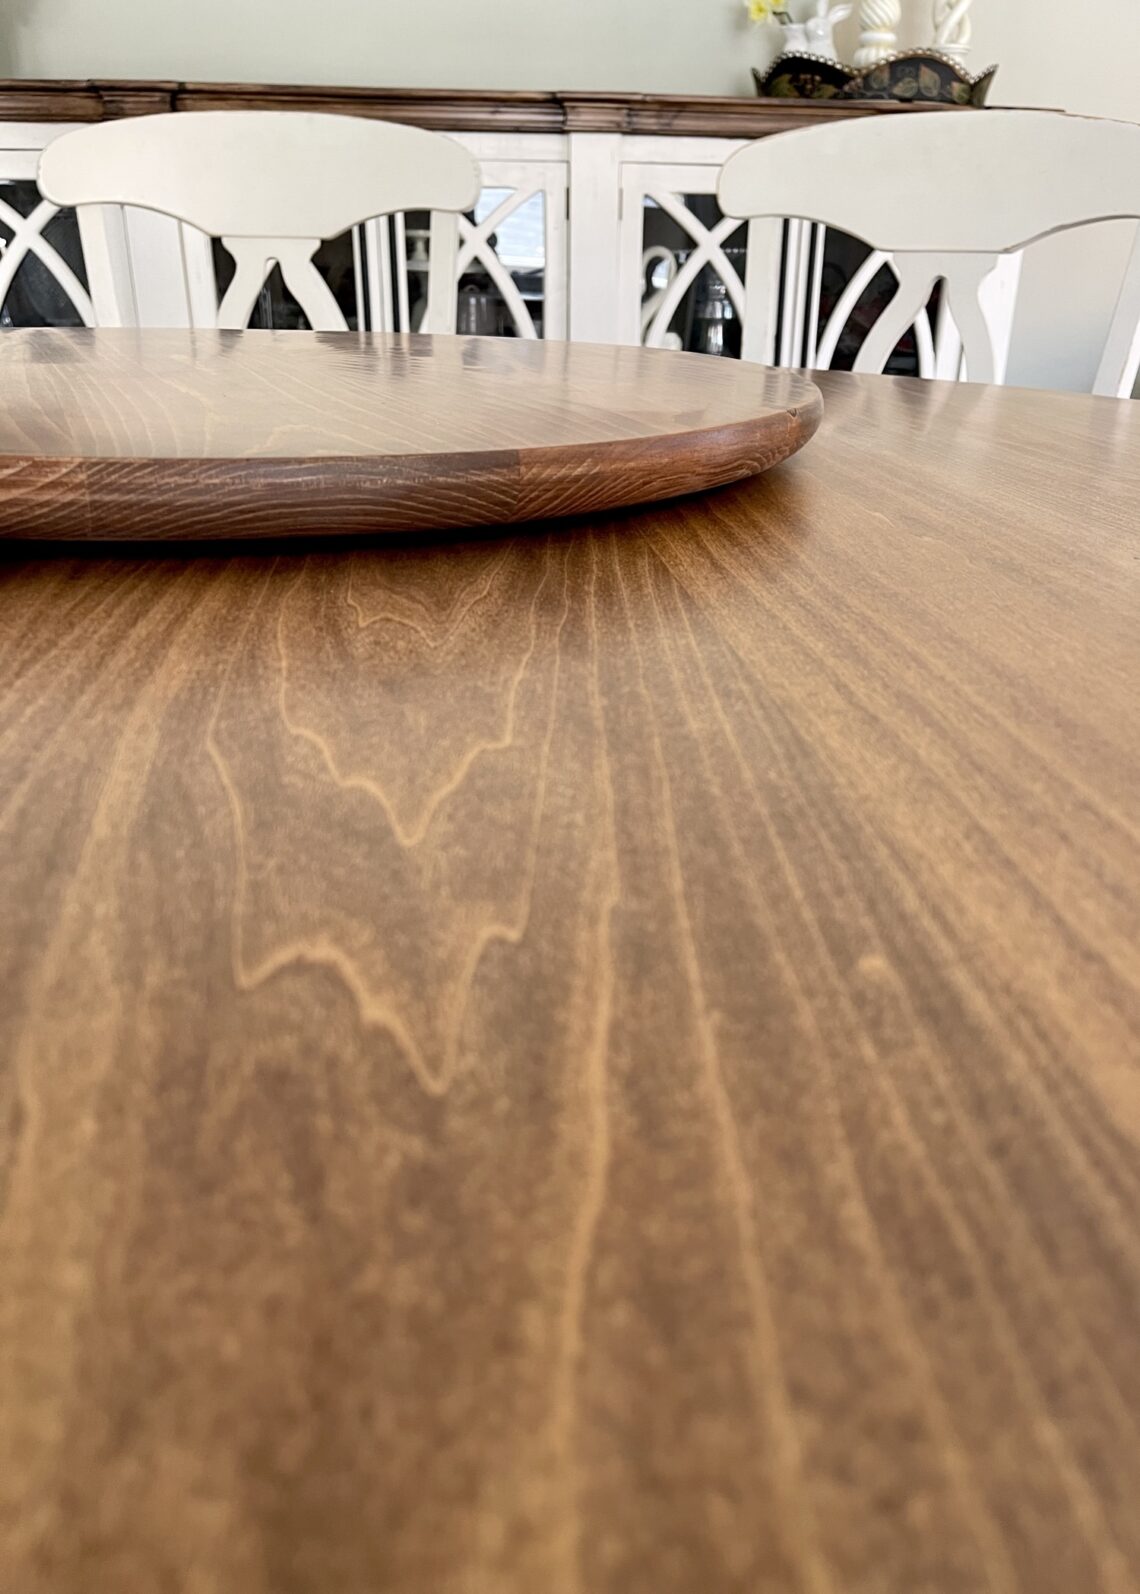
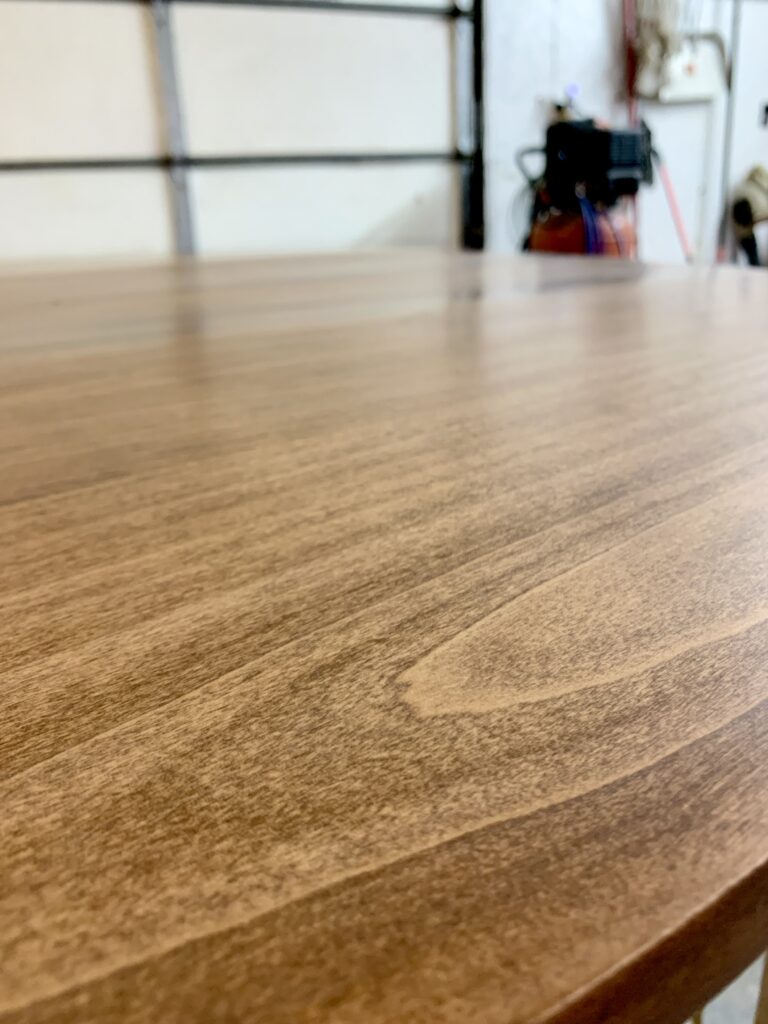
Refinishing the table is now complete!
Although this takes time between coats, it’s truly easy and rewarding when you get these results.
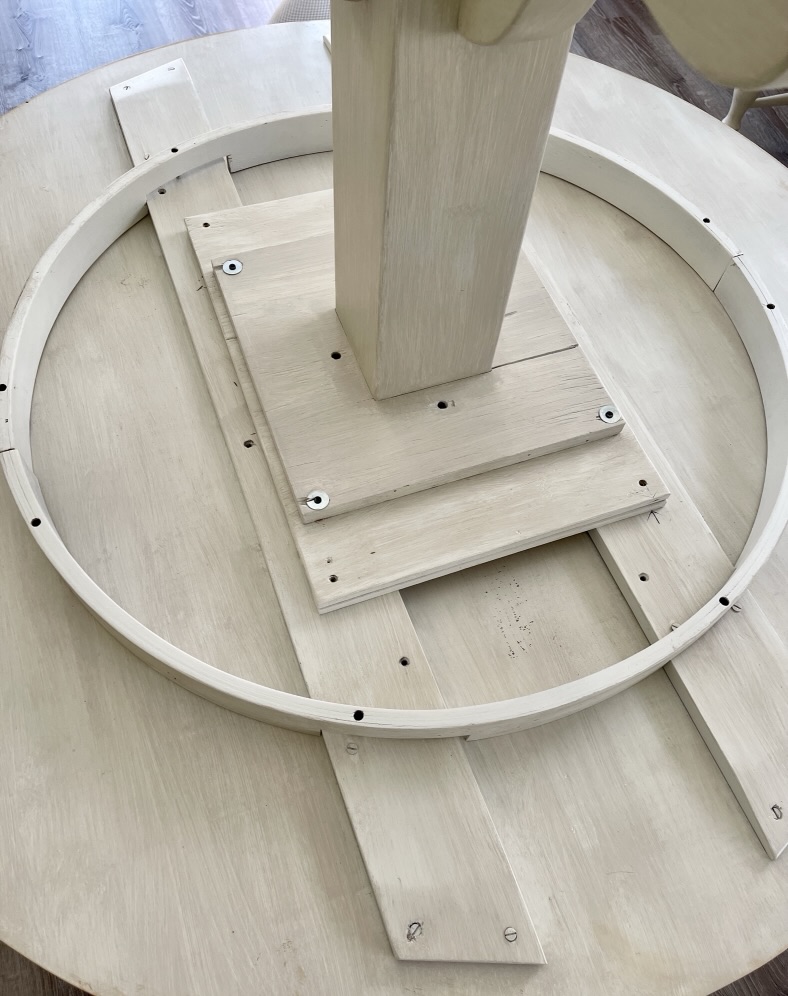
Originally in the first refinish process, the base that had four legs that didn’t allow for full use of the table. It was replaced with a pedestal from another table.
The pedestal was painted and wiped with a darker paint color to give it an “antiqued” look. I love it.
Once the table top and lazy susan were refinished, both were attached together. They were then brought back to the dining room and attached to the pedestal.
The steps to refinish the table are complete.

Ready for more feet under that table! and just in the nick of time for a brunch gathering with family.
Here are a few of the products that we used to refinish the table.

And the rest of the restoration project?
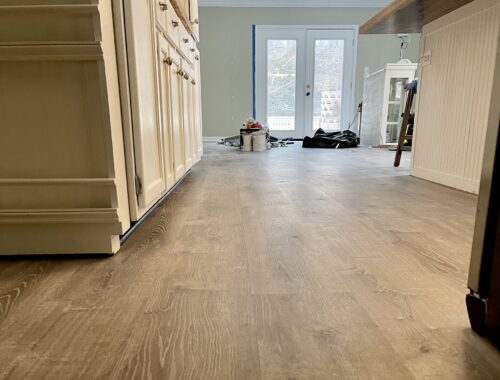
We are in week 10 of the siding. This week continued with the second story of the house being wrapped in tyvek and siding. Rain, and snow forecast for today, has hampered progress this week.
Next week we hope to have the electrician in to rehang all of the lighting fixtures inside and out.
Stay tuned for the next few Fridays for progress and the dining room reveal!
So thankful you are sharing a bit of your Friday with me. Always grateful for traveling this journey with you.
Happy Weekend, friends!


16 Comments
Vickie Ramey
Can’t wait to see the dining room complete! Great job, Gary!
Leslie J Watkins
He did sooooo good with this one! Wait til your feet are under this table. You will love the finish.
Renae
Your table is gorgeous! I love the lazy Susan on it. Happy Friday!
Leslie J Watkins
Thank you! We love that lazy Susan, too. He did an amazing job with this one. So silky and satiny to the touch!
Martha+Wallace
Go, Gary, go! You always do the very best job when it comes to painting, staining, & varnishing! All those years at Funland gave you the expertise you now have! Looks great! Almost done guys!
Leslie J Watkins
He did sooooo good! Wait til you feel the finish on this one. All of his expertise really paid off!
Cindy Walker
A beautiful job well done! APPLAUSE
Leslie J Watkins
Thank you! It is so silky smooth and now more durable! So pleased with the results.
Dee
It’s so beautiful! The finish looks amazing, love the smoothness, and color. Having a lazy susan must be a blessing. I know anyone who sits at your table would be so blessed.
Leslie J Watkins
Thank you, Dee. That finish is so satiny that I am in love with it. A lazy susan has been a part of our tables for many years. There’s just something about serving and decorating with one that I love. Happy weekend, friend! Snow is beginning to make its appearance here.
Cindy
Love it Leslie and the lazy Susan is great to have.
I can’t wait to see all the updates!
Leslie J Watkins
We have always loved a lazy Susan and that’s what drew us to buy this one. Still working on those updates…daily!
Elizabeth
Leslie, your table looks beautiful! I cannot wait until you have your fisrt gathering. Have a wonderful weekend and stay warm.
Leslie J Watkins
Thank you, Elizabeth. That first gathering will truly be a celebration! We are planning a celebration gathering with our contractor and his wife when job is finished!
Tammy
Leslie, the table turned out amazing. I love the finish on the top of it. Beautiful!
Leslie J Watkins
Thanks so much, Tammy! He did an incredible job on that finish. So satiny to the touch!