Easiest DIY IKEA Mirror Hack
I had an AHA moment the other day and realized that I don’t think I shared my DIY IKEA Mirror Hack with you when we did the last bathroom remodel for the One Room Challenge. This has been a life changing creation by my husband that I suddenly realized you might need, too.
Do you love IKEA as much as I do? Several years ago I found a mirror that I thought I needed in between my closet doors from IKEA. I had two mirrors that I had purchased…one for the bedroom and a second for the little bathroom.
The larger sat propped up between the doors and was always used. The smaller awaited addition to the first bathroom we completely redid. You can find that remodel here.
When we began the bathroom remodel for our primary bathroom, my husband came up with a genius idea. It always takes me awhile to match his exuberance for new ideas. But, here was his proposal.
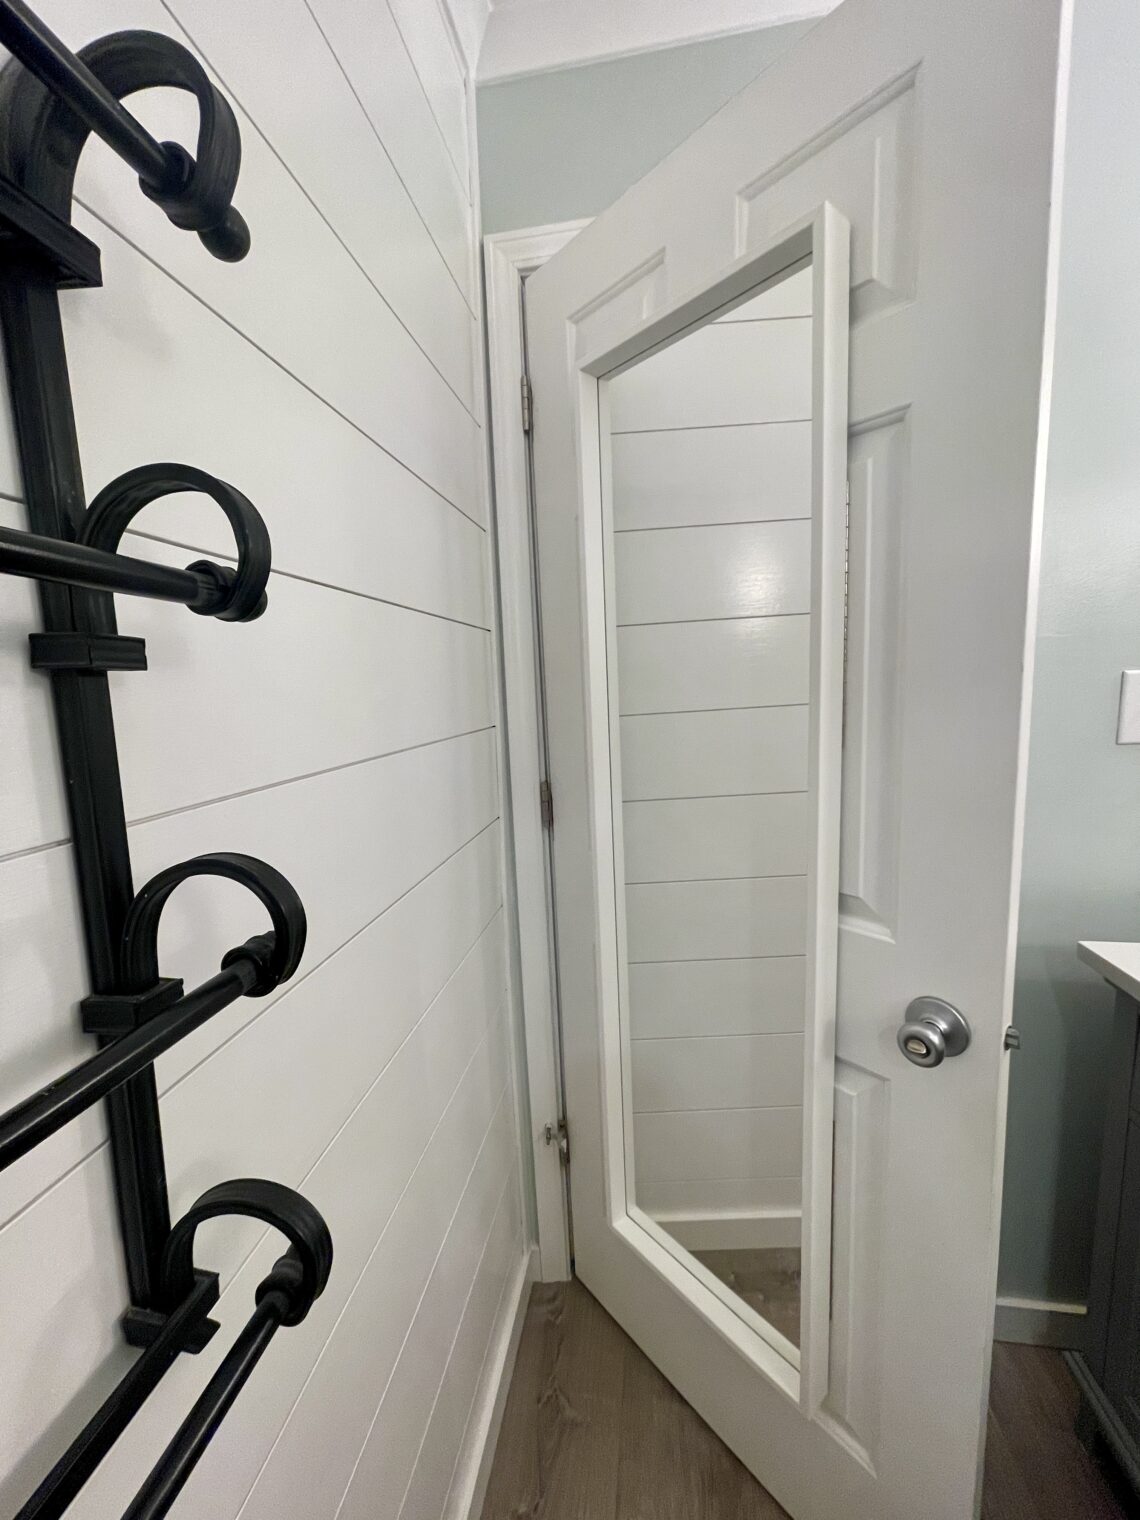
Piano hinges added to hold the larger IKEA mirror on the back of the primary bathroom door.
Now why was this IKEA mirror hack genius, you ask?
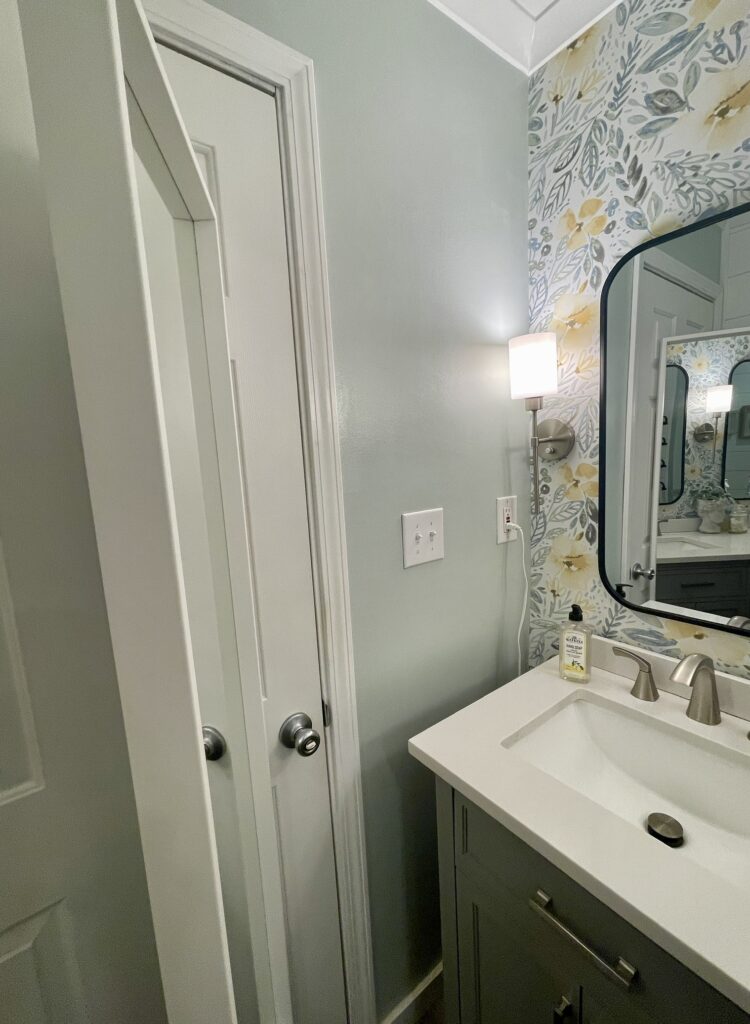
Well, that piano hinge added to hold the mirror on one side allows the mirror to turn out and be positioned where I can see the back and sides of my hair in the mirror.
I can’t tell you how life changing this is!
Here’s how he did it…
DIY IKEA Mirror Hack
Equipment
- 1 Drill driver
- 1 Level
- 1 measuring tape
- 1 pencil to mark placement
Materials
- 2 Piano Hinges- 12"
- 1 IKEA Mirror we used 16" by 59"
- 1 piece Velcro dot or square, white
Instructions
- Center your IKEA mirror on the back of your door, marking top and bottom so that the mirror gives reflection for the tallest person in your family to use.
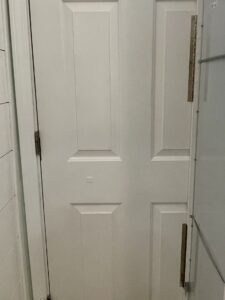
- Add your piano hinges top and bottom to one edge of your mirror that allows it to swing out and hinges the correct direction.
- Using your drill driver, add the piano hinge screws to the mirror–following the marked locations for top and bottom.
- Position the IKEA mirror with piano hinge attached to the correct position on the door so that it will swing the right direction.
- TIP: We used a plastic tub under the bottom of the mirror to help hold the mirror while we attached the hinges to the door.
- Using your drill driver, screw the other side of the piano hinge to the door side, making sure that you use a level when hanging.

- Finish off the project by adding velcro to the edge of the mirror and the door so that the mirror is held to the door when not in use.
Notes
DIY IKEA MIRROR Hack equipment
Here’s the IKEA mirror we selected.
Just click on links below to find items similar to what we used for this project.

As an Amazon, Walmart and LTK affiliate, at times I may provide affiliate links to products that may offer an easier way to find products that I mention or use. Same price for you, but beneficial to this blog and at times, may offer compensation if you use them to shop. See my disclosure policy here.
Why is this the BEST IKEA Mirror Hack???
Well, when you have a small bathroom, it gives another view for personal care that can be the BEST ever.
I am so thankful that my husband suggested this. His ingenuity and creativity always astound and benefit our lives.
Just like the spice rack that I had no clue I needed OR the plate rack in my kitchen.
His ideas are so wonderful that I had to share this one with all of you.
Hope he has solved another issue for you, too, that you didn’t have a clue you needed fixing!
Happy DIYing, friends!


5 Comments
Cindy Walker
Applause for your husband! I bet you didn’t know you needed this great idea?!?
Leslie J Watkins
I know, right?!! He hit this one out of the park!
Vickie Ramey
Wow! I didn’t see that when I was home! Great idea, Gary!
Leslie J Watkins
Didn’t he do good? It can swing out to where I need to view sides or back of my hair…or lay flat against the door. Genius!
Pingback: