
Add Beauty to the Garden– Zinnias Planting Time!
It’s Zinnias planting time! Spring is here! Just in time for Earth Day celebrating and adding beauty to the garden.
That wonderful group of blogging friends selected an Earth Day project to be shared today. If you have joined from Olivia’s post with that great wooden hairpin leg table, welcome! She has inspired me to make those for our fire pit…and perhaps for plant stands on the deck…or even gifts! Gorgeous!
Do you remember when I shared with you my zinnias last summer? or the harvesting of those zinnias for next spring? As, I shared in that post, I had a friend who gifted me the first seeds and helped to guide me in how to plant them in the spring.
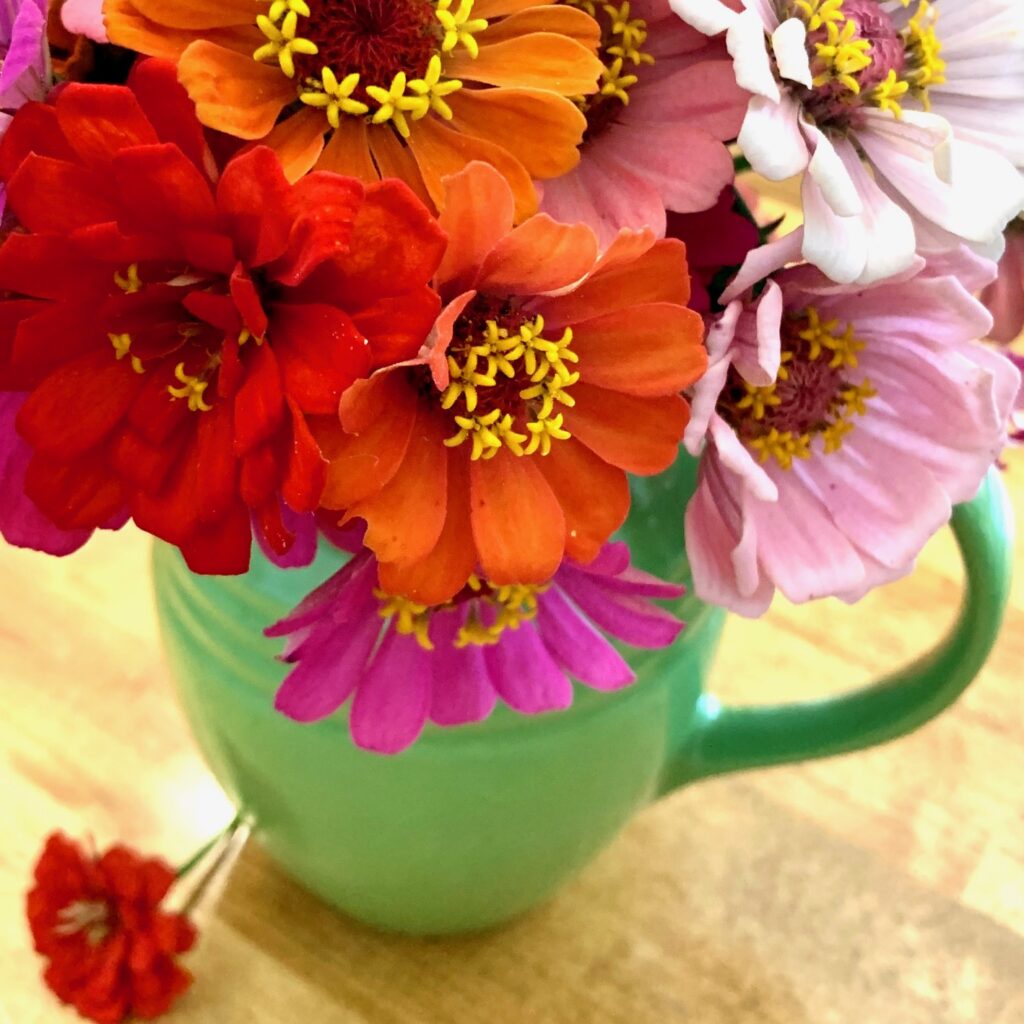
Now, these seeds are of a variety that grow large in height–3-5′ which will require a support system as they grow so that a wind won’t lay them down–past lesson learned! This variety is also varied in the type of mixture of blooms and colors. Each one is unique and has it’s own personality which make for beautiful bouquets when gathered.
I’m all in for that!
Guess what?!! Today, the weather is perfect…most freeze warnings will be past when they begin to sprout…so, I prepared those seeds and removed them from their stems and gathered my supplies to begin planting.
Perfect timing to plant those zinnias seeds!
How easy was that? Zinnias with a little help from friends!
Here’s my method for planting:
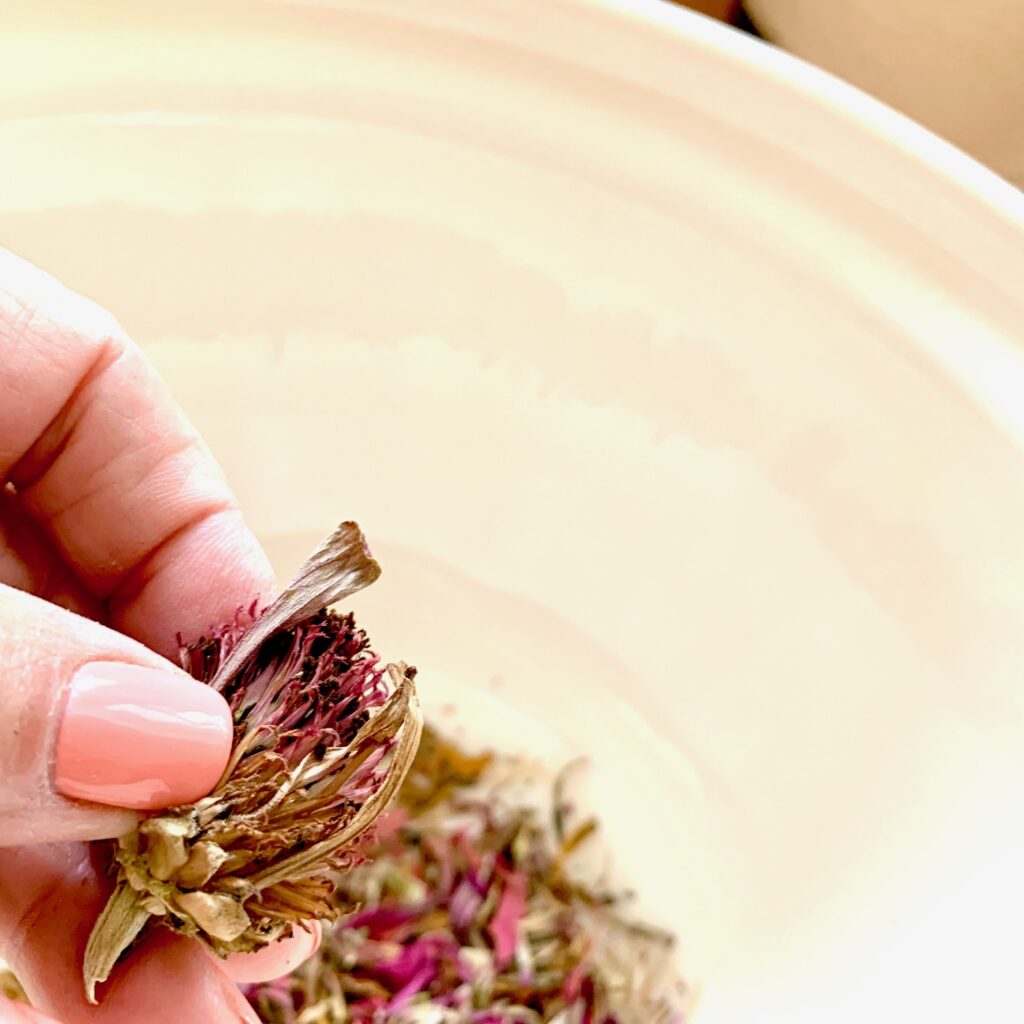
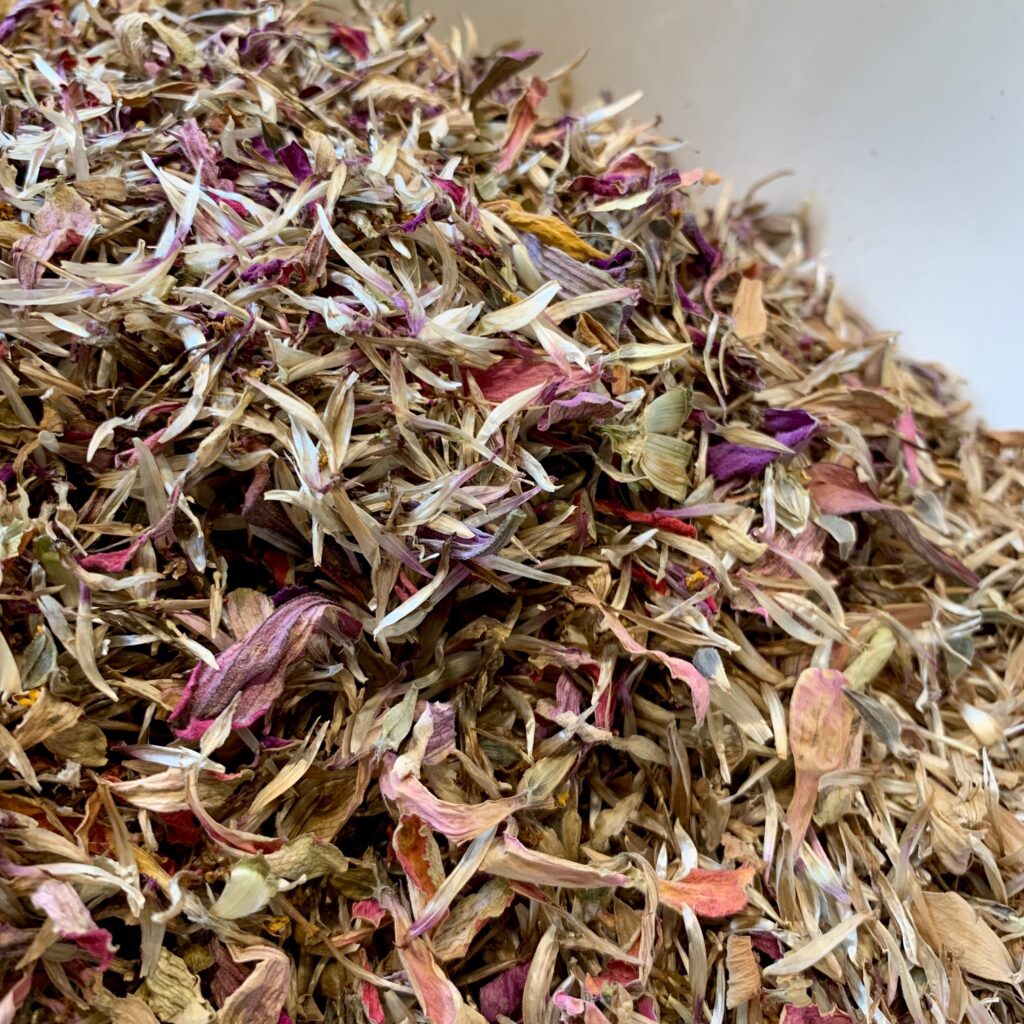
- Last fall I dried those zinnias in paper bags and left them whole so that I could see the colors to make certain that as I took those pods apart, I was adding a great mixture of color that gave me the rainbow of zinnias I was after.
- Once dried, I put them into a ziploc bag and labeled them with the name and date of harvesting.
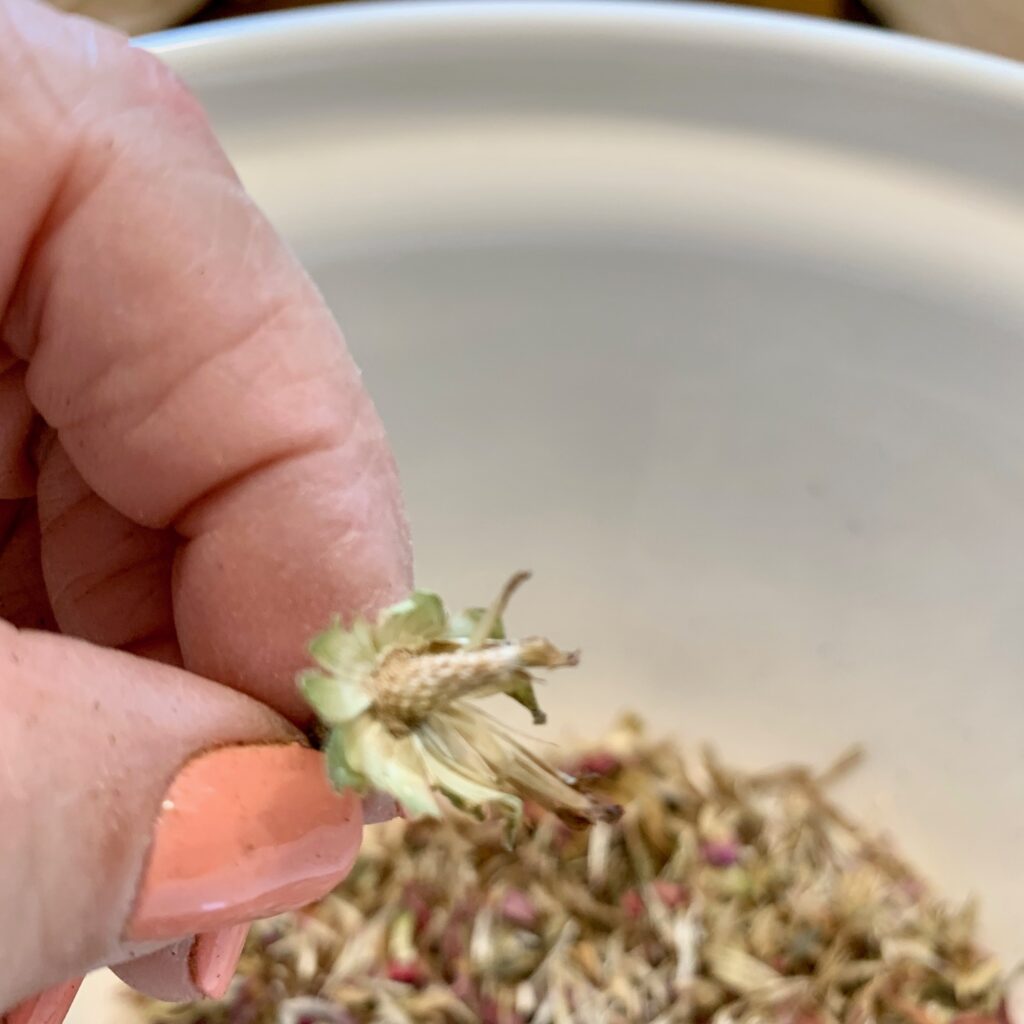
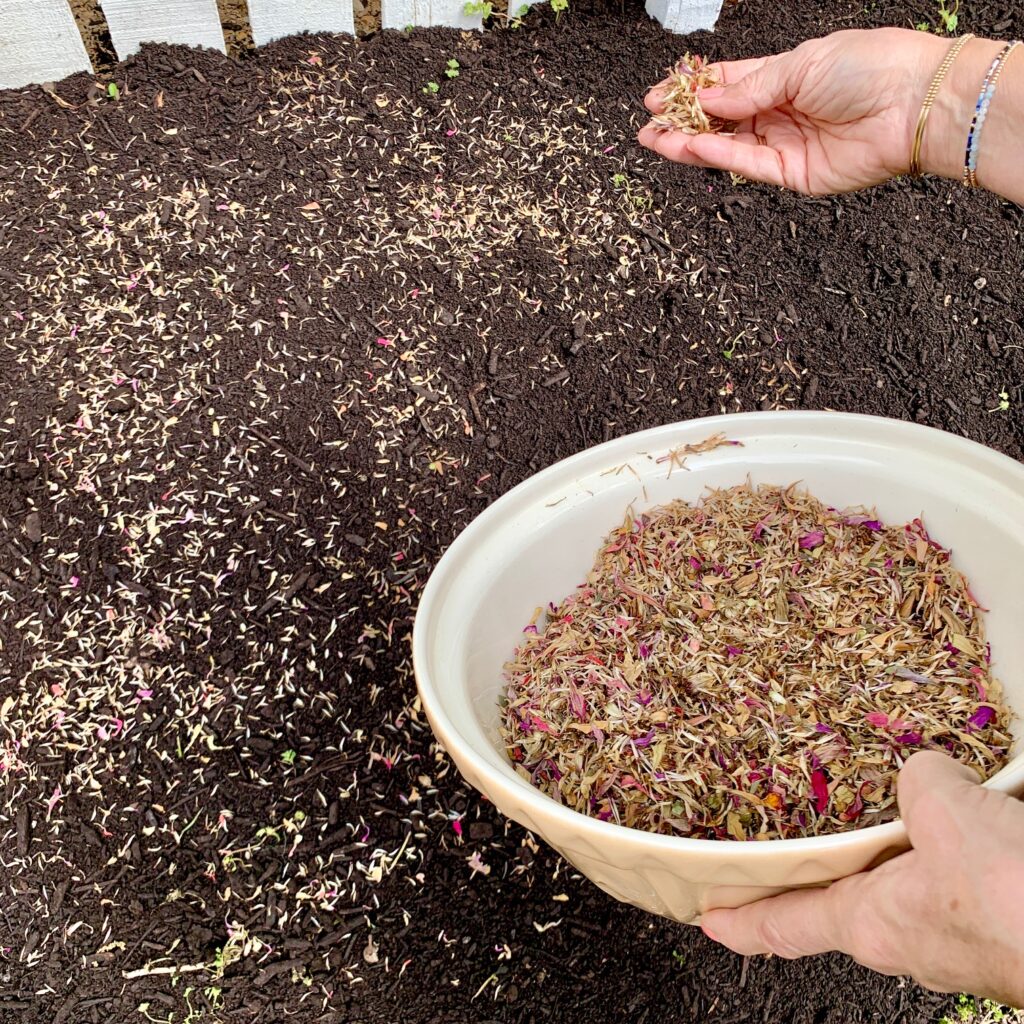
- When ready for planting, those seeds were removed from the stems, stems discarded and then mixed together to help create that mixture of color I was after.
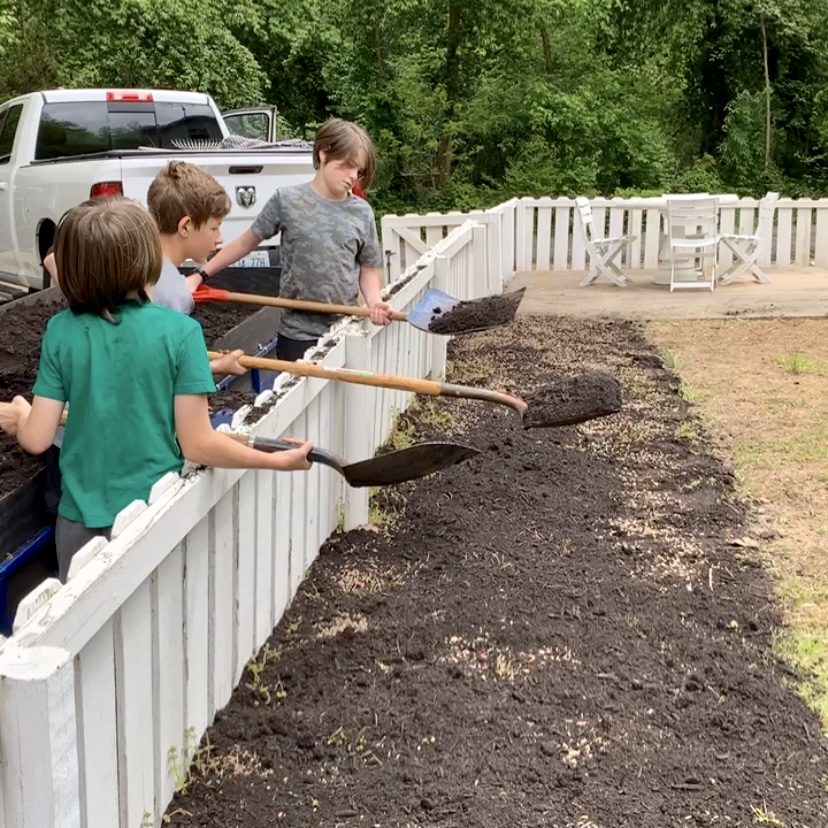
- Do you remember that great group who were spreading mulch and compost before? Well, they were back to help me with this project. Extra cash for them! Less back ache work for me! Win, win for all of us!
- They took that great fine compost from our local composting site, and spread about 1/2″ over the bed to prepare for planting.
- The next step was to sprinkle those seeds generously across that layer of compost.
- Then covering those seeds with another 1/2″ of compost happened.
- We watered in and the planting was done.
- Watering happens each day for the first two weeks to make certain that those seeds germinate and sprout into those lovely flowers.
- It is important to note that even though zinnias are annuals, there are usually some random zinnias that come back each year from the seeds left behind in the spot where they were planted; but, I still add new seeds to make sure that they are full and have the effect that I want.
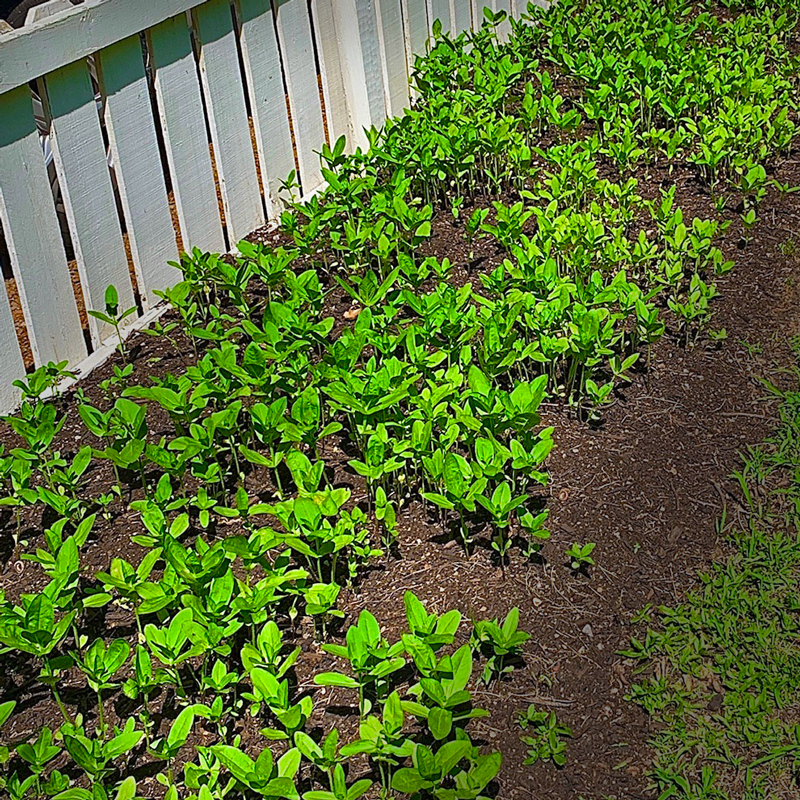
This was last year’s results after ten days following planting. Isn’t that amazing?
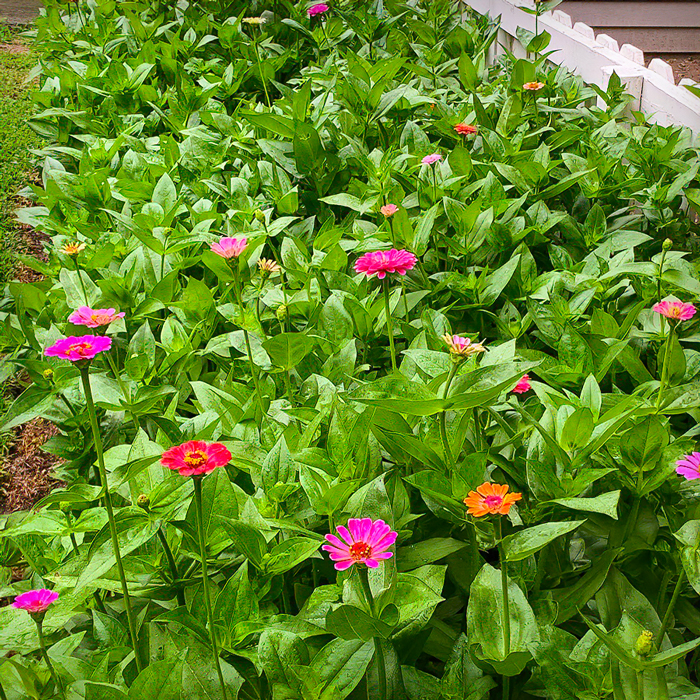
And a few more weeks…what a difference!
Zinnias FACTS:
- Zinnias are deer resistant! Yay for this deer happy location!
- Add zinnias to a sunny location. They love full sun!
- Planting zinnia seeds is preferred over planting plants. Evidently research supports this.
- Plant after there is a great risk of frost or cover if frost is likely after they have sprouted.
- As they grow, you may need to thin them out to make certain that they have good air circulation.
- Maintain moderate moisture levels. We have learned that the leaves may get powdery mildew if watered from the top. We often lay down soaker hoses to water and help prevent that.
- Thinning zinnias after they are about 3″ tall also helps with air circulation and to prevent mildew issues.
- Because our variety is of the tall version that I was gifted, I will add supports as they grow to prevent them laying down. Once that happens…it’s pretty impossible to get them to stand back up again.
- We have found that groundhogs love to munch on these and take them down…so sprinkling around them with Repels-All helps keep those furry friends at bay a little better.
- Deadheading zinnias is important to keep them blooming. But then, I help with that by gathering lots for bouquets and arrangements!
- It’s said that zinnias are a reminder of absent friends. That perfectly describes the giver of mine…and that mine have been shared with friends from California to South Carolina and places in between.
These zinnias make my heart happy.
As they grow and add beauty to the outside.
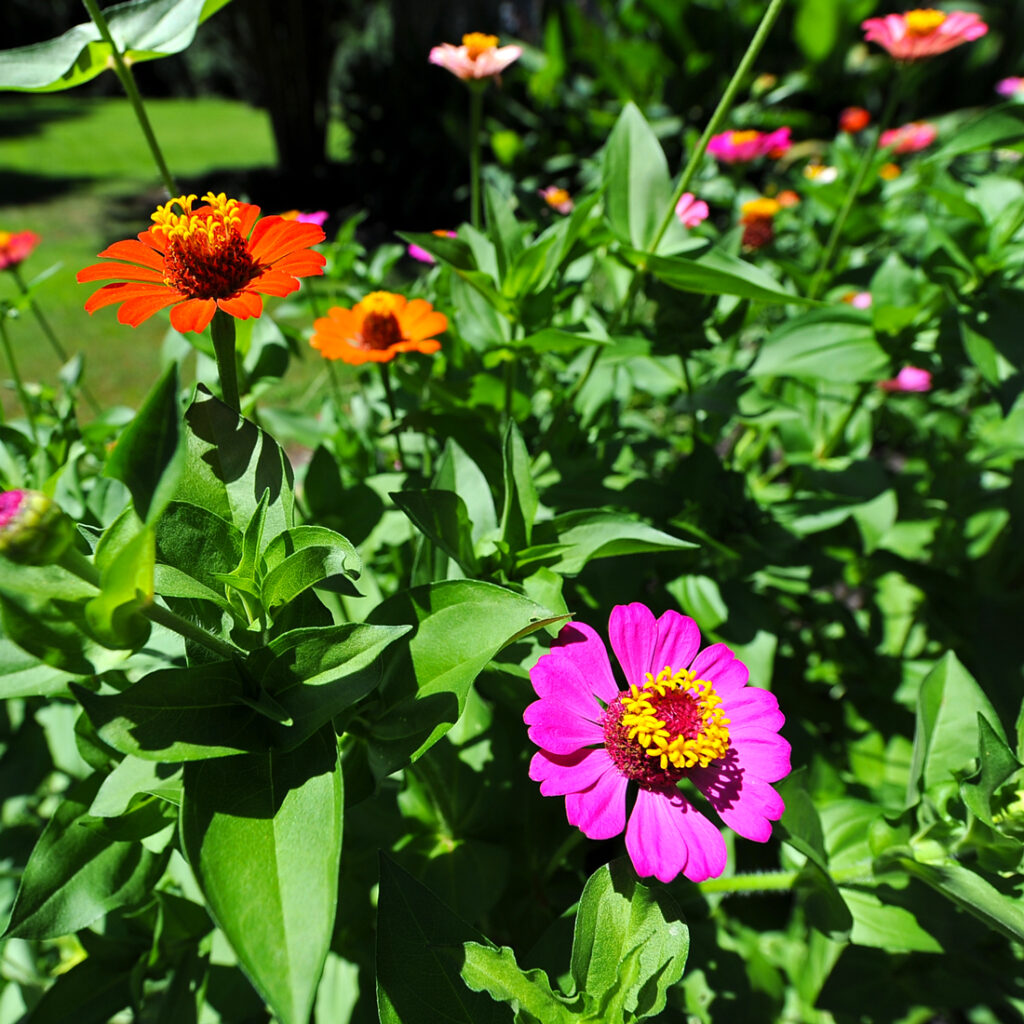
…and the inside with sweet bouquets and arrangements.
Mine may need to be covered in the next few weeks if we have frost warnings forecast. Since they are frost sensitive, you want to wait until it’s frost free in your world to plant them.
Someone asked if that entire length of that fence was zinnias…YES!
I love that the height of these and the fullness create a “field” the length of that fence. It allows me to see the expanse of wooded areas behind and yet, creates a beautiful view from the deck, patio, porch or kitchen window.
It also provides a huge expanse of flowers to bring indoors for arrangements or gift “happy” bouquets to friends.
Each year I wrestle with the consideration of planting knockout roses (deer buffet) or crepe myrtles or azaleas along that fence line to add interest the rest of the year when things are not blooming.
It’s then I look back at the photos of that rainbow of beautiful color and different varieties and uniqueness of each bloom, and am content with just zinnias there, friends.
And for Earth Day, the recycling of those original seeds from a friend is a reminder of him each and every year. His teaching me to harvest them and reproduce their beauty for the world.
Isn’t that what we should do? Even if you begin with the zinnia seeds in a packet–don’t forget to harvest those seeds from the flowers they produce. Save them for new planting. Share the bouquets and seeds with others. Enjoy the garden!
Share the love. We all would be better if we did that.
Happy Earth Day! Celebrate life in all of it’s beauty!
Join all of my friends who are sharing Earth Day ideas! Visit and enjoy their creations and celebrations!
My friend, Kippi, of Kippi at Home, is the creator of this blog sharing group. She always has amazing things to share and today doesn’t disappoint! I have never even heard of wax flowers! Have you? She shares all about propagation of these flowers and I am going to try out her method with a few of my plants here.

Kippi at Home // Zucchini Sisters // Peacock Ridge Farm // Cloches & Lavender
🌳 🌳 🌳 🌳 🌳 🌳

Darling & Dapper Life // Olivia O’Hern // Feet Under My Table


57 Comments
Vickie Ramey
There are several houses in our neighborhood which host zinnias in their yards. As I go by I always think of you! Those seeds you gave me for our Kentucky home never got the beauty of yours. But I didn’t have those wonderful workers helping me!
Leslie J Watkins
I can ALWAYS give you more seeds for that new home!! Don’t think I’ll haul those workers down though! Ha! Aren’t they the cutest?
Martha Wallace
Your zinnias are always so beautiful!
Leslie J Watkins
Thank you, Martha! Going to work on making sure that winds don’t take them down this year when they get taller!
Leslie J Watkins
Thank you, friend! They have become a true favorite!
Pingback:
Pingback:
Dee
This brought tears to my eyes, what a great post! As you know, I love zinnias, and I love your zinnias, and can’t wait till mine are blooming! Excellent post!
Leslie J Watkins
I can’t wait, Dee, to see how my seeds do in your climate! Please send photos when they bloom! Just a note I forgot to share in this post…they attract butterflies and hummingbirds so that is a huge benefit of those sweet flowers! More joy for all! Happy weekend, friend!
Pingback:
Tammy
Leslie, I will have to save the seeds. Oh I want to do this next year to have a large bed of them.
Leslie J Watkins
Tammy- It’s not too late to start for this year! Order seeds and then harvest from this year’s crop for next year. I can’t imagine my garden without them. The hummingbirds and butterflies love them! Happy gardening, sweet friend!
Maria
I am so glad to see this post! I am planting zinnias for the first time ever this year. I started the new seeds inside and can’t wait to be able to plant them outside. I had no idea I could dry and re-use the seeds so thank you!!!!
Hopefully I can have a beautiful zinnia garden too:)
Leslie J Watkins
Maria- interesting that research says to plant the seeds directly is better than from starting and planting plants and much easier! I can’t wait to hear how yours worked out beginning them inside. I have never done that! and yes! When my bouquets begin to look “less than” the best, I snip those blooms, lay them to dry in a glass tray and then add them to the paper bags so that they dry completely. I love that the sweet gift given to me just keeps on giving! The hummingbirds and butterflies will be all over your garden, too, which I LOVE! Happy Gardening!
Pingback:
Carol Karl
I planted Zinnias for the first time last summer and none of the seeds germinated. I’ll be pinning this and using your tips for mine next summer. Thanks for sharing.
Leslie J Watkins
Carol, in my research, it said that zinnias do better just planting the seeds; so, I don’t spray with water to germinate or plant in seed pods for plants to transplant because of that. I think that my seeds love our local compost so much and keeping them watered the first two weeks after planting is key. I hope that you will have good luck with them in the future. I have tried to buy seeds and some have not given me the best results. I am thankful these were gifted to me. Happy gardening, friend!
Jennifer Williams
Zinnias are such statement makers. I bet it is amazing when they are all blooming at the same time.
Leslie J Watkins
Goodness, yes! One of benefits I forgot to share is that they make my hummingbirds and butterflies sooooo happy!
Renae
Ooh, I love zinnias! Your garden is going to be amazing!
Hugs to you.
Leslie J Watkins
Thank you, Renae! They are a favorite. We have zinnia farms close to us where you can pick; but, I love this long stretch along the fence to add color and plenty for bouquets and floral arrangements. They make me so happy to view and to use! Happy Weekend, friend!
Jen
I love Zinnias! I had no idea how to harvest and plant them. Now I do! Yours are beautiful!
Leslie J Watkins
Thank you, Jen! I know! I have only been harvesting them for a few years; but, it’s so easy to do. After a bouquet is looking sad, I clip off the blooms, lay them in a dish to dry and then add them to the paper bag to stay dry until I separate them for the seeds. I have always separated the seeds in the fall so they were ready in the spring. This year, I simply left the color petals on them so that as I pulled them out of the bag for planting, I could see a balance of color. I almost felt that they were becoming all one color in an area and I wanted to prevent that this year. Hope it works!
Paula@SweetPea
Zinnias are one of my favorite summer flowers. You have motivated me to get some Zinnia seeds the next time I’m out and about.
Leslie J Watkins
Paula- they are the easiest for me to grow and the field of them and the bouquets made brighten my world!
Olivia O'Hern
Your zinnias are absolutely gorgeous! Now I feel like I need to add some in my yard. Thanks for sharing.
Leslie J Watkins
Thank you, Olivia! I am in LOVE with your table! and your video was AMAZING! I have always handed the power tools over to my husband…but, you have inspired me to tip my toes into that world of creation! I see your table in my future!
Rebecca
Leslie, I’ve wanted to plant a cutting garden for some time, but wasn’t sure how to do it. I love zinnias and didn’t realize they are so easy to plant from seed. Thanks so much for sharing these great instructions. You’ve inspired me to make my cutting garden a reality this year! It was fun hopping with you, too 🙂
Leslie J Watkins
They are the easiest to plant for sure! I’ll be looking for a new way to support them as they grow above that fence this year so that they are protected from wind. Happy planting, friend! Can’t wait to see how your cutting garden grows!
Jayne
I know you told me to plant Zinnias when I was looking for advice on seeds to sow but I didn’t get around to buying the seeds. Now I’m regretting that. After seeing how easy they are to grow, I might have to take a trip to the garden centre soon. I’ll be sure to sow them after May 15th – after that we shoulder get any more frost here in southern Germany!
Leslie J Watkins
Oh, friend! Southern Germany! I’d love to visit and see all of your gorgeous flowers there! Get those seeds! Plant and enjoy them and then harvest them for next year. The easiest planting of all of my cutting garden! I can’t wait to see your stunning photos of them…happy gardening!
Marie
How beautiful! Such a happy sight 🙂
Leslie J Watkins
Thank you! I just simply cannot get enough of them in my landscape or arrangements!
Jennifer Howard
Ooh, I love how successful starting the zinnia seeds right in the ground was for you! I am running out of space under my grow lights to start them all inside!! I’m going to add it to my weekly roundup.
Leslie J Watkins
No worries! Plant those seeds directly, friend! Can’t wait to see how amazing yours are! Share them with all of us when they appear!
Pingback:
Allison
So beautiful! We had a whole bed of them in bloom when we moved into this house last year and now I’m really kicking myself for not saving the heads. What a great idea. I’ll know better next time!
Leslie J Watkins
You might actually have some of those seeds come up anyway from last year’s flowers! If they do…harvest them to plant again for next year. I harvest mine all while they bloom…as they become less than their best, they get snipped and dried…it makes me so happy! Happy zinnia planting, friend!
Danielle
These are so beautiful! I had no idea you could grow zinnias from dried seeds!
Leslie J Watkins
I know! Right? It was new to me until this sweet friend gifted me a bag of his harvested seeds. Happy planting!
Linda Johnston
Leslie, I’m impressed you saved your seeds. I am sharing this with Jim and my daughter. i’m not sure how it happened but we have lots of flowers but no zinnias. i’m buying some seeds.
Leslie J Watkins
You will love them, friend! Happy Planting!
Jennifer Dynys
My 11 year old loves to plant zinnias every year! I am going to share this post with her. We just scattered some seeds last night. I love all of the tips here! I would love to share this post on my blogging roundup today!
Leslie J Watkins
Thank you!! I would love for you to share this!! Don’t forget to share the photos of your great zinnias when they bloom!! Happy Planting!
Leslie J Watkins
Just read your round up! Thank you!! and happy planting!
Pingback:
Pingback:
Alda Ellis
I said I was NOT going to subscribe to any more blogs as I have so many on my reading list, but YOURS is awesome. I love your posts and this zinnia is a keeper . Your gardening posts, projects and sweet ideas are right on my favorites list. Pinning away! Thank you for all your hard work in sharing your great ideas and posts…hope our paths cross one day. Grandmother here too.
Sending you hugs and Much love,
Alda
Leslie J Watkins
Oh, my goodness! You made my day! I had to follow you back and drink more of that beautiful Magnolia Hill setting in. So stunning! Thank you for subscribing…it means so much and I am truly thankful. Hugs and love back to you, sweet friend.
Pingback:
Pingback:
Pingback:
Pingback:
Pingback:
Pingback:
Pingback:
Pingback: