
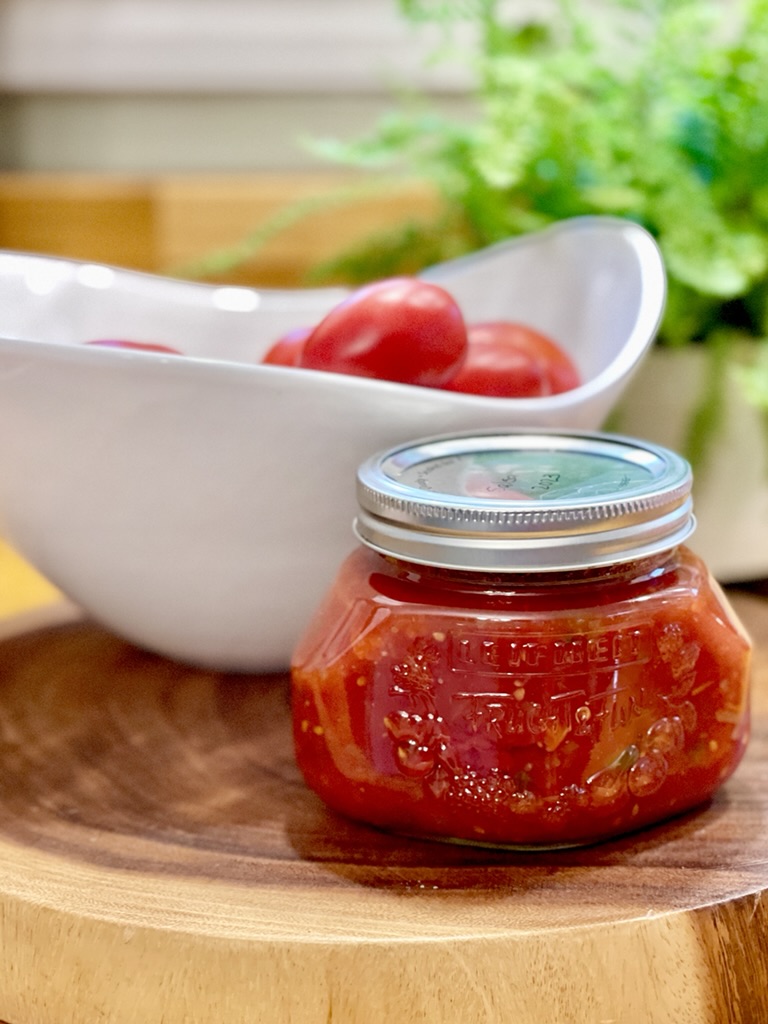
Let’s Make Canned Diced Tomatoes
I don’t know about you, but I reach for canned diced tomatoes throughout the year. They are added to soups, chili, casseroles and so many dishes that filling my pantry with home grown canned diced tomatoes is on my agenda today.
Do you can tomatoes?
My love for canning began in the kitchen with Aunt Helen. Helping her make tomato juice was the joy that has grown into, some years, insanity.
During the summer months? I simply want to can anything I can. And the past two years? over 500 jars have been canned each summer to fill my pantry and gift to others. From juice to jams, beans, pickles, relish and more…my heart is full when my pantry is.
But today? Here’s the latest recipe for diced tomatoes to be canned in pint jars.
Why can diced tomatoes?
Let me name the ways…
- perfect addition to vegetable soups and chili.
- great pantry staple for any recipe calling for tomatoes.
- easy water bath canning recipe that takes little time and effort.
So let’s begin…
As in any canning process, sterilize your jars and prepare your canning area.
- Out comes my water bath canner filled about half way with cold water.
- Tools like my funnel, ladle, air release tool, jar lifter, rings and lids, and canning salt are ready.
- A sharp paring knife and bowls for an ice bath and peeled tomatoes are in place.
- In the sink, I place a batter bowl to hold the diced tomatoes and juice for funneling into jars with a ladle.
- Just a tip: for most of my canning years we were taught to boil lids and rings. Now, Ball’s canning book says boiling the lids before adding to jars can possibly prevent lids from sealing…so I no longer boil them.
- Another Dutch oven or large stockpot gets filled with water to remove peelings from the tomatoes and added to the stove to bring to a boil.
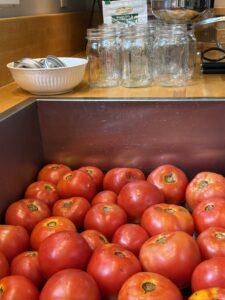
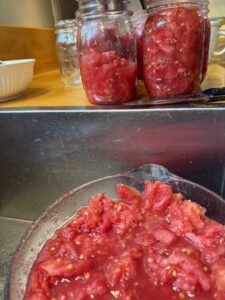
First, find the best in season and ripe tomatoes and wash them in cool water.

Next…
Simply wash and add tomatoes whole to the pot of boiling water. It only takes about 3 minutes for the skins to begin to release for ease in peeling.

Just remove from the pot of water and add to a large bowl with ice water for about 3 minutes for ease of peeling them.
Remove the peels and cores and place peeled tomatoes into a large bowl.
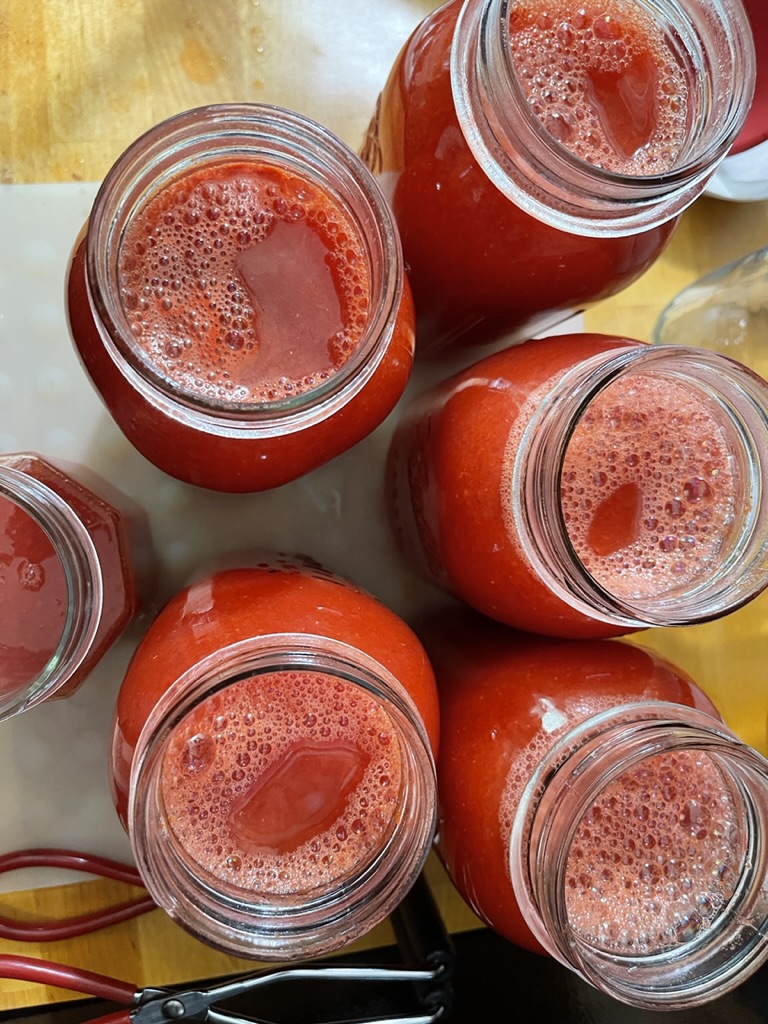
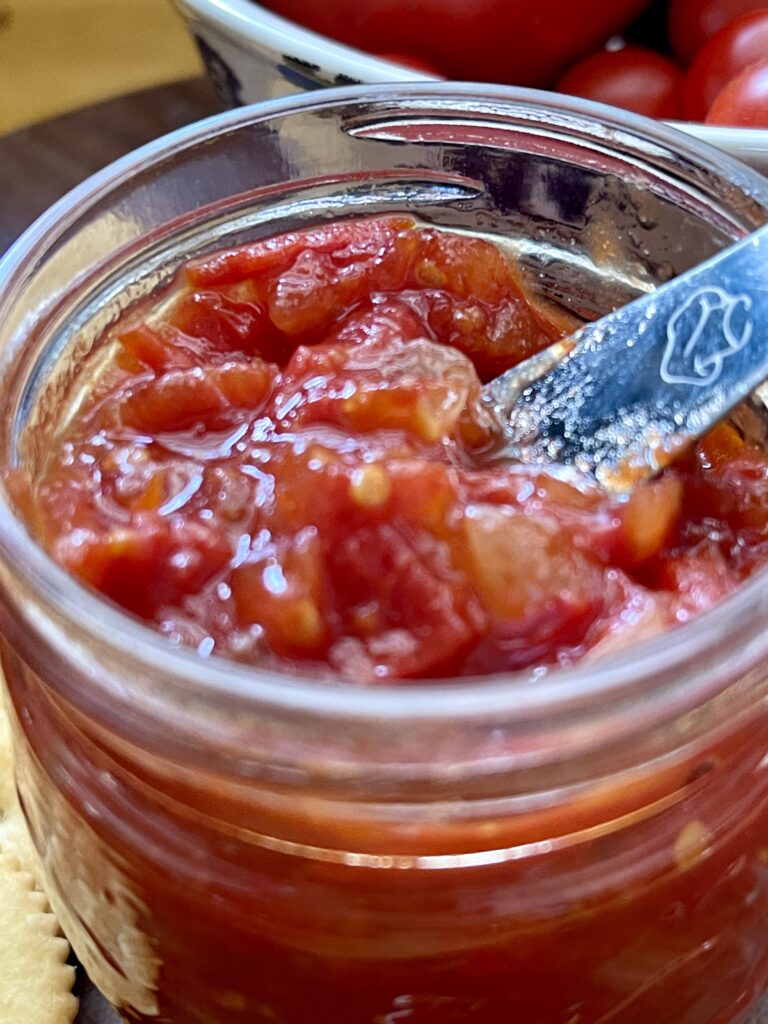
You will notice the bowl also filling with tomato juice…
TIP: I use the juice to fill my jars so that everything in each jar is simply fresh grown tomatoes.
I add a large glass bowl into the sink to hold tomatoes for ladling into the jars to help with spills.
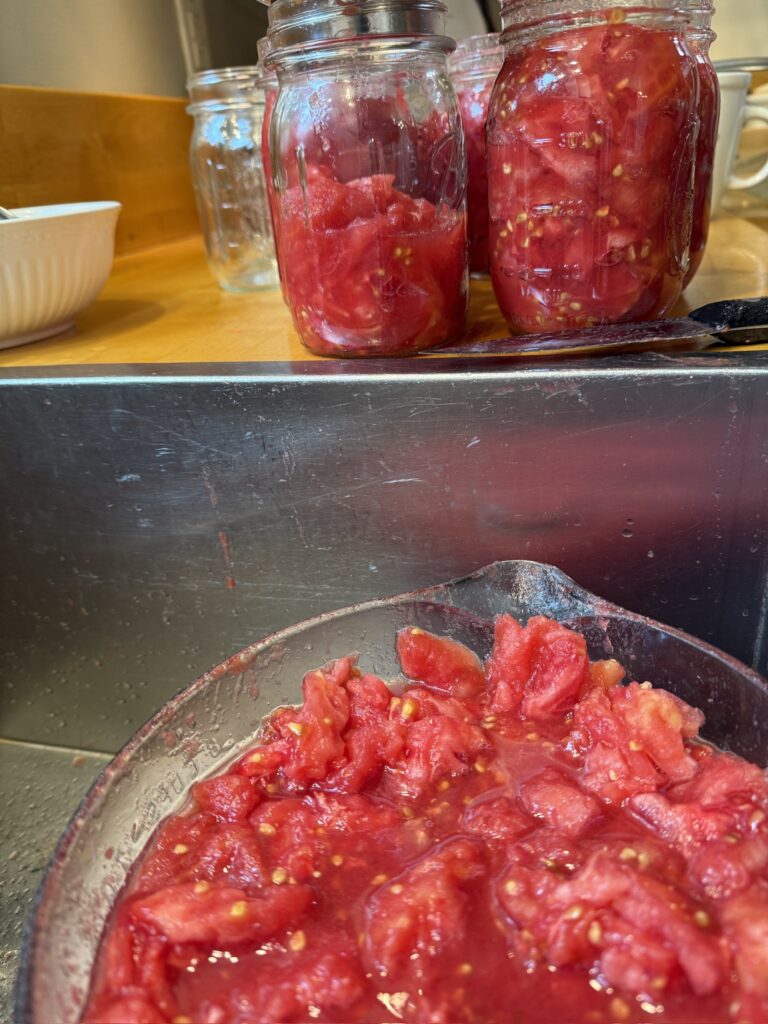
I move one tomato at a time to quarter and dice and add to the bowl in the sink. This is just my favorite way to keep my mess contained!
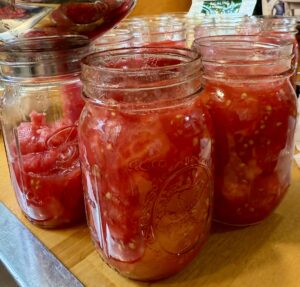
Using a ladle and a funnel, add tomatoes and juice to your sterilized canning jars.
Add canning salt. Ball recommends also adding either citric acid or bottled lemon juice.
Use your nonmetallic canning tool to remove air down the sides and center of each jar.
Wipe rims and sides of areas to be fitted with rings with a damp, clean cloth.
Add your canning lids and rings and tighten just to finger tight.
Then…
Lift jars into the canner with a jar lifter.
Make sure that there is enough water in the canner to cover the jars by at least an inch when they are added into the rack of the canner. Then cover and bring to a boil.
Note: Although the process begins with hot sterilized jars and hot tomatoes, I add the sealed jars to the water as it’s heating up. That way the jars and contents heat up with the canner so that there’s less of a chance of breaking.
When the water begins a constant boil, set your timer for 40 minutes for pints, 45 minutes for quarts.
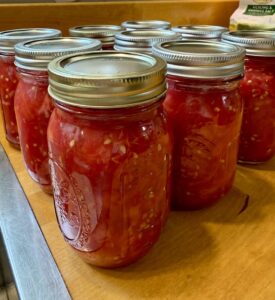
When the processing time is finished, turn off the burner, remove the canner lid, and leave them in the canner for about 10 minutes before lifting them out of the canner and setting on cloth covered area, out of drafts, for 12-24 hours.
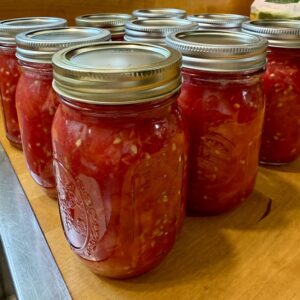
Before storing, make sure that each lid is indented and sealed, label with contents/date, and store in a cool dry place.
Canned Diced Tomatoes
Equipment
- 1 water bath canner, with rack and lid
- canning jars-pints or quarts
- lids and rings for jars
- 1 Stove
- 1 Jar lifter
- 1 nonmetallic air removal tool
- 1 Ladle
- 1 funnel
- 1 paring knife
- 1 measuring spoon set
- 1 dutch oven
- 2 large mixing bowls
Ingredients
- fresh garden tomatoes
- canning salt
- bottled lemon juice OR citric acid
Instructions
- Add water to water bath canner and add canning jars to sterilize.
- Remove sterilized canning jars from canner and set on a clean towel…turn off the canner.
- Fill a Dutch oven with water and add to stove to bring to a boil.
- Wash fresh garden tomatoes with cold water.

- Add clean tomatoes to boiling water and boil for about 3 minutes until skins break.
- Add ice with water to a large bowl.
- Remove tomatoes from Dutch oven and add to the ice bath for about 3 minutes to cool.
- Remove peelings and cores of tomatoes and add to a large mixing bowl.
- Holding the tomato over another bowl, cut the tomato into pieces to be added to your jar, catching the juice in the bowl to be used to pack with tomatoes into each jar.
- NOTE: I set my bowl in the sink by the counter where I will fill my jars to help with any spills as I fill each jar.
- Add a funnel to a canning jar and using a ladle, add tomatoes and juice to each jar leaving about 1/2-1" headspace.
- Add 1 T bottled lemon juice OR 1/4 t of citric acid to each pint; 2 T bottled lemon juice OR 1/2 t of citric acid to each quart.
- Add 1/2 t canning salt to each pint OR 1 t canning salt to each quart.
- Remove air bubbles with a non metallic tool or flexible spatula by running it down the sides and through the center of each jar.
- Using a clean damp cloth, wipe the top and sides of each jar to remove any tomato residue.
- Add the lids to the top of the jars and the rings to finger tight.
- Use the jar lifter to add the jars to the water bath canner, making sure that when all are added that the water covers them by 1-2" of water.
- Since your sterilized jars have cooled down during filling, I begin with the warm water from earlier when jars were sterilized, and THEN turn the burner back on so that the contents of the jars and the water heat at the same time, reducing the chance of breakage.
- Cover the canner and begin the processing time when the water is boiling. Process pints for 40 minutes and quarts for 45 minutes.
- When processing is complete, remove lid from the canner and turn off the burner.
- Leave the jars in the canner for about 5-10 minutes before using a jar lifter to remove them from the canner and add to a draft free area on a clean towel for 12-24 hours before moving them.
- Check to make sure that all lids have sealed and indented before labeling them with contents and date and adding them to storage in a cool dark place.I often remove rings from my jars to make sure that the seals are still in place.


Notes
So now that I have the canned diced tomatoes in my pantry…what will I do with them? Here’s a few ideas for starters!
Then for the fresh ones? How about a tomato tart?
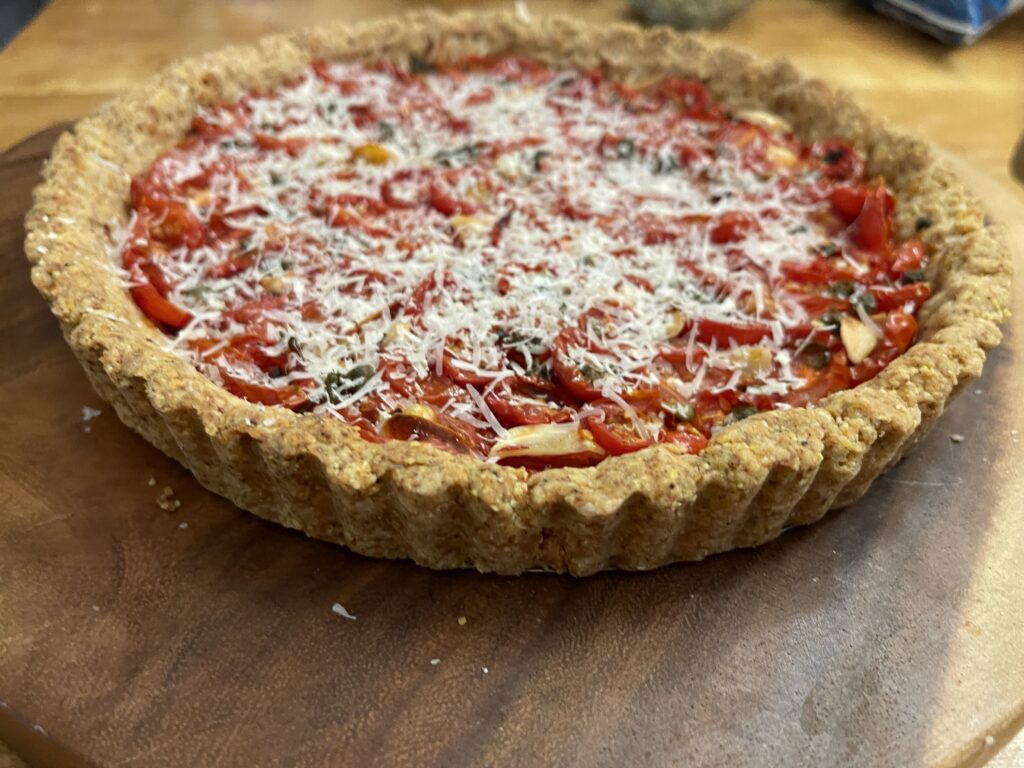
See what I mean? I am ALWAYS reaching for a jar of those tomatoes to add to so many recipes.
And if you need more tomato canning ideas, here you go:
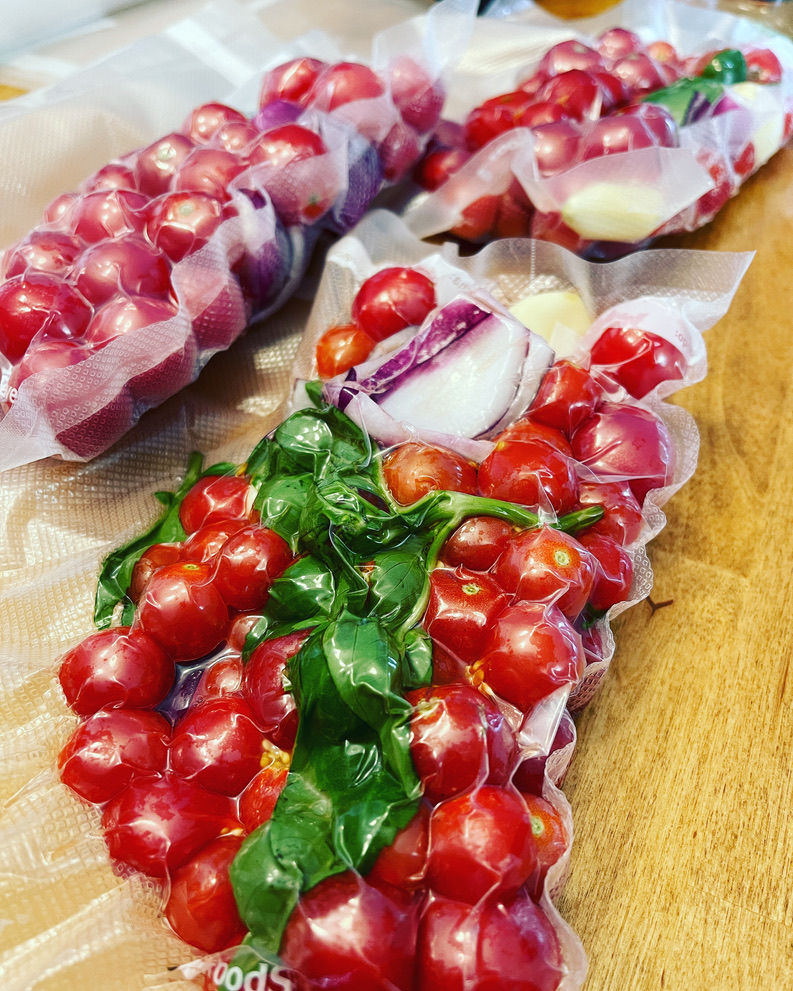
Freezing more your thing? These are my favorite recipes…
And if you are new to canning? Here are some of my favorite tools to use:

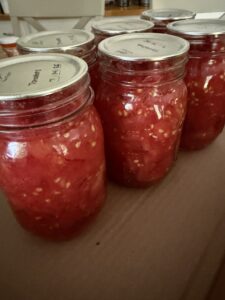
Both my heart and my pantry are happy.

Happy Canning and freezing season, friends!

As an Amazon, Walmart and LTK affiliate, at times I may provide affiliate links to products that may offer an easier way to find products that I mention or use. Same price for you, but beneficial to this blog and at times, may offer compensation if you use them to shop. See my disclosure policy here.


One Comment
gzingkala
There’s something so rewarding about filling up your pantry with homemade staples like canned diced tomatoes. What are some of your favorite recipes that use canned tomatoes, and do you have any tips or tricks for making the process even easier?