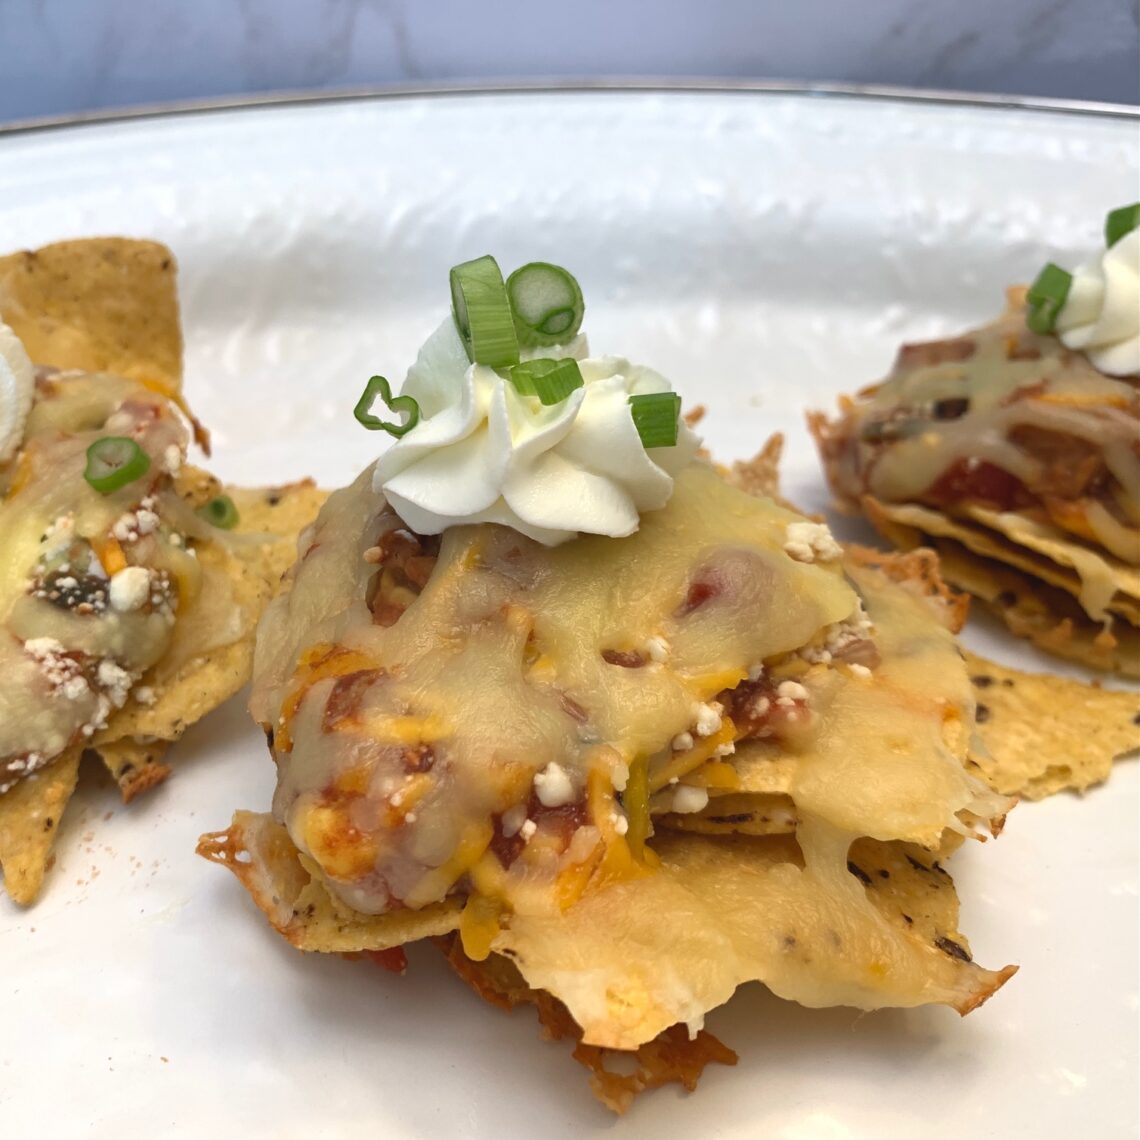
The Absolute Fastest and Best Grab and Go Nachos!
I hadn’t planned on sharing this today…Super Bowl is tomorrow…but, you guys, I just created the absolute BEST and FASTEST Grab and Go Nachos ever! So simple. So easy. So perfect for COVID gathering plans. No one touches any other nachos but their own! Perfect! Right?
In making a list for our small Super Bowl gathering, nachos was a no brainer. Right? But, when I think of them, I think: piled high, lots of toppings and not individual friendly.
I was shopping for other things to add to my gathering like the fig and proscuitto pizza, the veggies; but, nachos had to be in the mix.
We are thinking smarter these days.
Individual servings.
Hands only touch an individual serving. You understand all of this, too, I am sure.
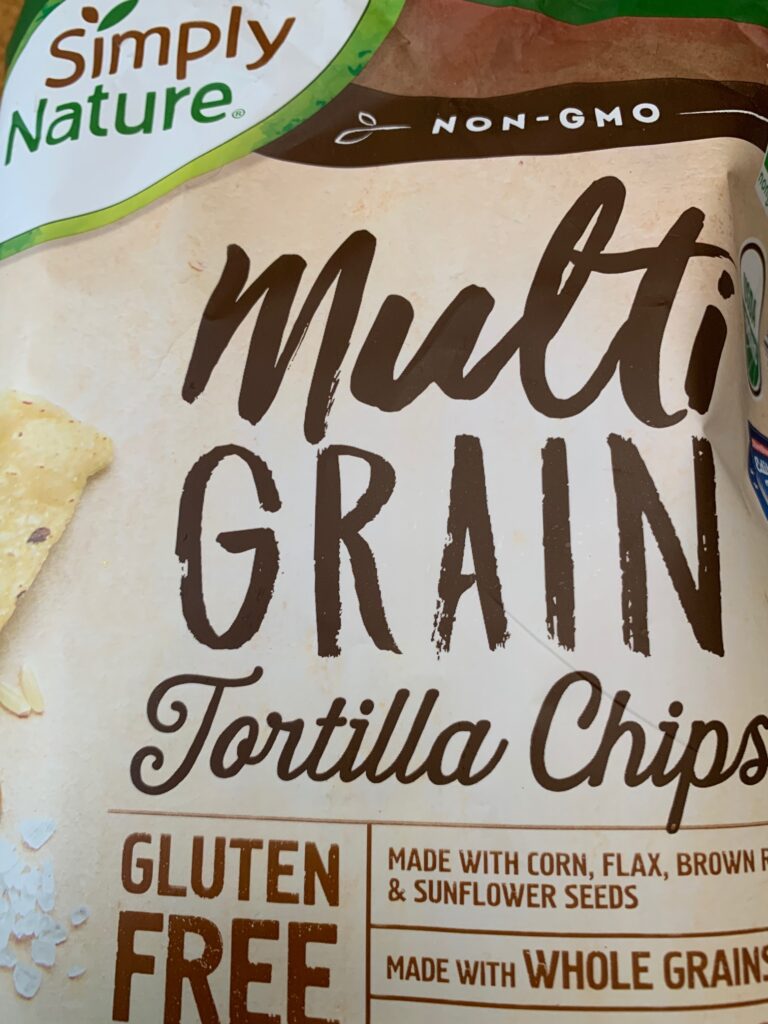
So, in the middle of shopping at Aldi’s, I found these great chips and layered dip. I had Monterrey Jack cheese in the fridge.
When I thought about how to make them individual, this great USA pan that was PERFECT!
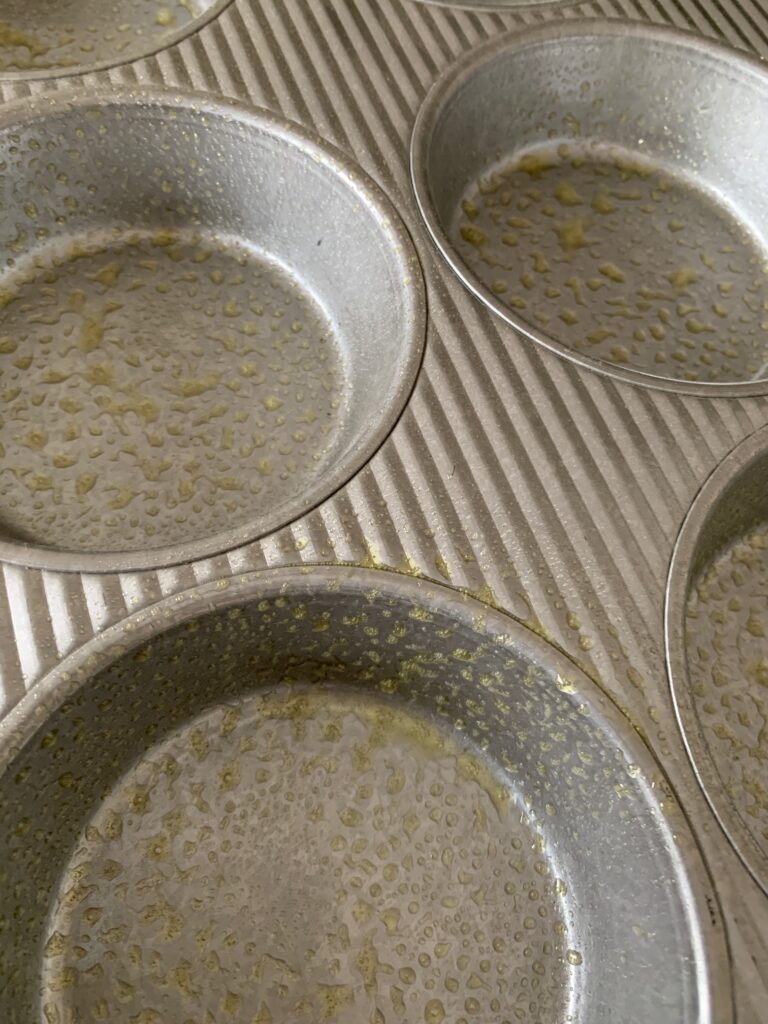
Even though these pans are perfect without nonstick spray…I wanted to make sure those cheesy nachos let go after baking!
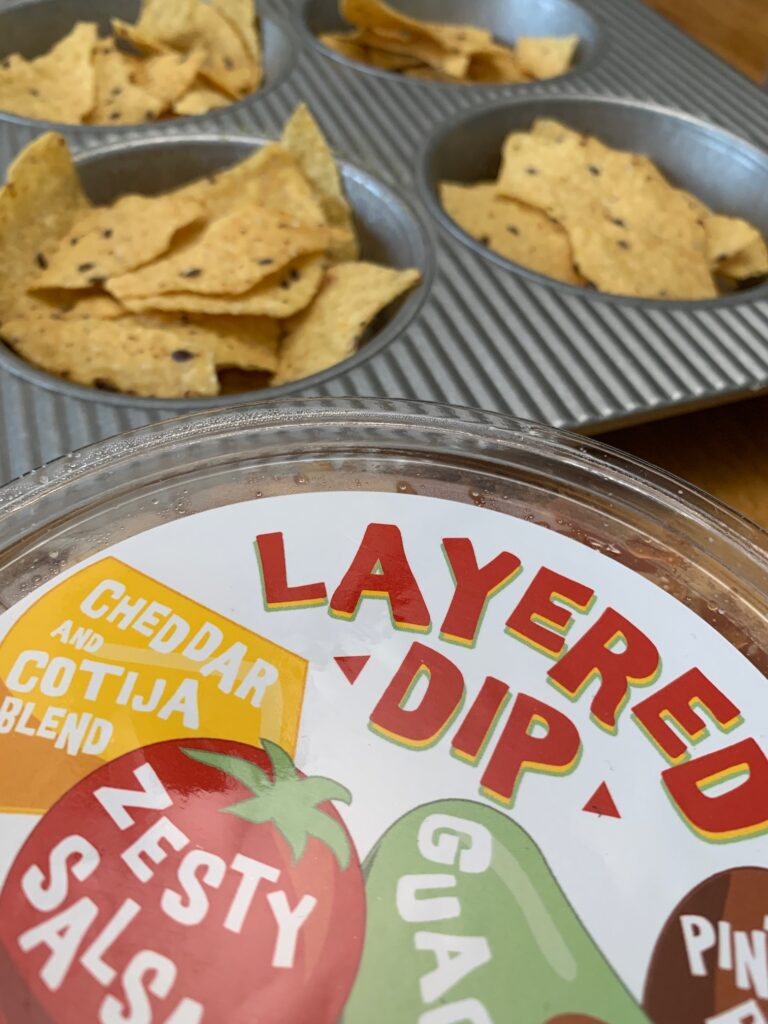
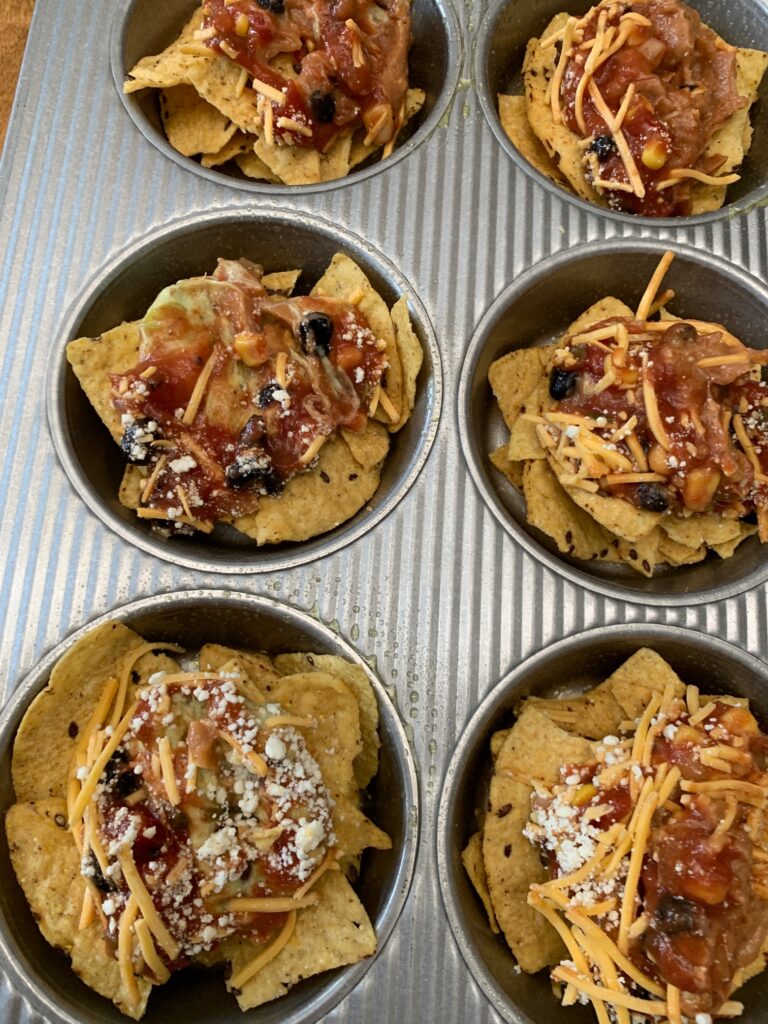
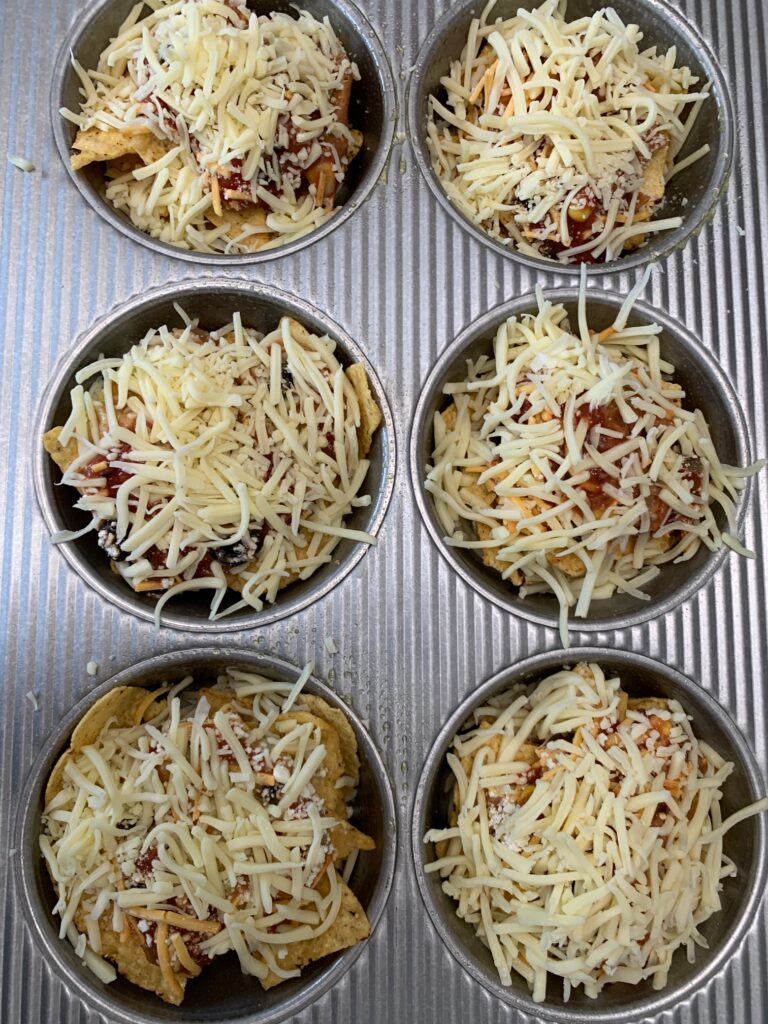
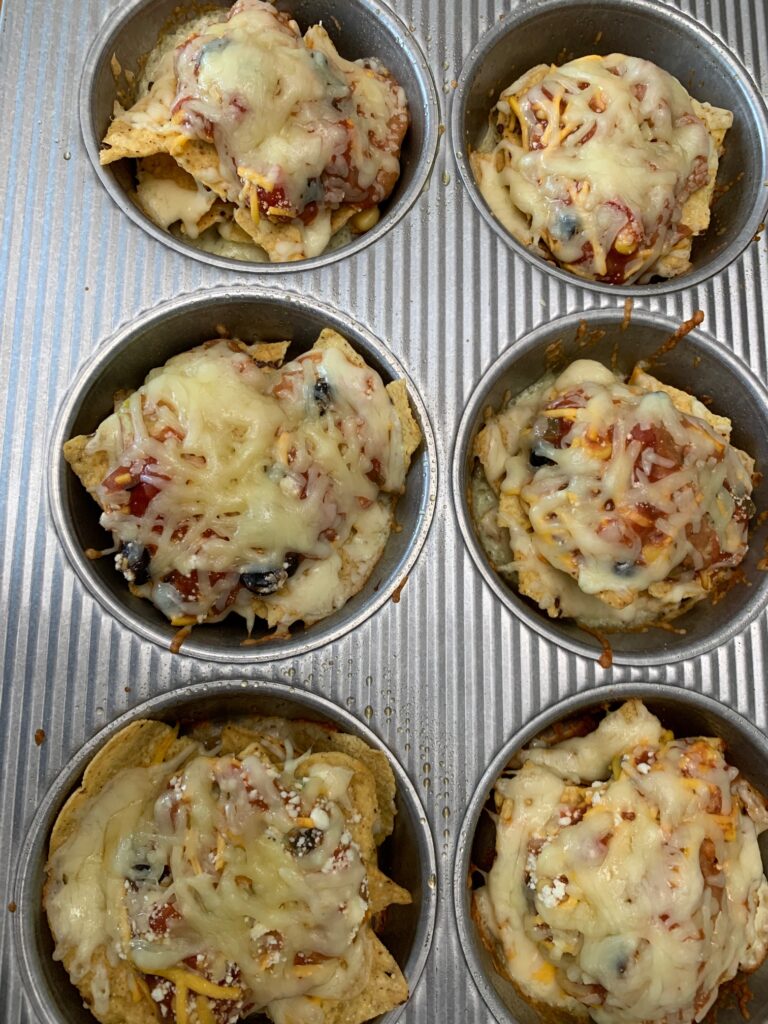
They were sooooo simple! Soooooo fast! So perfect for individual servings! You guys, they were sooo good. Don’t forget to Pin them so you will have them again when you need them…
Here’s how easy they are:
Grab and Go Nachos
Equipment
- oven
- USA 6 well mini cake/cinnamon roll pan is my favorite!
Ingredients
- 1/2 bag Nacho Chips I used Aldi's Multigrain tortilla chips
- 1 container Layered Dip Aldi's again for the win
- 1 C Monterrey Jack Cheese
- 1/4 C Sour Cream to top, if desired
- 1/4 C Green Onions, sliced to top, if desired
Instructions
- Although nonstick spray is not necessary with the USA pans, I sprayed mine to make sure the finished nachos slid out easily after baking.
- Preheat oven to 400 degrees.
- Add layer of nachos.
- TIP: would sprinkle a little cheese in between two layers of nachos to ensure that all of the nachos stayed together after baking.
- Top with a spoonful of layered dip and a sprinkle of cheese.
- Bake for 5-6 minutes until melted and toasty.
- Optional: top with sour cream and sliced green onions
Notes
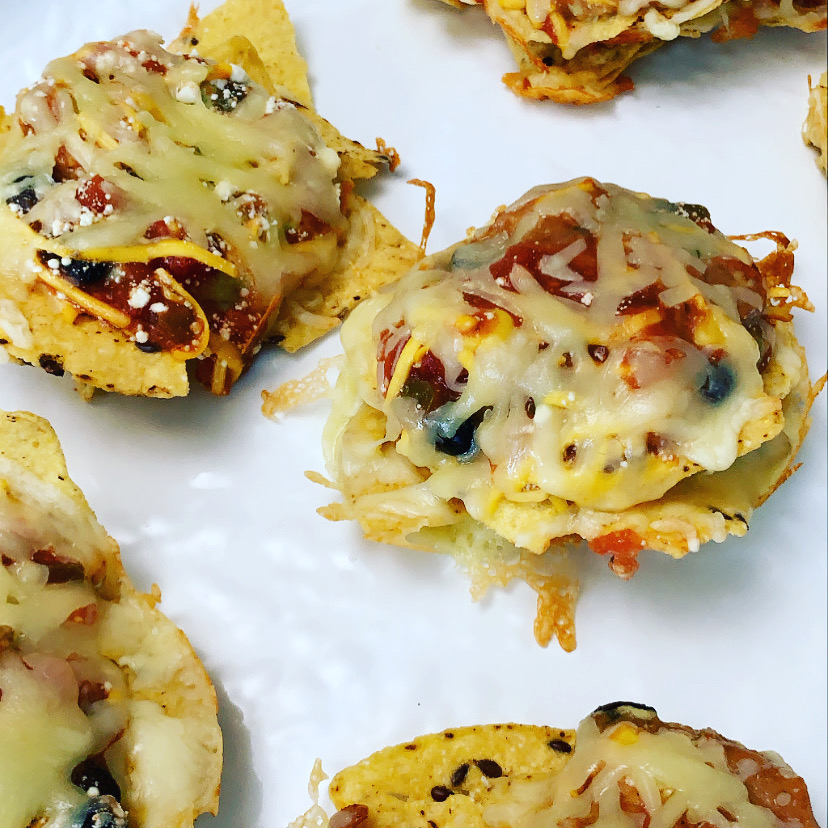
I love that I can estimate the number of servings with this method…and I love the serving tray that I used…from BBQ & More, here locally, can be loaded and back into the oven to stay warm! Beautiful and genius for ANY occasion. (I have the white one that is perfect any time of the year…)
Give them a try, friend. Happy gathering!
You May Also Like
How to Enjoy a Gift that Keeps On Giving
August 29, 2020
Hope you LOVE these DIY Photo Birthday Cupcake Toppers!
February 10, 2023


2 Comments
Martha Wallace
Love the serving tray but love the individual servings more! Ingenious!!!
Leslie J Watkins
I know, right?! Individual servings were the win here. I’m sure you have seen that tray many times with many different serving options. It’s genius!