Do You Need Great Spring Gardening Tips?
Spring is in the air and it’s the perfect time to get outside and start spring gardening! Whether you’re a seasoned pro or a beginner, there are always new tips and tricks to learn to make your garden produce to its fullest potential. Let’s talk about some essential tips to help you make the most of this beautiful season. From planting schedules to soil preparation, we’ve got you covered. So grab your gloves and let’s get started!
If you have followed me on this blogging journey, you will know that I am an adventurous gardener who loves perennials, saving seeds and growing vegetables and flowers.
Spring Gardening Tip #1- Make a Plan of Existing Plants
Begin by looking at what you HAVE in your garden.
- If you have a drawing of your landscape and where all perennials, shrubs, trees and garden beds are placed–you are off to the races. If not, you might use graph paper -1 square = 1 foot- to draw out your landscape and garden areas.
- Seeing an overview of what you already HAVE in your garden is a great place to see what you need and where to add plants.
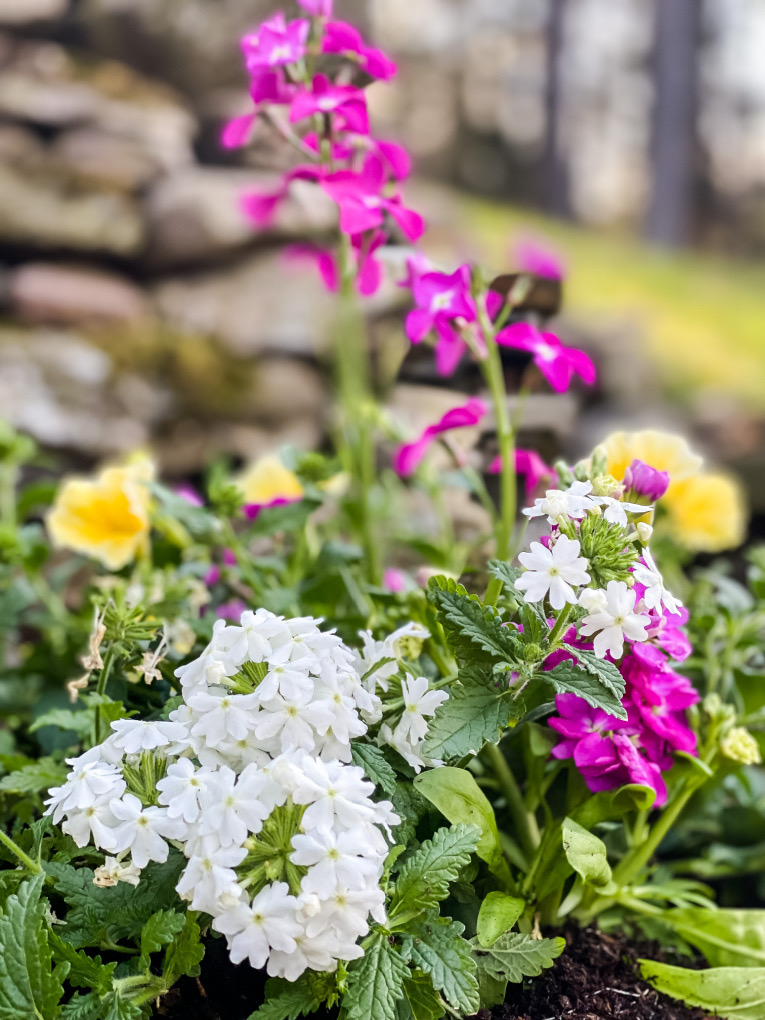
- Add in existing plants in your pots, such as, ivy so that you can plan for annuals for spring and summer to change up the view like in the featured photo.
- Keep in mind things for topiaries and interest to add to the garden in your plan.
- If you are like me, you may find yourself at a nursery buying a gorgeous plant that when you get home you realize there really isn’t the right location for full sun, shade, etc. Plan to not be like me!
Spring Gardening Tip #2- Seeds or Plants?
Next, you need to make a decision if you are going to plant seeds or plants. If you are going to plant seeds, give your seeds a head start before planting season arrives.
- Look through seed catalogs for plants that will work in your garden.
- If you are beginning seeds indoors, look for the location inside that has the 70 degree temperature.
- Add LED lights indoors to make certain that those seedlings have the 16 hours of light needed.
- TIP: Use paint cans or books to support and elevate the light above plants as they grow.
- Many of you may have already begun the outdoor winter planting of seeds in milk cartons.
- Purchase a great potting soil, spray bottle, seed tray for water to add beneath for seeds.
- Use plastic tags or popsicle sticks to label when beginning those seeds indoors.
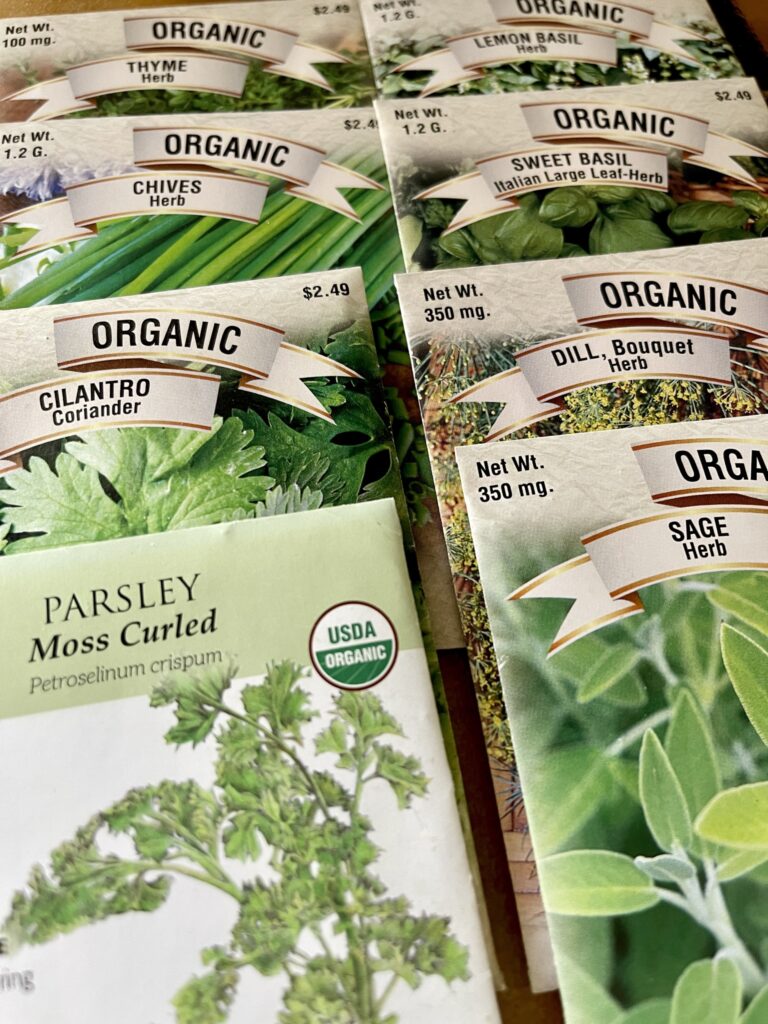
- Keep those seed packets and a record of when you planted them. Watch for germination and when to expect them to come up.
- Monitor inside plants’ moisture and turn trays so that plants don’t strain toward the sunlight.
- Also–another tip! As plants begin coming up, a fan on low speed helps strengthen them. Who knew?!
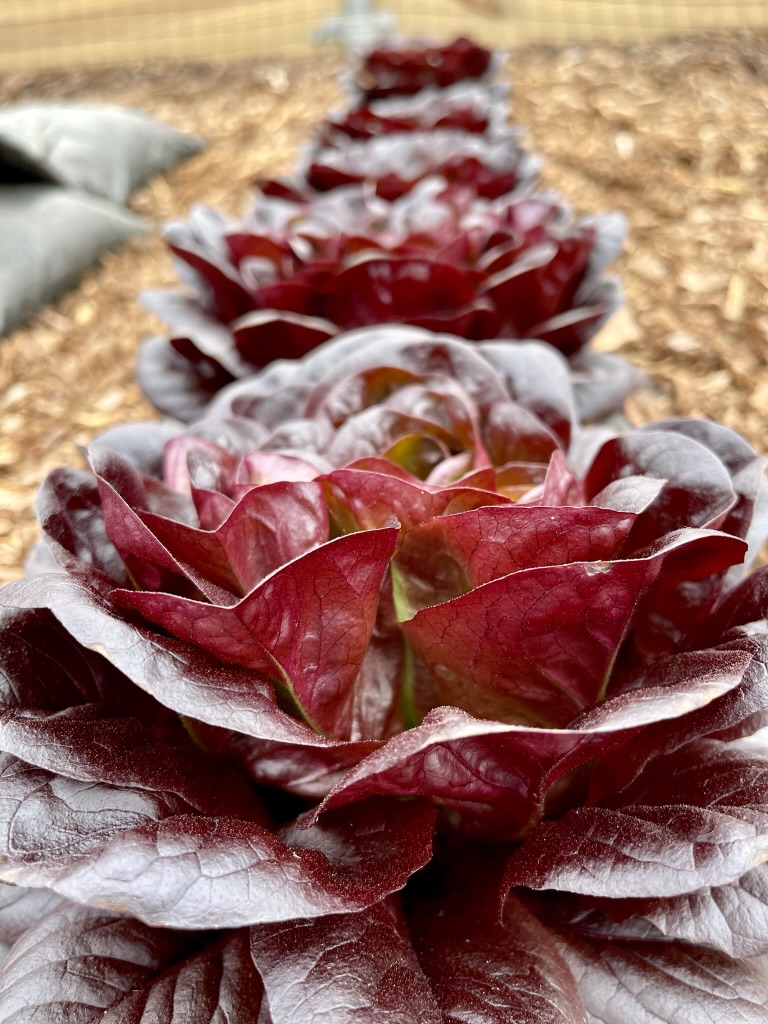
- Here are Martha’s favorite lettuces to plant if you need some inspiration.
- If you have a high tunnel or greenhouse like my friend below, you are already probably harvesting some of your lettuces and spring produce. If that’s you…applause!
TIP: Use rotisserie chicken plastic containers to plant seeds. They offer a domed lid and space to add soil and plant in the bottom container. Add holes in the bottom for drainage. Other plastic food containers may work well, too.
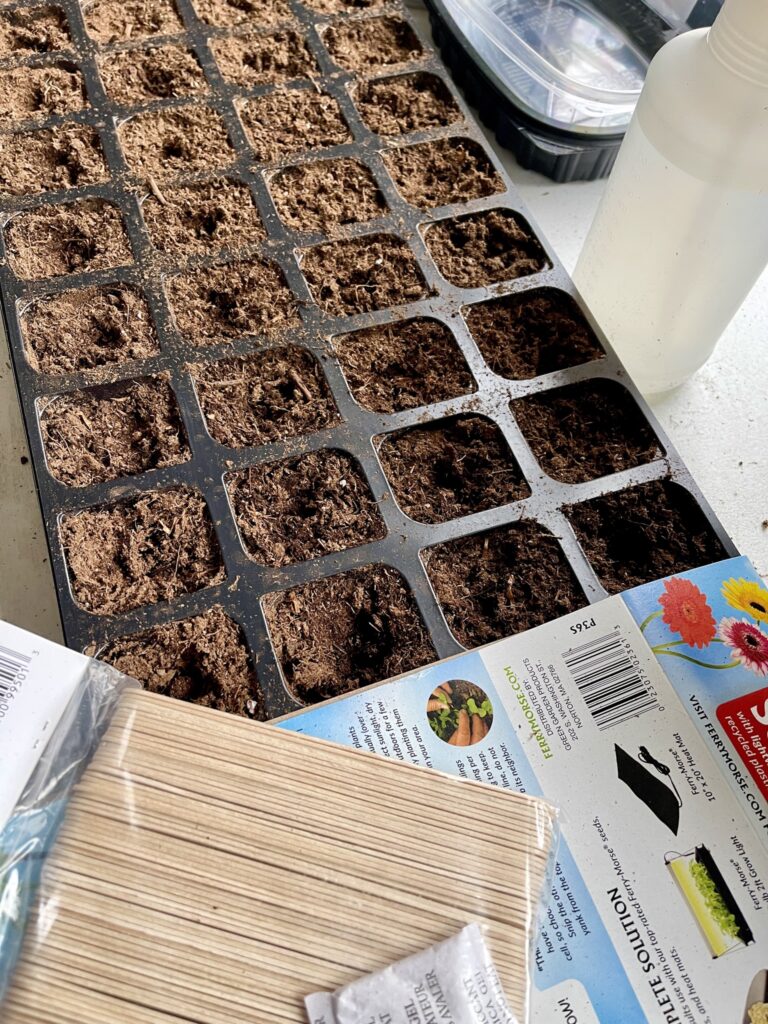
If you have them available, use clay pots to begin your seedlings.
Tip #3- Search for New Plants
Now is the time to look at your home planting areas and make selections of what you want to add in the way of flowers, shrubs, herbs and vegetables. Keep in mind sun and shade requirements. Do you have deer that love to eat your plants? If so, look for deer resistant ones or plan to keep up with a regimen of deer repellent, such as, Repels All granules early in the season, to keep them away. As the season progresses, we use the concentrate or ready to use in a sprayer and spray plants deer love every week or so–more if it rains.
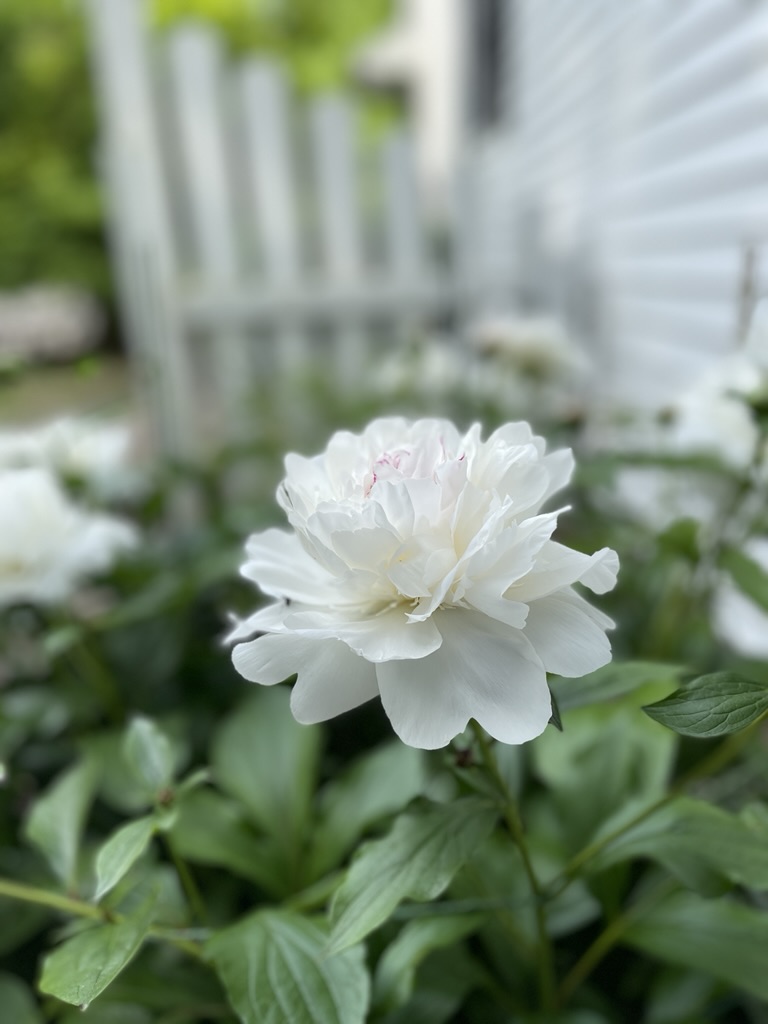
- Peruse websites for plants you want to add.
- Head to your local nursery or box stores that carry plants and begin a plan for what you need to purchase.
- Be careful to note that some blooming shrubs may require others to bloom, like some holly that need a female and male plant to bloom. This one was a new tip learned last year.
- Drive around your neighborhood to find trees/shrubs/plants that you love that could be perfect for your yard.
- Plan a trip to a botanical garden to get inspiration for what garden ideas.
- Be aware of when to plant each plant that you want to add to your garden.
Spring Gardening Tip #4- Prepare Garden
Prepare your garden beds.
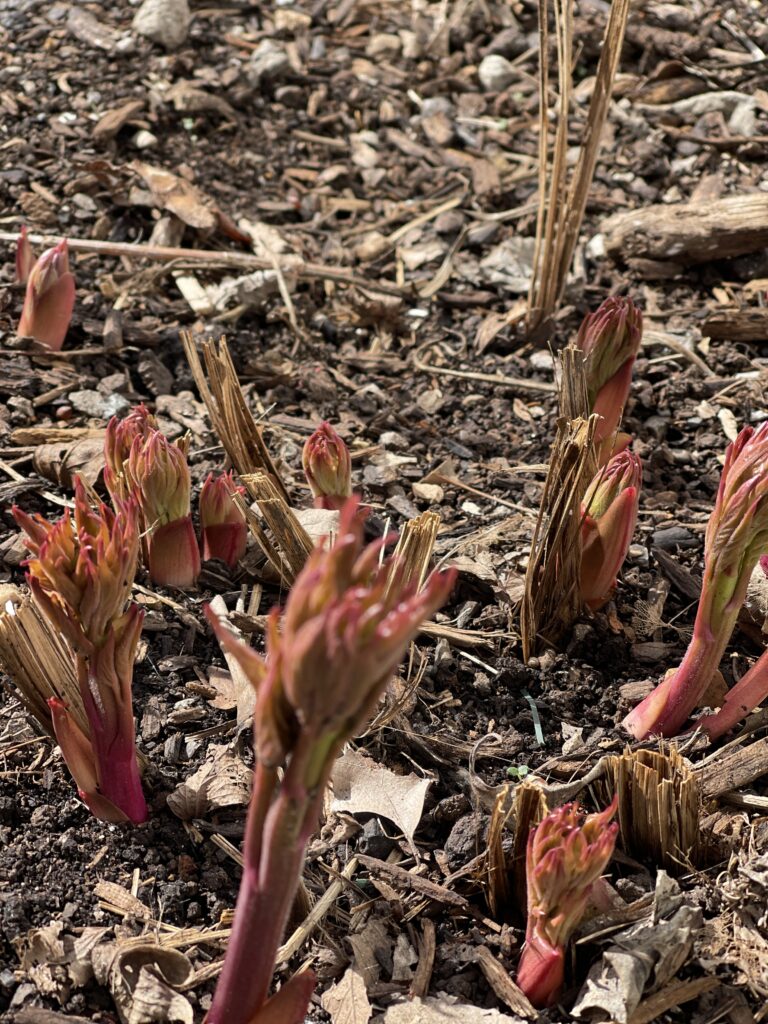
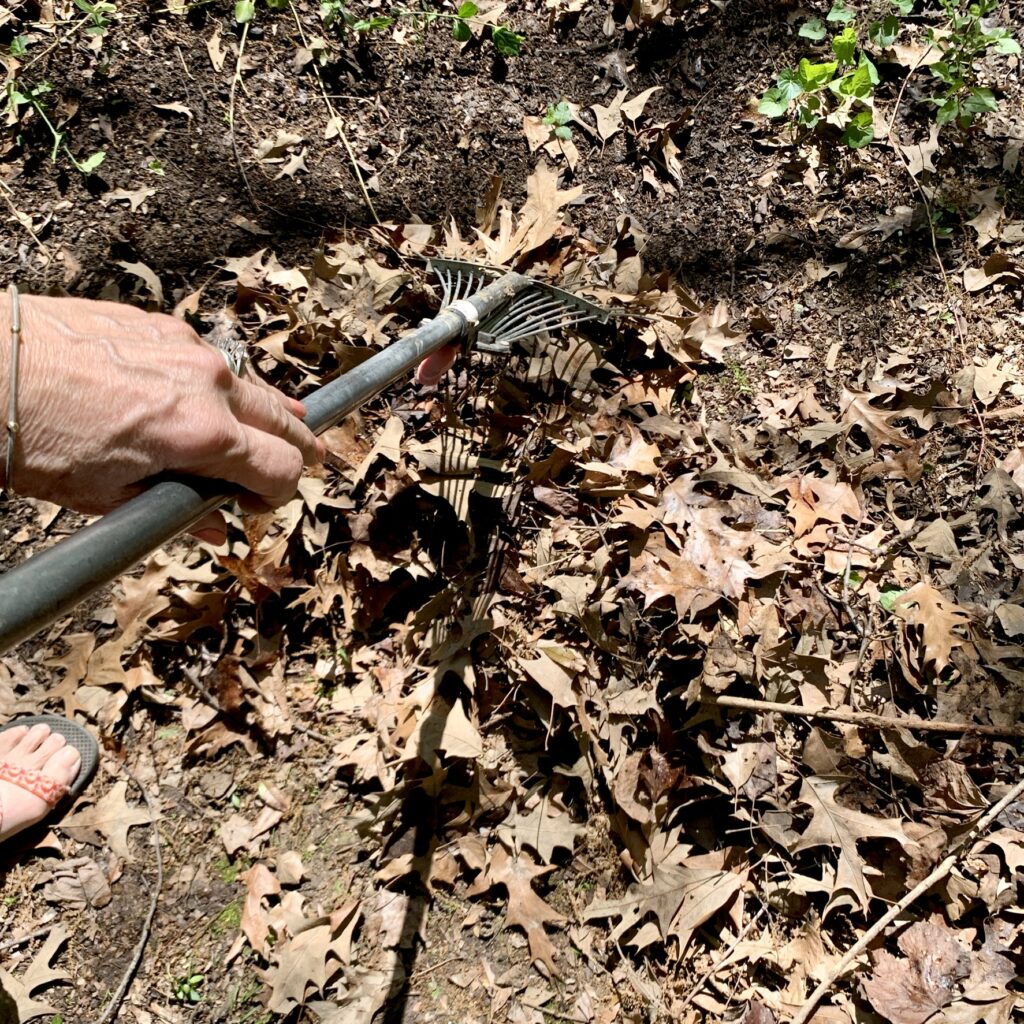
- Clean out leaves and debris from around your plants. And yes, those peonies have had a 5 gallon plastic bucket over them to protect them from the 20 degree temperatures we have experienced.
- Next, take a sample of your soil to your local horticulture extension office for a free soil analysis. TIP: our horticulture agent says that they allow 7 soil tests per year. All you do is take them 2 C of dry soil in a plastic cup or bag. Easy, peasy!
- After those soil test results, follow extension guidelines to get your soil ready for planting.
- Check to see the health of your existing plants. We had subzero freezing temperatures in December that caused many of our hollies and shrubs to lose their leaves. Still closely watching to see what actually will need replacing. Our local nurseries have all advised to give them time. Sure enough our knock out roses that we thought were dead are showing green leaves. Hallelujah!
- Make sure that you have pruned back any plants that need it before the season warms. Roses, some hydrangea, crepe myrtles, boxwoods are a few of ours that have had careful pruning. If you are in doubt with what needs pruning when, seek a professional for advice. Some shrubs and plants may have already set buds for blooming. You certainly don’t want to destroy your spring showcase of blooming by pruning at the wrong time.
- New mulch is typically put down prior to when bushes and spring blooming perennials begin their show. It helps everything look its best in the yard.
- Fertilizing our yard and mowing the monkey grass down always happens when the forsythia begins to bloom. If you use weed and feed, now is the time to begin that regimen.
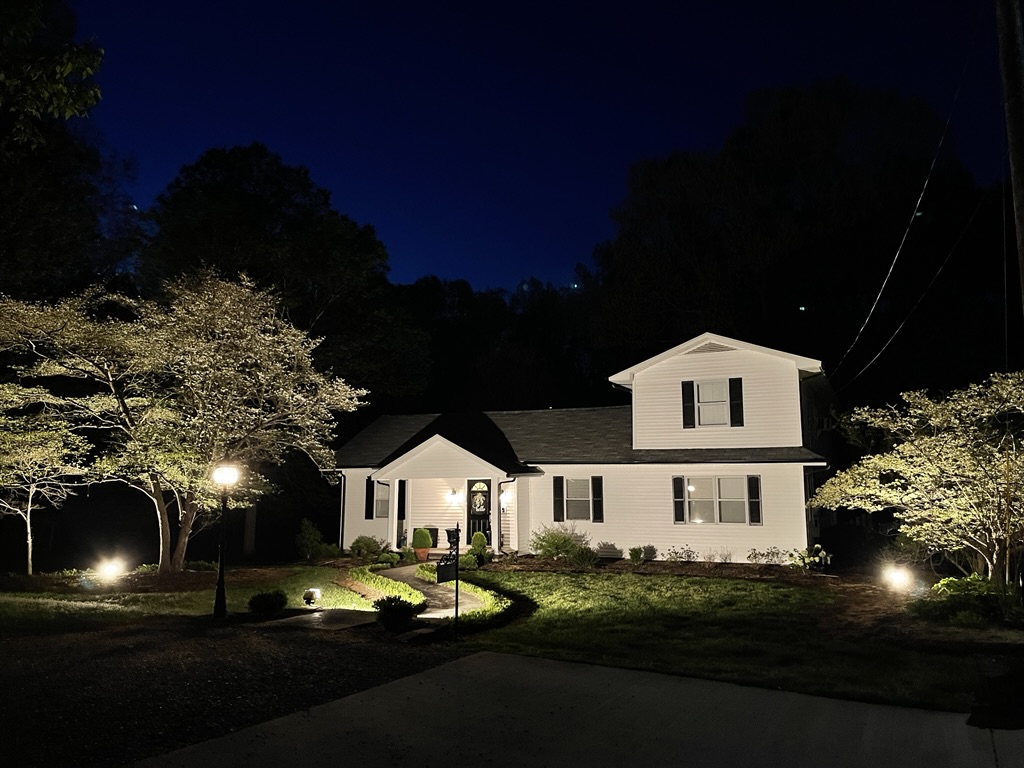
Not all of the planters were planted or porch “readied for spring”, but this was a view of the Dogwood trees last year. They always make my heart happy when they are lit at night for our Dogwood festival in April. Hope the blooms make it through the freeze warnings!
Is weather affecting your garden this year?
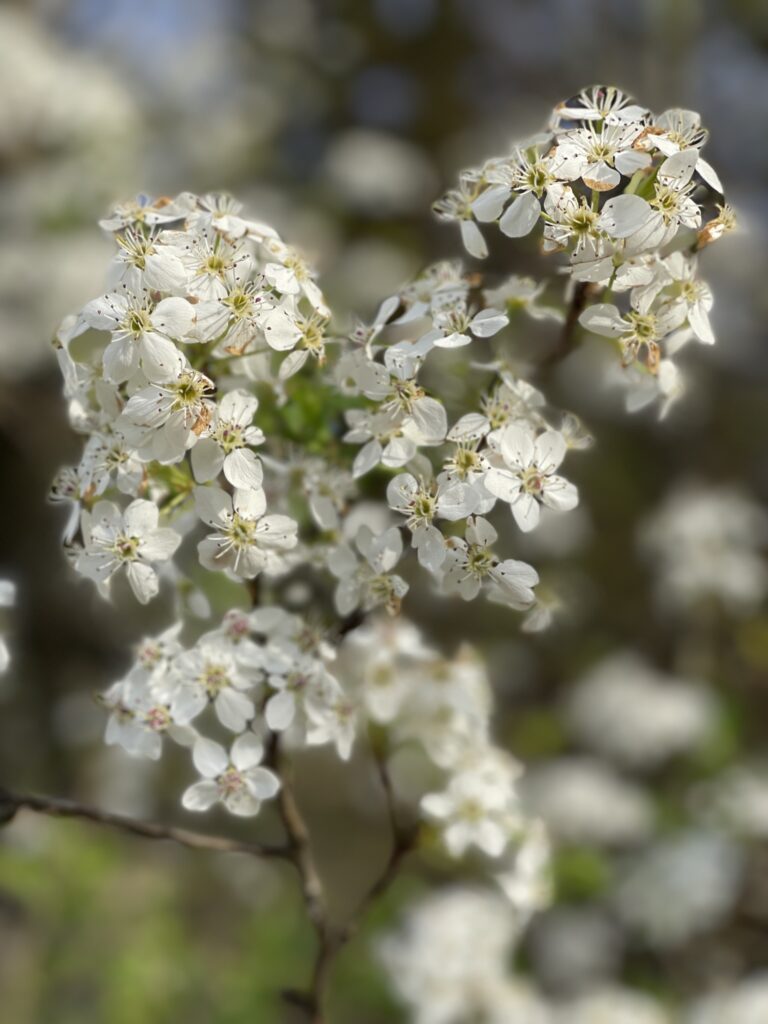
Is your weather and garden a month ahead of usual? Ours is! Daffodils, tulip magnolia, crocus, Bradford Pear trees, herbs and peonies are ALL a month ahead of photos in my camera from previous years.
Even the peonies, pictured above, are coming up!
As normal, we have had freezing temps the past few days and more probably to come. Yikes! Coverings have been on many plants. Praying that those covers work and we don’t lose plants and blooms.
Last year’s Bradford Pear trees blooms photos were taken April 22…this one was taken last week.
Tip #5- Plan for Planting
Look at your zone and weather forecast to make a spring gardening plan for planting.
- Wait until your freeze warnings have passed before you add any of your seedlings, seeds or plants outdoors. Our horticulture extension agent just spoke on having “Mother’s Day” as a safe time to plant in our zone. Adding that date to the calendar now.
- Form that actual plan on the calendar of what days you want to plant what seeds or seedlings and plants.
- Have plant covers ready to protect plants if freeze warnings occur that might affect them.
- Now is the time to add any new raised beds, fencing, pots or watering systems.
- If you are simply purchasing plants for your beds, buying before freeze warnings may give you a better selection. Buying early may then require covering to protect them from freezing.
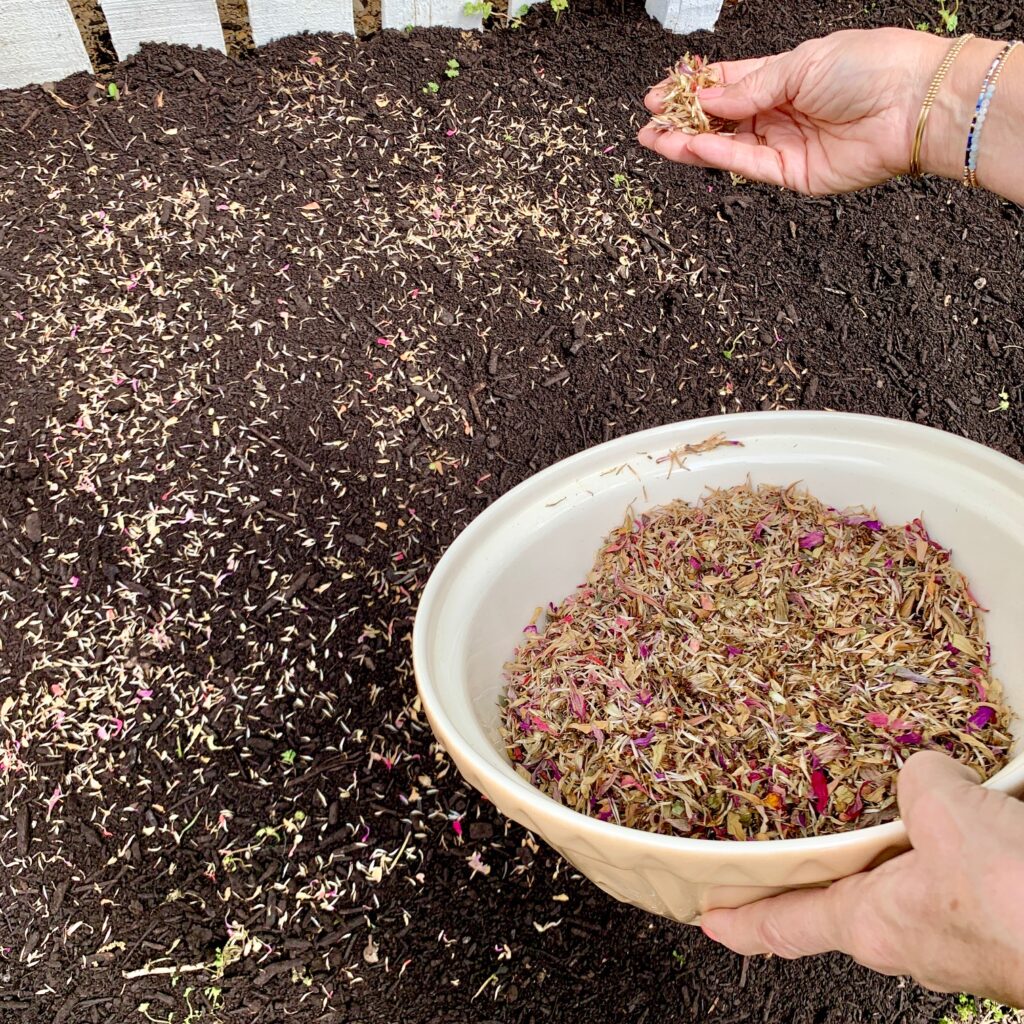
Zinnias are one of my favorites and if you’d like to read more on them, I’ve got you covered.
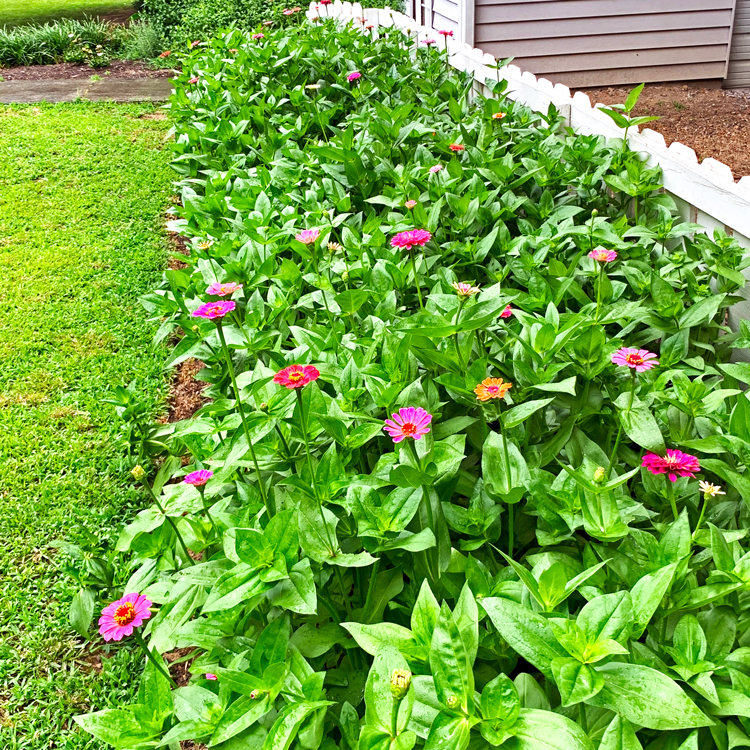
What does your spring gardening plan look like?
I’d LOVE to know in the comments!
For now, our gardens and pots have been cleaned out, plants pruned, seeds started and planning for new raised beds. Plus, we are desperately trying to save all of the early growth with these freeze warnings.
Herb garden tower and pots have been cleaned out with lots of new growth already appearing.
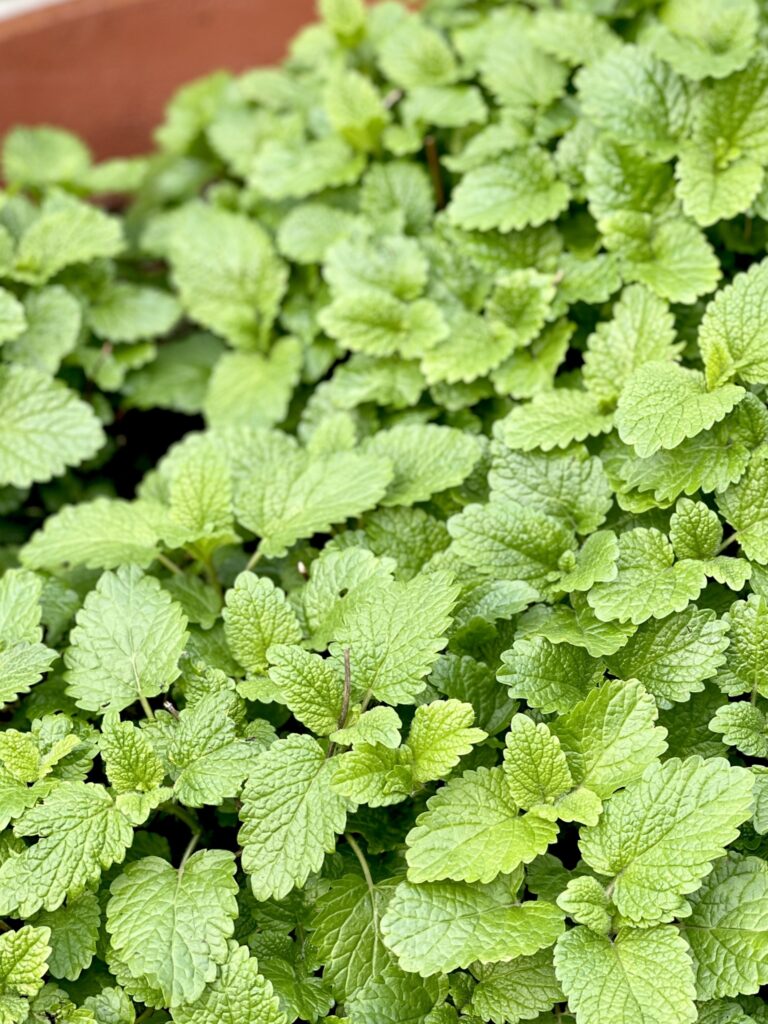
The yard has been fertilized, soaker hoses purchased and monkey grass mowed.
Covers for freezing temperatures have already been in use.
One last tip before you leave today...check out your Master Gardeners and Extension offerings to learn more about gardening. I’ve signed up for many classes and take home tips each time. They are free and often give away freebies, such as, seeds, and project items.
Don’t miss out on those gardening opportunities in your hometown. Last month’s class here was propagation by seed. This month’s class? Monarch waystation. Fairy Garden is next month’s! How fun.
In case you need gardening supplies to help you in your garden, here are a few affiliate links that you can click on the photo and shop til your heart’s content to plan your garden.


As an Amazon, Walmart and LTK affiliate, at times I may provide affiliate links to products that may offer an easier way to find products that I mention or use. Same price for you, but beneficial to this blog and at times, may offer compensation if you use them to shop. See my disclosure policy here.

A GREAT Taco Soup Recipe!
You May Also Like

How are You Handling the Seasons in Your Life?
August 11, 2020
Weekend Moments
January 18, 2025

6 Comments
Vickie Ramey
Your garden is always beautiful!
Leslie J Watkins
Not now! I’m removing the 5 gallon buckets and sheets before you arrive!
Martha+Wallace
Wow! Great tips! I like playing in the dirt! Gardening makes me happy! I know it does for you too!
Many beautiful blooms to you!
Leslie J Watkins
Now if we can just keep everything alive through these frosts, right?
Tammy
Leslie, such wonderful tips. I need you to send me a care package of Zinnia seeds. LOL I cannot wait to see your garden. I love when you share photos of it.
Leslie J Watkins
Oh, friend! I need your address again to send you those seeds. Once you get them started…they are so easy to continue.