
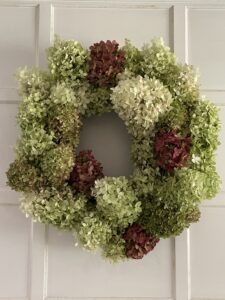
Fall Hydrangea Wreath
A great way to dry and decorate your home with hydrangea from your landscape.
Yield: 1 wreath
Equipment
- 1 pruners
- 1 wire cutters only if needing to attach to wreath
- 1 bucket of water to hold stems while working
- brown paper optional- to cover work area
- floral wire if not using a grapevine wreath to hold stems
Materials
- 1 wreath form- metal, grapevine or straw need wire to hold stems, if not using grapevine wreath
- 12-20 stems hydrangea or enough to cover your form
Instructions
- Cover your work area to protect your work surface. I love to use brown paper for this.
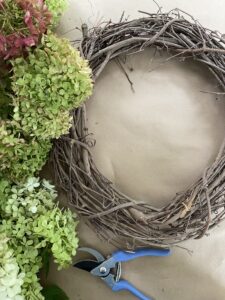
- If repurposing a wreath form, clean and have it ready to go. Grapevine wreaths are great for this project.
- Begin this project in the morning...before sun has hit hydrangeas.
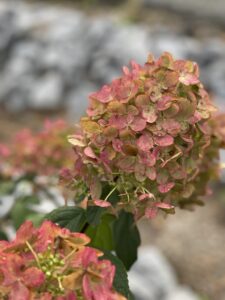
- Use pruners to cut your hydrangea with stems long enough to attach and overlay around your wreath. About 4-6" works best.TIP: Select hydrangeas from your yard that have proven to dry with good results.
- Add stems to a bucket of water to hold until ready to attach to wreath form.
- Remove all leaves from your hydrangea.

- Simply insert into grapevine to hold them. Attach with floral wire if using a different type wreath form.
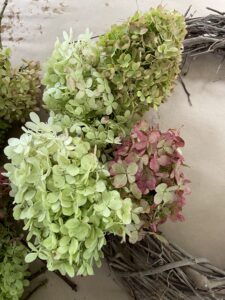
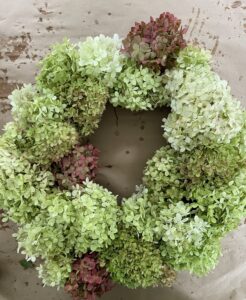
- Continue laying your blooms, alternating sides and placing blooms in the same direction until you complete the circle on the wreath.
- Attach a loop of wire for a hanger to the top of the wreath, if needed. TIP: My grapevine wreath hung beautifully without it.
- Simply hang and enjoy!
- TIP: To ensure that it lasts, hang in an inside area.
Notes
Drying hydrangea for a beautiful wreath is a perfect way to add color and beauty to your home. Choose your color to match your fall inspiration.
A great way to recycle old wreaths-- just clean and you are ready to repurpose them into a great new wreath for your home. A customized and cost effective way to decorate!