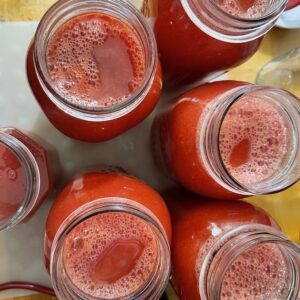
Home Canned Tomato Juice
The favorite recipe for tomato juice that has been canned for generations and is the basis for the best chili and tomato based soups!
Equipment
- 1 Stove
- 1 water bath canner
- 1 stockpot or 2 Dutch ovens
- 1 Kitchen Aid Mixer
- 1 Kitchen Aid Fruit/Vegetable mixer attachment
- 1 Kitchen Aid Stand Mixer Food tray
- 1 Kitchen Aid Food Grinder attachment
- 6 quart canning jars, lids and rings
- 1 Jar lifter
- 1 lid lifter
- 1 canning funnel
- 1 2 c liquid measuring cup or ladle
- 1 paring knife or chef's knife
- 1 cutting board
Ingredients
- 20 lbs canning tomatoes
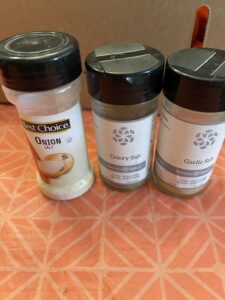
- 1 T garlic salt
- 1 T onion salt
- 1 T celery salt
- bottled lemon juice
Instructions
- Make sure that you have all of the supplies you need before beginning: Clean water bath canner; stock pot/dutch ovens; kitchen aid mixer with attachments set up; jars checked to make sure there are no nicks and then have them washed and heated; canning lids/rings; tomatoes; and seasonings.
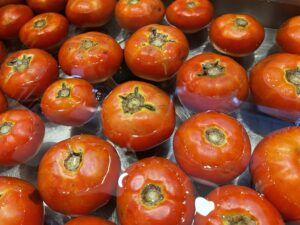
- Place all tomatoes in a sink of cold water and wash.

- Remove any bad spots from tomatoes with a knife.
- Cut each tomato into quarters, leaving cores in and skin on. I find a cutting board helpful to cut the tomatoes into quarters.
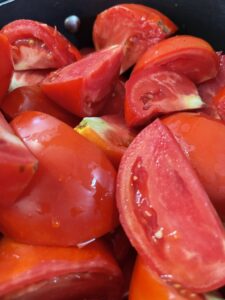
- Add cut tomatoes into one stockpot or if dutch ovens--it may take 2 to hold all of them.TIP: If you are doubling the recipe, and making more than one batch, a large stockpot may be easier to heat the tomatoes/juice at one time.
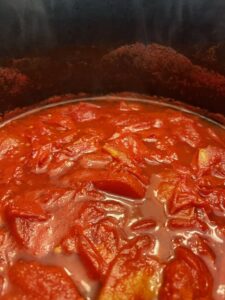
- Add no liquid to these! Simply place onto the burner of the stove and cook until the tomatoes are cooked down and falling apart. It usually takes me an hour to do this.
- Stir occasionally to prevent sticking.
- When tomatoes are cooked into "pieces", remove from the stove. I have cooled these down before adding to the Kitchen Aid strainer to make it less likely to get burned. But, they can be added while still hot, too.
- I always cover my work area for the mixer with a flannel backed vinyl tablecloth to make cleanup a little easier. and protect my counter top from the heat.
- Add the kitchen aid attachments to the mixer as directed.
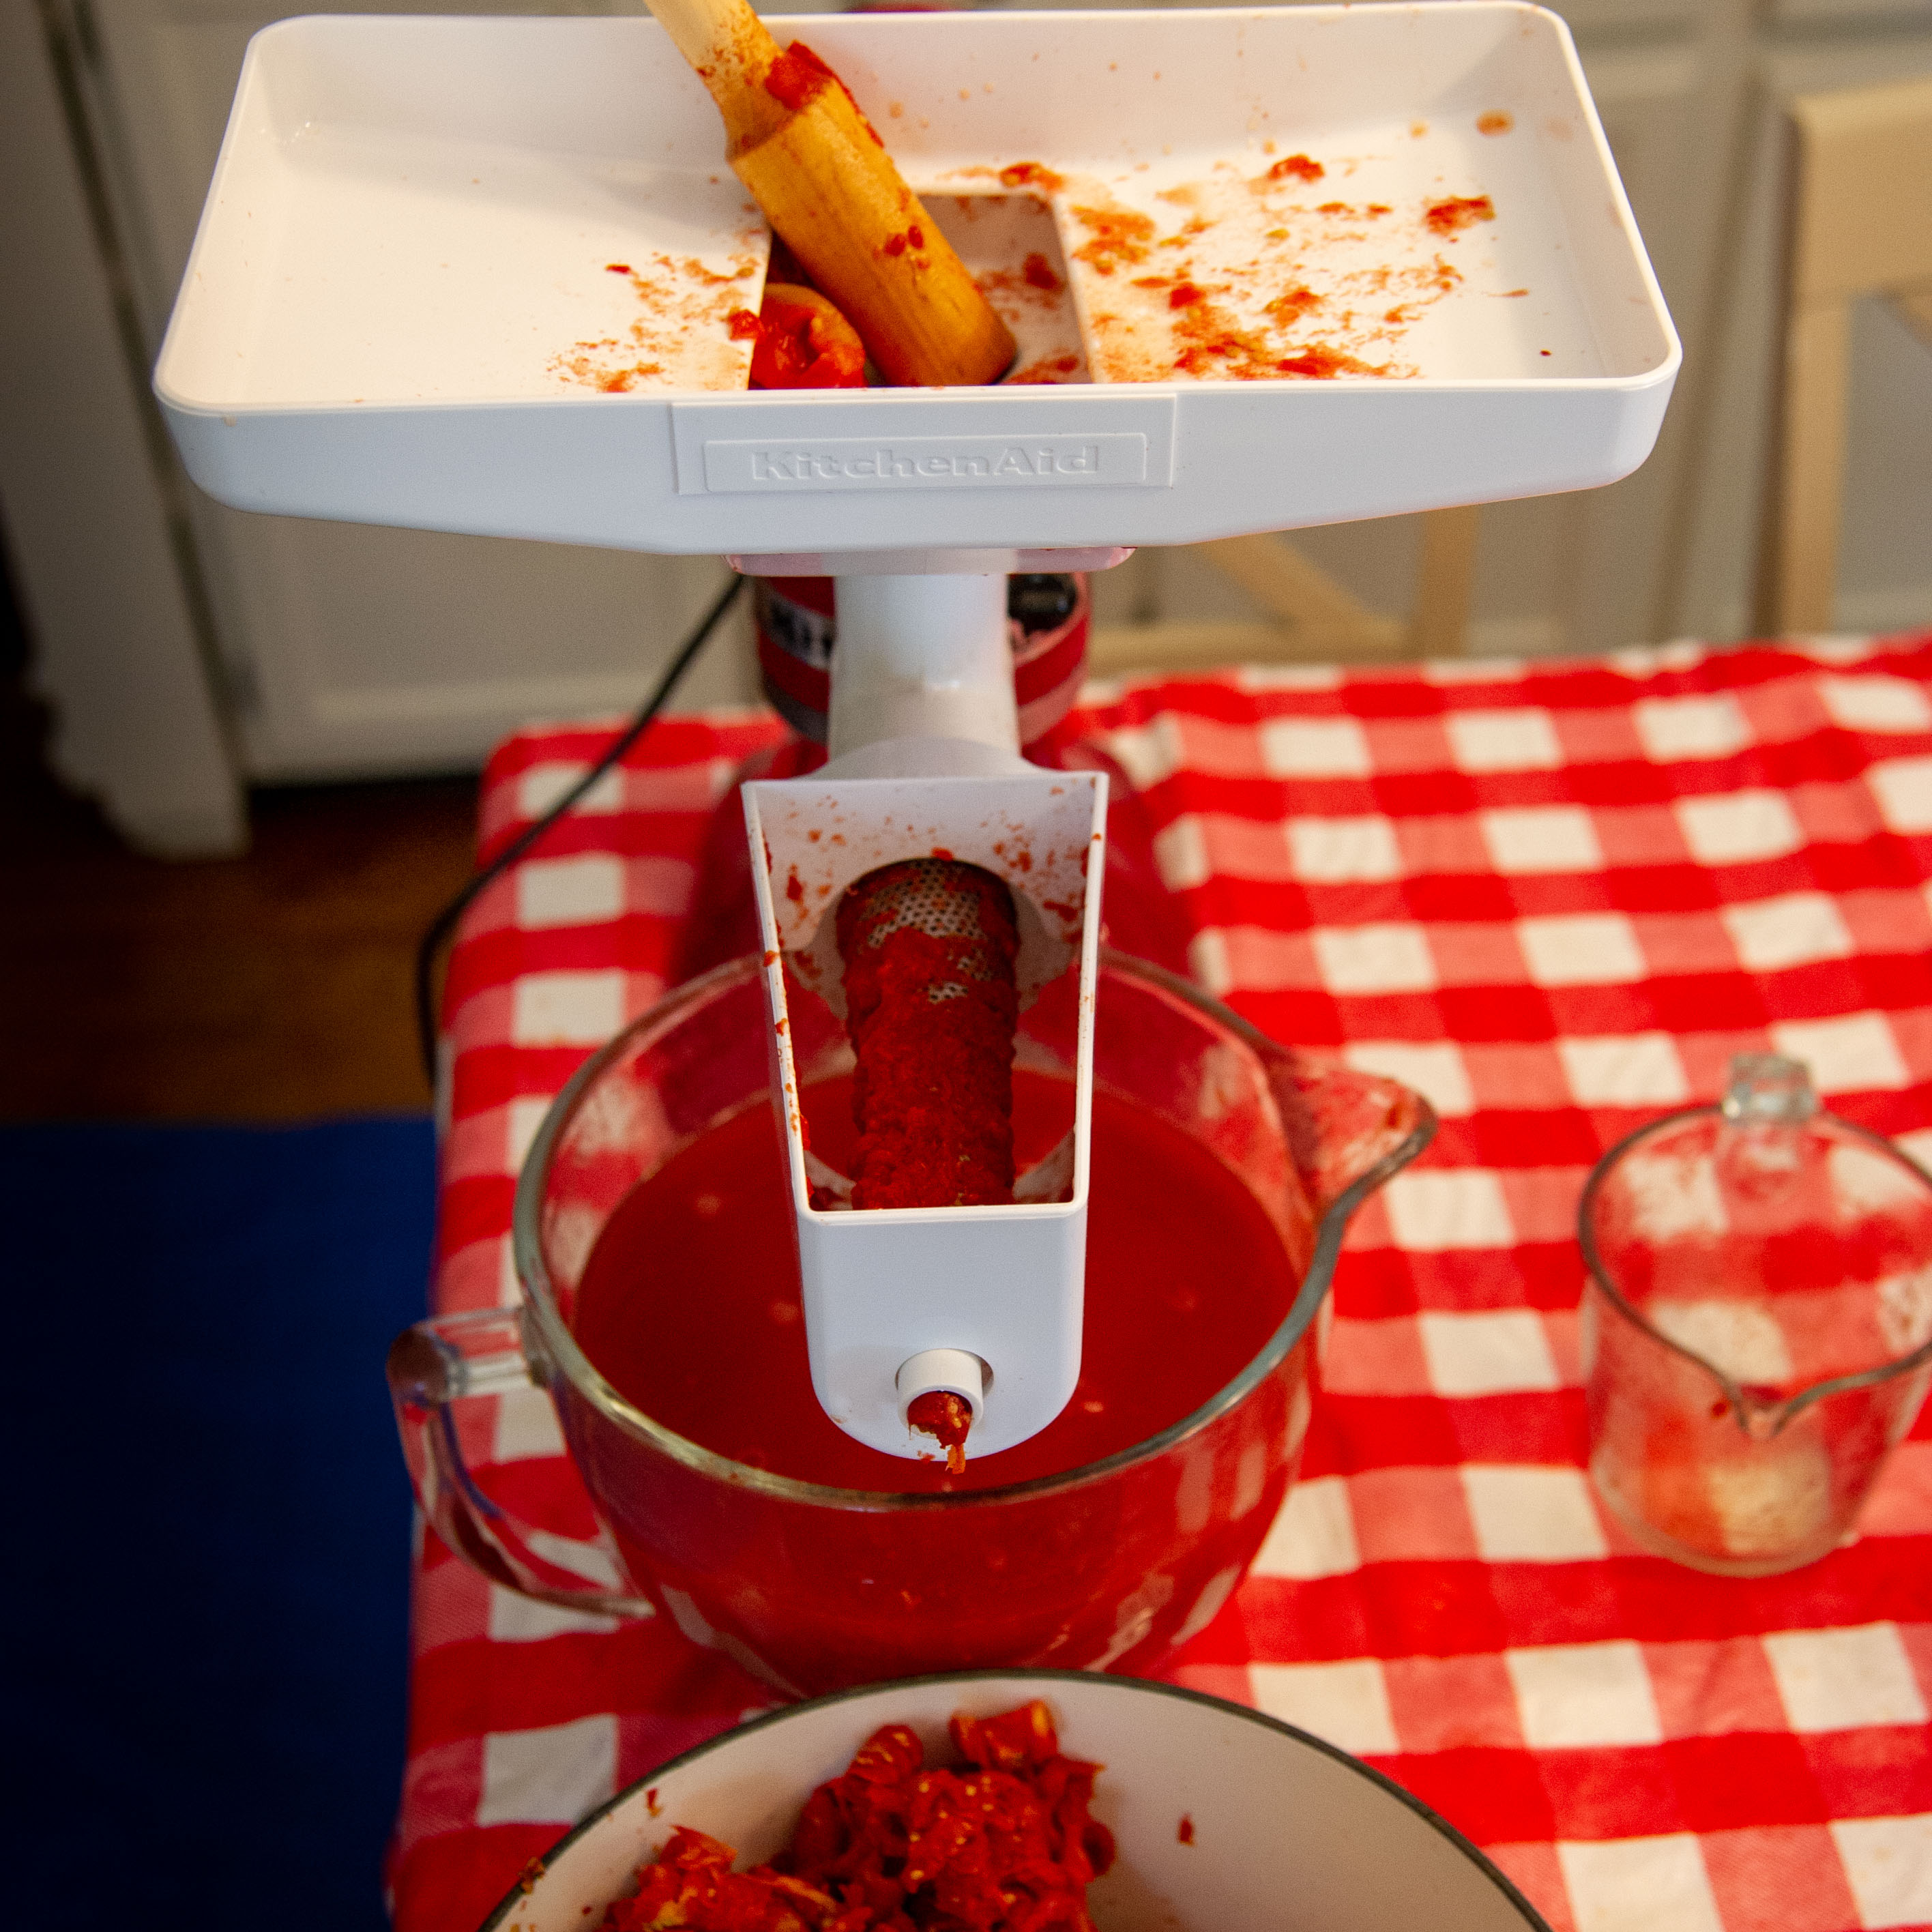
- Place a pan (or your kitchen aid mixing bowl) under the mixer to catch the juice and pulp. TIP: To measure your juice, you may place a Kitchen Aid Glass measuring bowl to see how to divide into two dutch ovens to season and reheat if it produces more tomato juice than one pot can hold.TIP: It's easier to place the container you want to reheat the sauce in under the mixer rather than transferring hot liquid to the cooking vessel later to reheat.(if it will hold all of the juice).
- Add another pan at the end where the peelings and seeds are discarded.
- Turn the mixer on and add the tomatoes to the top hopper until all of the tomatoes are through the mill.TIP: A 2 C pyrex liquid measuring cup to scoop the hot tomatoes from the pot to the hopper works well.
- Make sure that you remove the pulp from the strainer attachment into the juice. Too much goodness there!

- Add the stockpot or dutch oven with the juice that has been milled back to the stove and reheat it after adding the onion salt, garlic salt and celery salt.TIP: Taste to make sure that it's seasoned to suit your taste.
- Prepare the water bath canner with water and begin heating.
- Your jars should be hot when loaded with the hot juice. I often just run them through the dishwasher so that they are clean and hot when ready to load then with juice. Otherwise, you can add them to the water bath canner as it heats and then remove with the jar lifter when ready to load them.
- NOTE: In the past it was recommended to boil rings/screw bands and lids. There has been a change in lid production now and it is NO LONGER RECOMMENDED to boil lids as it will prevent them from sealing correctly.ALL lids have to be new, too. YOU CANNOT reuse canning lids for safety reasons. There are other types of re-usable types of lids called "Tattlers". If you have those available, follow their recommendations.
- Place the jars on a heat resistant flat surface, add the funnel to a jar and begin filling it with the hot seasoned juice with a ladle or 2 C liquid measuring cup.
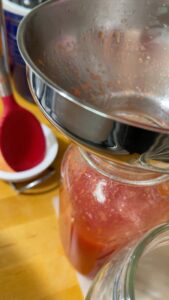
- **Safe guidelines recommend that you add 1 T of bottled lemon juice to each pint or 2 T to each quart.
- Fill each jar with juice to 1/2" headspace from the top of the jar.
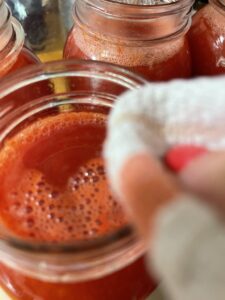
- Wipe each jar rim with a damp paper towel or damp cloth.
- Add the lid to the top and the ring/screw band to the lid to "finger tight" tightness. Do not over tighten.
- Using the jar lifter, add each quart jar into the water bath canner that has been filled with water that has been heating.
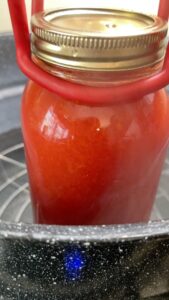
- Make sure that there is 1-2" of simmering water covering the jars in the canner.TIP: When I begin loading the canner I make certain that my electric tea kettle is full and hot so that I can save time by adding water to cover the jars.Cover with the lid.
- Begin processing time when the water begins boiling. Process covered for 45 minutes for quarts; pints, 40 minutes.
- Prepare for jars to rest by placing a clean dish towel on a counter in an area free from drafts.
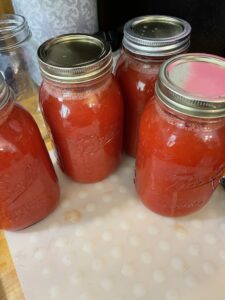
- When time has ended, remove the cover and leave the jars in the canner for 5 minutes before removing the jars with a jar lifter to the dish towel covered counter.
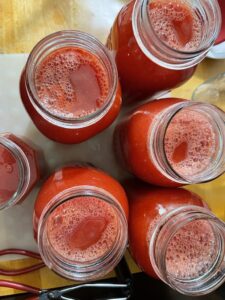
- Leave jars to rest and seal for 12-24 hours before moving and labeling with contents and date.
- Make sure that all lids have sealed --lids are indented to make sure that they have processed correctly. NOTE: If they are not sealed, you may remove the lid, clean the rim again and replace lid and ring and reprocess OR add it to your refrigerator to have to drink or add to recipes with a few days.
Notes
This tomato juice has been made in our family for generations. It's a necessary ingredient in every pot of chili or tomato based soup during winter months.
It makes a delicious drink, as well!
ENJOY!