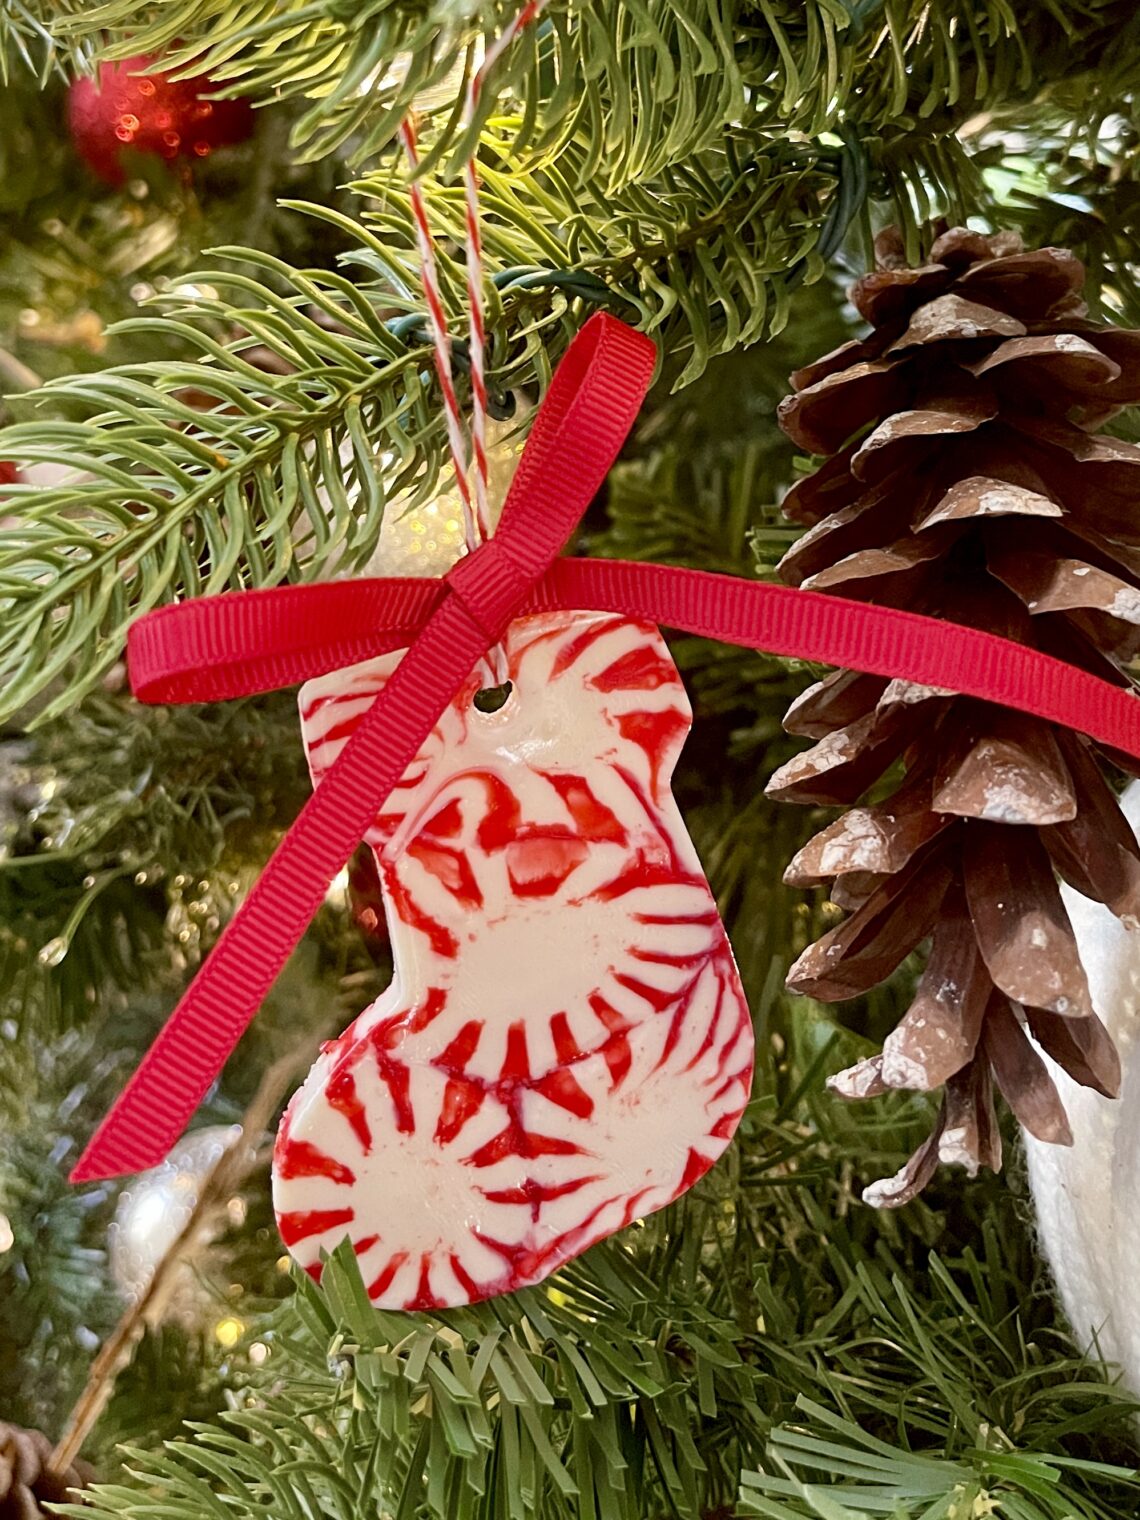
The EASIEST DIY Christmas Ornaments
Do you love to make Christmas ornaments? Have I got the EASIEST DIY Christmas ornaments for you to create with the littles this Christmas. Inexpensive and ready to hang on the tree in less than 30 minutes!
Years ago I used peppermint candy added to a dollar tree pizza pan to make trays. My husband had found a reel with this and that got me to thinking…
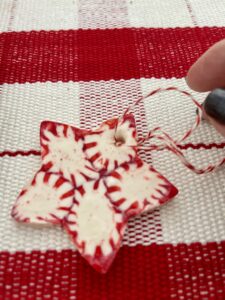
Peppermint Candy DIY CHRISTMAS ORNAMENTS!
Yes!
Can I tell you that one bag of 33 peppermints for $1 baked in metal Christmas cookie cutters and hung with baker’s twine and ribbon created 6 ornaments!
Now…I’m sure that the size of your cookie cutters will determine how many ornaments that you will have with each bag.
WHAT?! That’s the most inexpensive craft project for the littles in my life EVER!
Plus, it helps with tiny attention spans that are over projects that take a long time.
So easy. Fast with great results!
Perfect for a kitchen tree or children’s room, right? I can see these added to wreaths or table settings for napkin rings! The uses are endless with these sweet ornaments.
Here’s how easy it is…
Peppermint Candy DIY Christmas Ornaments
Equipment
- 1 oven
- Baking Sheet
Materials
- 1 piece parchment paper
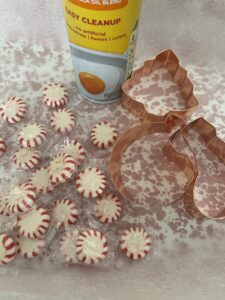
- 1 bag hard peppermint disk candies
- aerosol nonstick cooking spray
- metal Christmas cookie cutters
- wooden or metal skewer
- cooking twine, twine or ribbon for hangers
Instructions
- Preheat oven to 350°.
- Gather candy, baking sheet, cooking spray and ornaments.

- Line baking sheet with parchment paper.
- Unwrap candies.

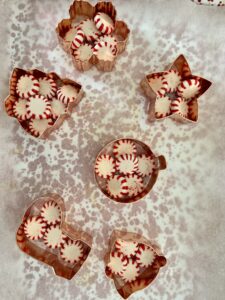
- Spray inside of metal cookie cutters with nonstick spray and place on parchment paper lined baking sheet.

- Fill cookie cutters loosely with peppermint disk candies. They will spread and fill the cookie cutter. You can overlap them, but they will not melt as well.TIP: Cheaper cookie cutters are perfect for these since they bend easier than copper ones when releasing the candy ornaments.

- Place baking sheet in preheated oven and bake until candy has melted…7-9 minutes, depending on cookie cutter sizes. TIP: Be careful not to let them stay too long or they will brown!
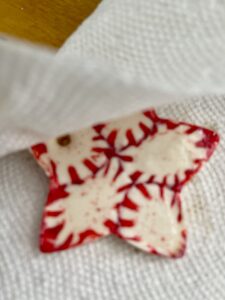
- Remove from the oven and let cool slightly before adding the hole with a flat end of the skewer that has been sprayed with cooking spray.If it fills back in, just wait a few moments until it has cooled more and try again.

- When the candy is cooled enough that it looks like it is hardening, pull the sides of the metal cookie cutters away from the edge of the ornament and they can be removed.TIP: If there is excess candy around the edges, just take a knife and cut it away.
- Take paper towels and remove the baking spray residue from the front and backs of the ornaments.

- Cut a piece of twine or baking twine and fold in half adding the two cut ends through the hole, back through the loop from the other end and tighten to create the hanger.

- Tie the twine to your desired hanging length and knot.
- Add ribbon at the top of your ornament around the twine for a prettier look.

Notes
Here’s your list of things you need:
- metal cookie cutters- cheap ones that pull away easier from the candy after baking are perfect.
- parchment paper
- baking sheet
- peppermint candy disks
- wooden or metal skewer- to make holes to hang ornaments.
- non stick cooking spray
- twine or baker’s twine for the hanger
- ribbon for decoration


I had everything but the candy which cost me $1! Can’t wait for the littles to arrive next week! Those tiny gingerbread houses will be made then, too. Click here for that recipe!
Happy Baking and Crafting, friends!
May those who have their feet under your table in the next few weeks be truly blessed!
AMAZON and LTK AFFILIATE
As an amazon and LTK affiliate, links may be added to help you find products and equipment that have been used for recipes, projects and posts. You simply shop those items by clicking on the photo which will locate that item for you…at the same cost for you…but, may provide a tiny commission that helps to cover supplies and materials for this blog to keep creating. Thank you so much if you shop those links!
You May Also Like

You Need the 1905 Columbia Salad
October 10, 2023
Better than Olive Garden Zuppa Toscana Soup
January 23, 2024







13 Comments
Vickie Ramey
Love this! Will try with my GA grands!
Leslie J Watkins
I think they will love them!
Tracey D. Buchanan
Thanks for reminding me of this cute craft!
Leslie J Watkins
I had made trays years ago…but, how fun to use that technique for ornaments. I think your grands would love these!
Cindy Walker
What a super cute idea! I will definitely try this. THANK YOU again! Merry Christmas, wishing you blessings and love
Martha+Wallace
The boys made me a serving dish several years ago with this technique, but I had forgotten about it. Thanks for the reminder!
Leslie J Watkins
I know! It was one of those lost ideas. Making with the littles when they arrive.
Leslie J Watkins
Thank you, Cindy. Merry Christmas to you and yours!
Rachel - Tea and Forget-me-nots
Oh my gosh, I have to try this with my 2 year old. Thanks for the idea!
Leslie J Watkins
Hope you love it! just have that two year old drop in the candies…you may have to help…and then have them hang them on the tree. They will feel like they made it themselves.
Donna
Such a fun idea! It’s so cute, and I love how easy it is! Wishing you and yours a very Merry Christmas!
Leslie J Watkins
Thank you, Donna. May you and yours have a very wonderful Christmas!
Pingback: