How to Transition to Fall With Pine Cones
Are you a pine cone lover or leaver? I am truly a pine cone lover. So…I decided I would share how I transition to fall with pine cones DIYs this morning.
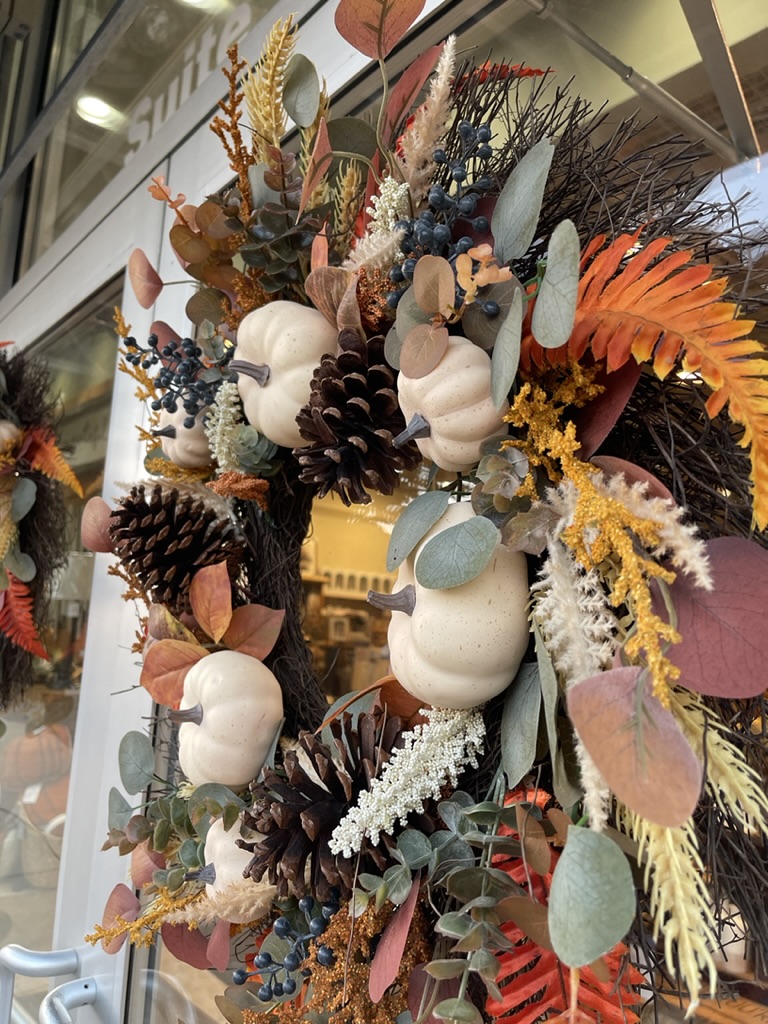
A visit to Kirklands confirmed that even from the chain stores, pine cones are still a great part of fall and Christmas decorating. From wreaths to swags to garlands and artwork, pine cones are again a focus for fall.
Why use pine cone DIYs to transition to fall?
It just became a natural for me. A call from a friend each fall always asks if we’d love the pine cones that are falling in her yard. Bags, later, will leave me to thinking how I’ll add them in this year to the fall decor.
But, you see?
The beauty of pine cones is that they are the perfect transition from fall to holiday seasons.
I can begin adding them to fall decor, especially dried hydrangea…fill in around pumpkin groupings…and then tuck them into all of my Christmas decorations.
I have been known to leave touches of them in January to soften the surroundings with a bit of nature.
The natural beauty of them–however you use them–is a win for me.
So, let’s begin with how to transition to fall with the pine cones that have been collected…
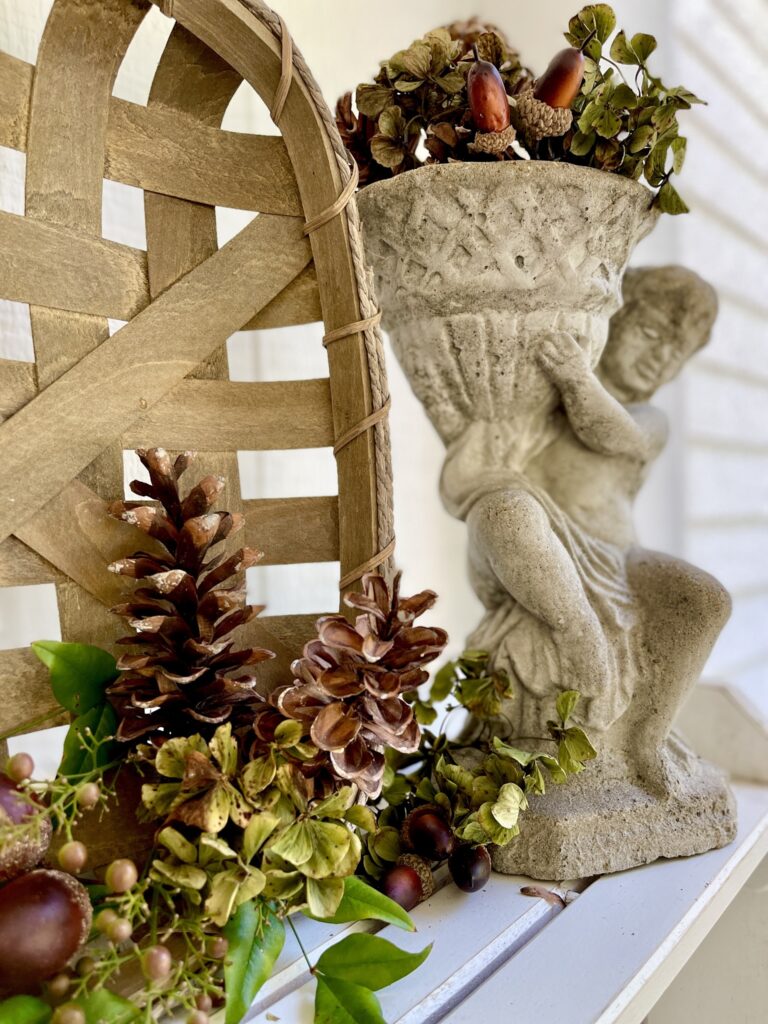
The back porch is often where I begin to decorate for the fall. I’ll add dried hydrangea to wreaths and groupings and then tuck in pinecones, as well.
It’s the perfect way to move from summer into what’s more natural for transitioning to fall.
Then the pinecones will be tucked in among the pumpkins in holders on the screened porch.
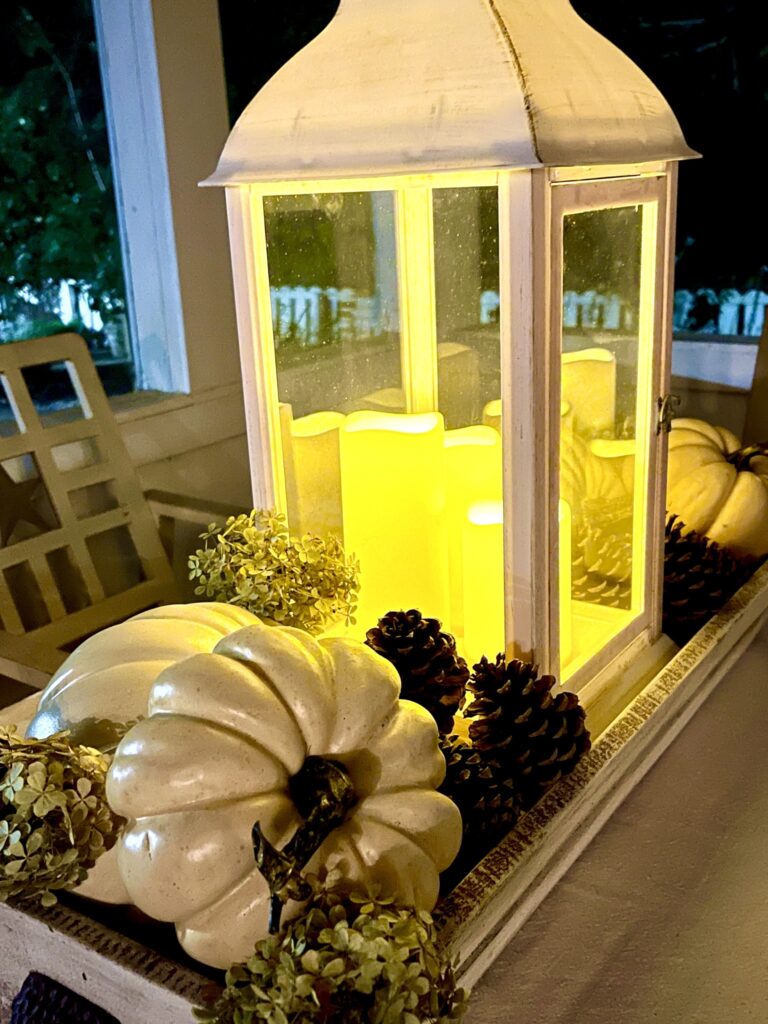
On the front porch?
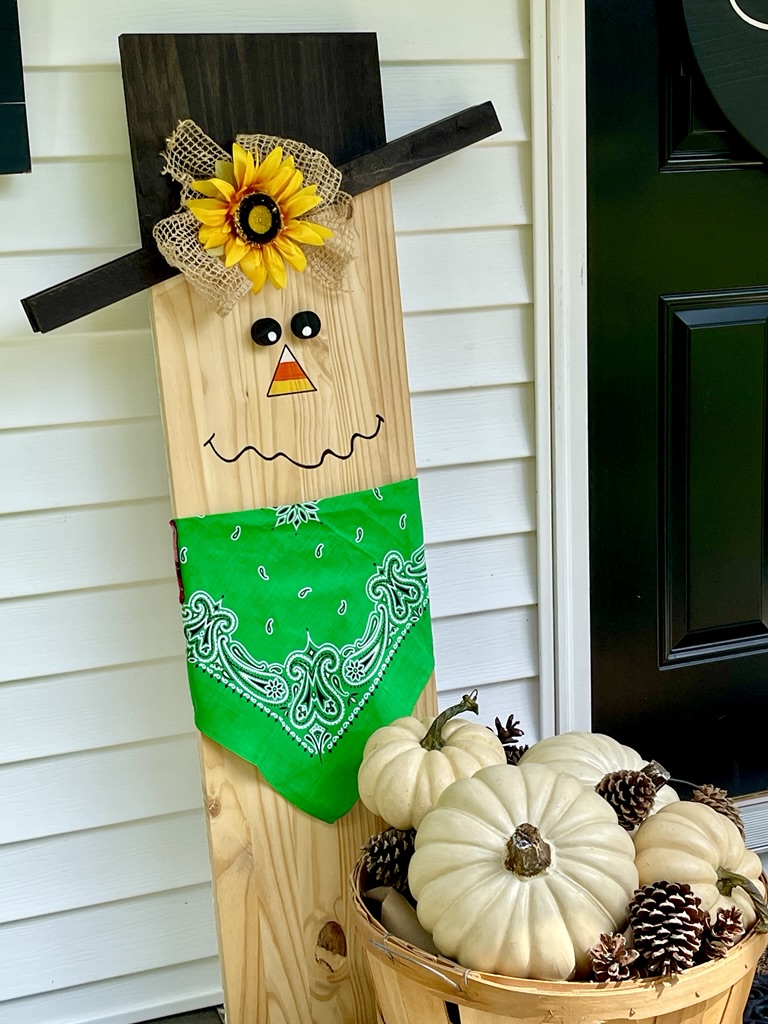
There will be pine cones added to baskets filled with pumpkins. I shared the back porch decorations for fall here.
Last year’s front porch took me to a fun one for the kids in our lives… The scarecrow DIY can be found on the VUE magazine article here. If you flip him over? He is a snowman…perfect to celebrate winter in January…minus the basket. I’ll do something different this year, but he is the cutest.
Inside?
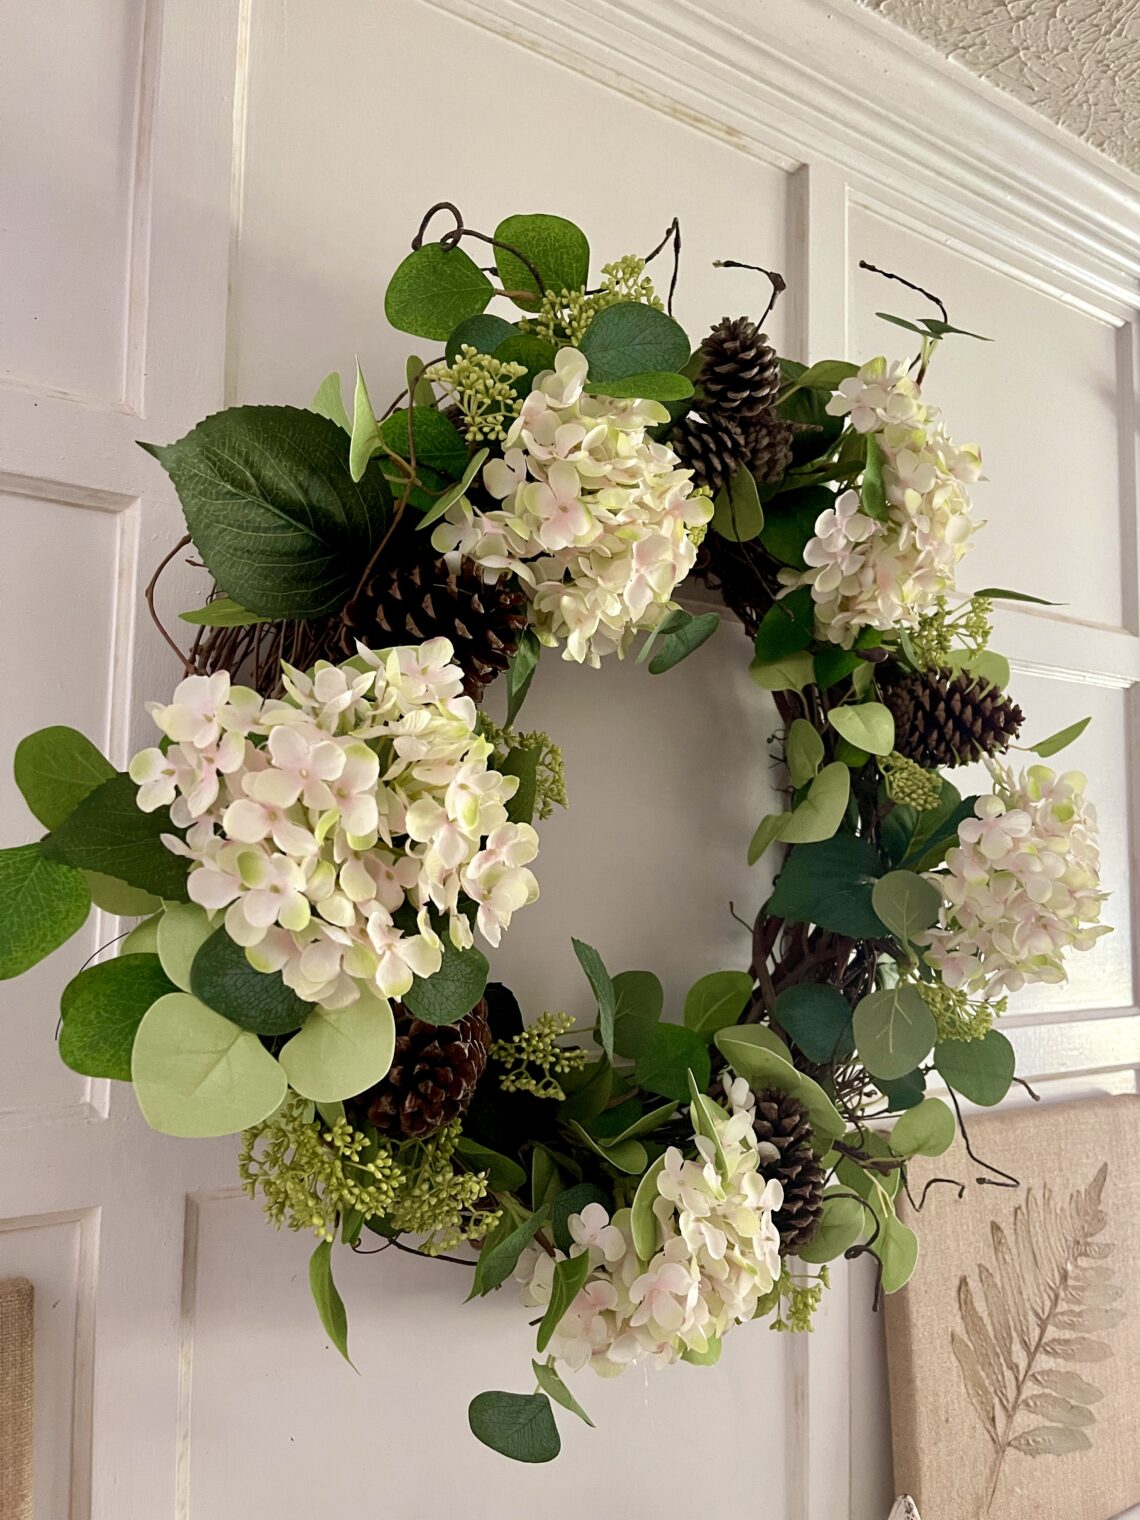
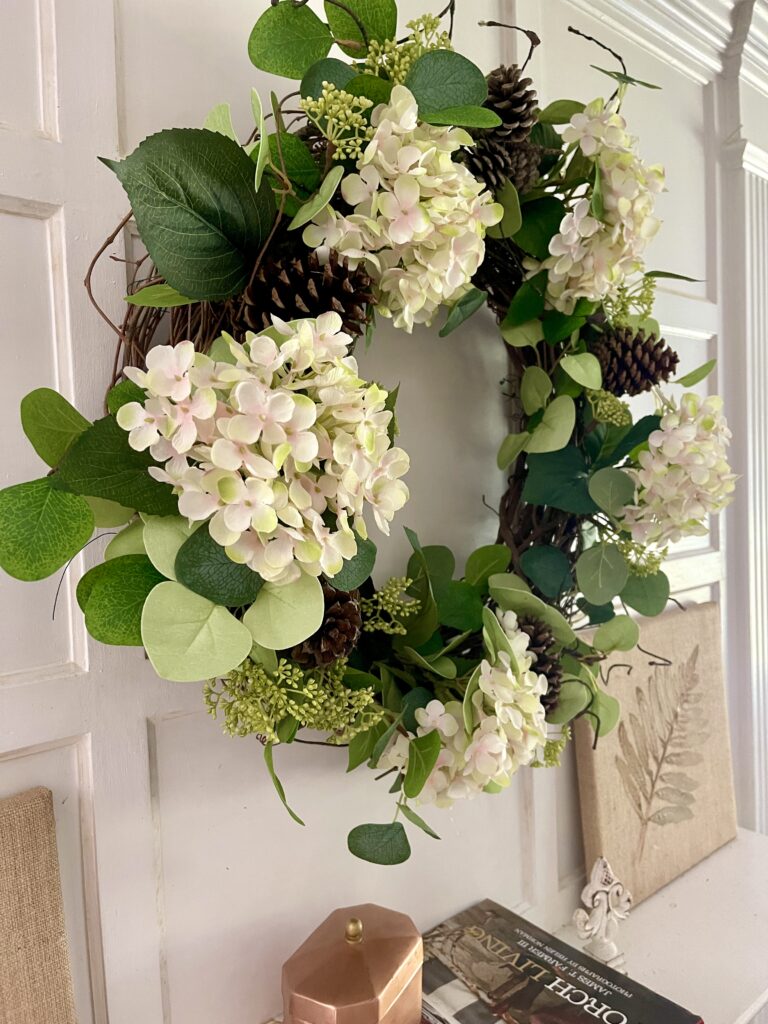
The favorite hydrangea wreath above the mantel has had pinecones simply added with wire through the bottom of the pinecones and tied on. Easy to remove later. It transitioned into summer with the sweet decoupaged pots that you can see here.
While those hydrangea are changing colors to pink outdoors…it reflects what’s going outside, inside…beautifully. All the while giving a nod to the pinecones…
I’ll add pinecones in groupings, planters and the mantel in small touches. These trees are a simple pine cone DIY that you can find how to make here.
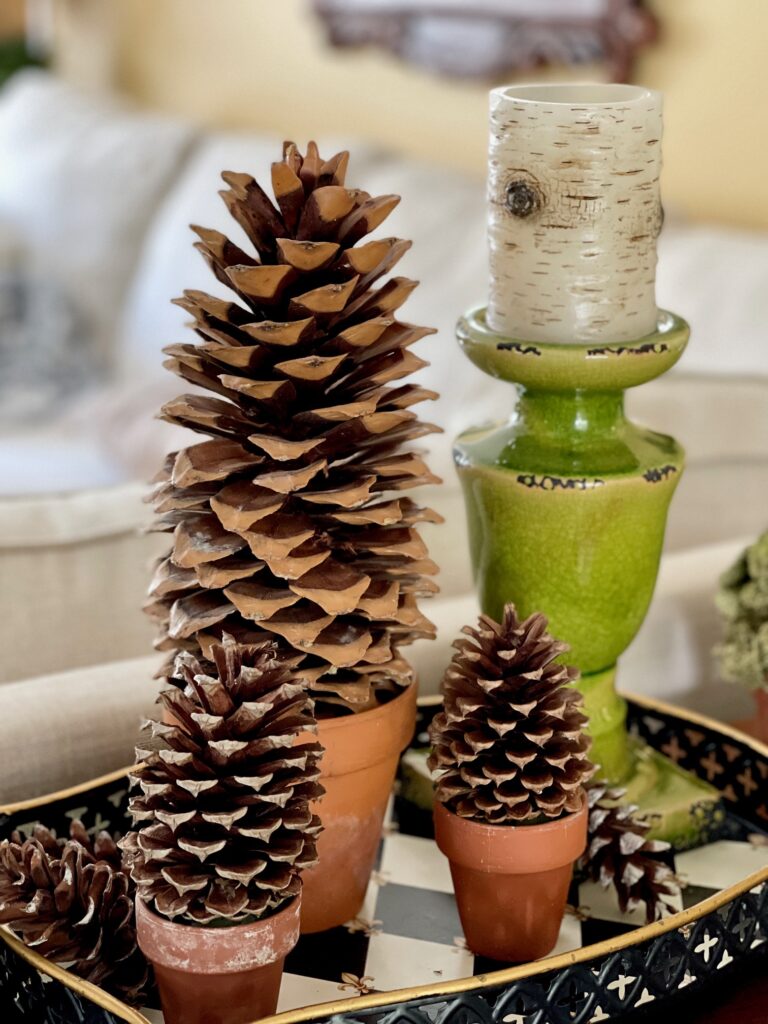
These trees are great to add in the fall and then transition to your Christmas decorations.
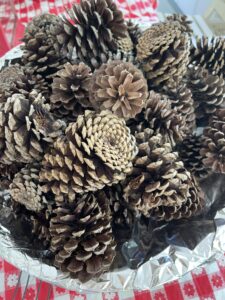
A simple centerpiece of a bowl filled with them always makes my heart happy–from fall through January.
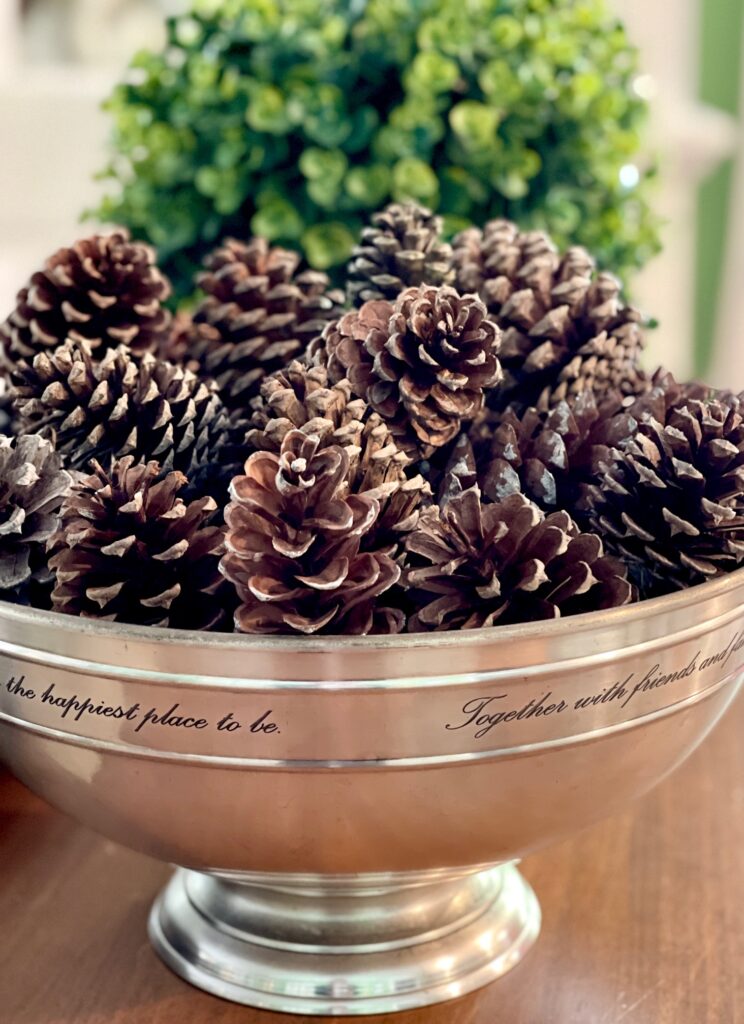
Right now, it’s inside the hutch transitioning the inside with pinecones and dried hydrangeas.

As you begin to transition to Christmas decorating, pine cones even make the BEST addition to your Christmas trees when you are keeping a natural look theme.
I’ve even been know to add pine cones to gift wraps…I know…I may be a little in love with pine cones.
I think as we continue to get closer to holidays, the mantel and/or the front door need a new pine cone wreath.
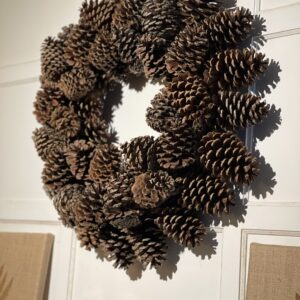
My friend, Elizabeth, shared this no glue or wire DIY on how to make a pine cone wreath. Isn’t it gorgeous?
I love that with the smaller cones, Elizabeth soaked the pinecones for about 30 minutes before beginning. This caused them to close a bit. As they dry, they open up and fill in the gaps and hold together tighter.
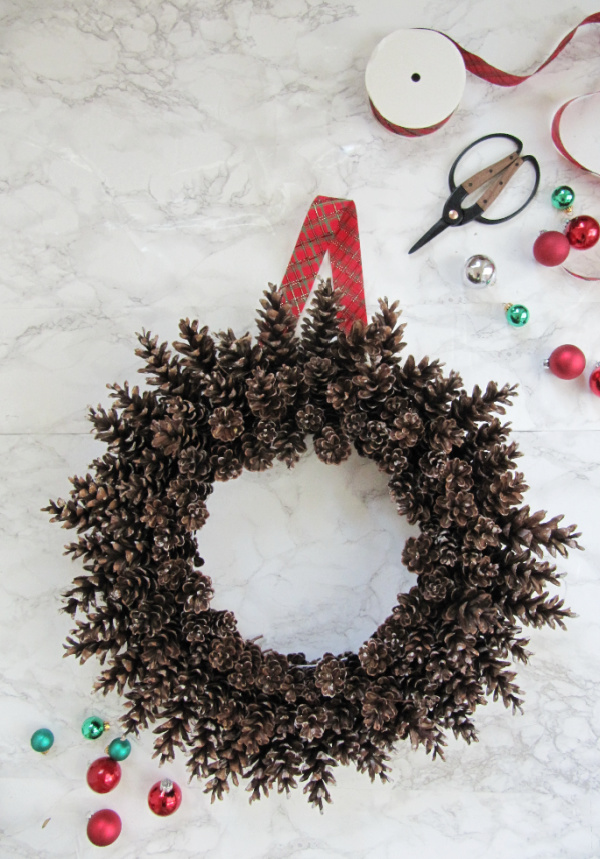
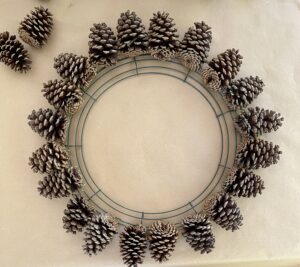
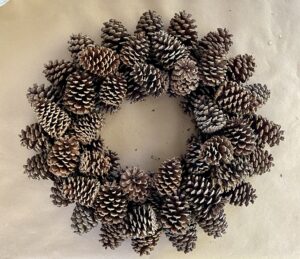
Here’s my pine cone DIY wreath version…
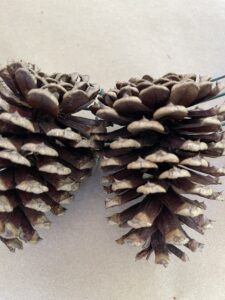
It’s important to note that pine cones from different types of pine trees will result in different styles of wreaths.
With larger pine cones than Elizabeth’s, mine turned out with a different personality. Isn’t that always the case with each creation or purchase?
I chose to nestle my pine cones into my wreath form with hot glue and push the pine cone against each other to interlock them and then add glue to reinforce where they touch.
I skipped the soaking for the larger pine cones.
How to Make a DIY Pine Cone Wreath
Equipment
- 1 metal or straw wreath form, size of your choice 18" for wreath, 12" for candler holder is what I used. Just make sure that the form is strong enough it doesn't move after the pine cones are added.
- 1 pair gloves
- 1 oven
- deep aluminum baking pans, disposable I was able to add 2 per shelf of my oven.
- 1 brown craft paper to cover the table from hot glue
- 1 glue gun and glue sticks
Ingredients
- 50-100 individual Pine cones, cleaned number determined by size of your wreath and pine cones
Instructions
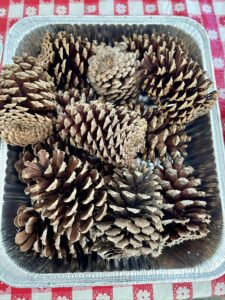
- Begin by removing pine straw from pine cones and placing into aluminum pans. Make sure that the racks of your oven will not touch pinecones when the pans are added to the oven.NOTE: Pine sap may leak onto pans. If you use other pans, make sure to line them with aluminum foil that can be discarded.

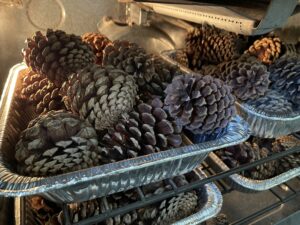
- Preheat oven to 200°.
- Add disposable aluminum pans of pine cones to the oven for an hour, making sure that they don't burn.NOTE: the purpose of baking is to remove any spiders or bugs that might be in them and then become a problem in your home.
- Cover a large bowl with aluminum foil OR use a box to add baked pinecones to work from. Cool pine cones before using.
- Cover your workspace area with brown craft paper to protect the table's surface. The hot glue will drip onto the brown craft paper when working making the paper easy to remove and toss when finished.
- Heat your hot glue gun and lay your wreath form in the center of the craft paper.NOTE: Make sure that your wreath form doesn't flex when adding the pine cones. If the form is too "flimsy", you may have to reglue pine cones later.
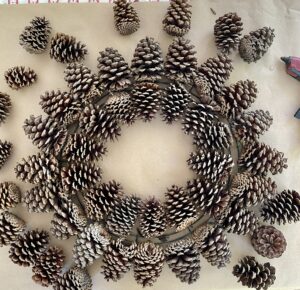
- Next, select a layer of pine cones to lay down around the outer edge of the wreath form before beginning to glue to give you a preview of the arrangement of pine cones before gluing.**Also helps with making sure you have enough of the right size that you need for that layer before adding to the wreath.
- Work with the wreath laying down to make certain that it lays well against a flat surface…ensuring that it will hang well.
- Begin adding pine cones to the outer rim of the wreath form by nestling in and adding hot glue, width of one pine cone to attach to the the outer two rings of the metal form.
- As you add pinecones to the glue on the form, push against the pine cone next to it and add a little glue between them so that they attach to each other, as well as, the form.
- Continue adding the next row of pinecones inside that ring, with points to the inside, alternating in spaces between the previous pinecones to fill in.
- Add a row of smaller pine cones on top, filling in gaps and alternating to give it more depth and creativity.
- That's it! Feel free to add other stems of florals or seasonal inspiration or ribbon to suit your fall or Christmas decor.
Notes
TIP–you can reuse the aluminum pans for the next batch of pine cone baking…but, discard after you finish since they will be covered in sap and debris.
How about that wreath to transition closer to Thanksgiving?
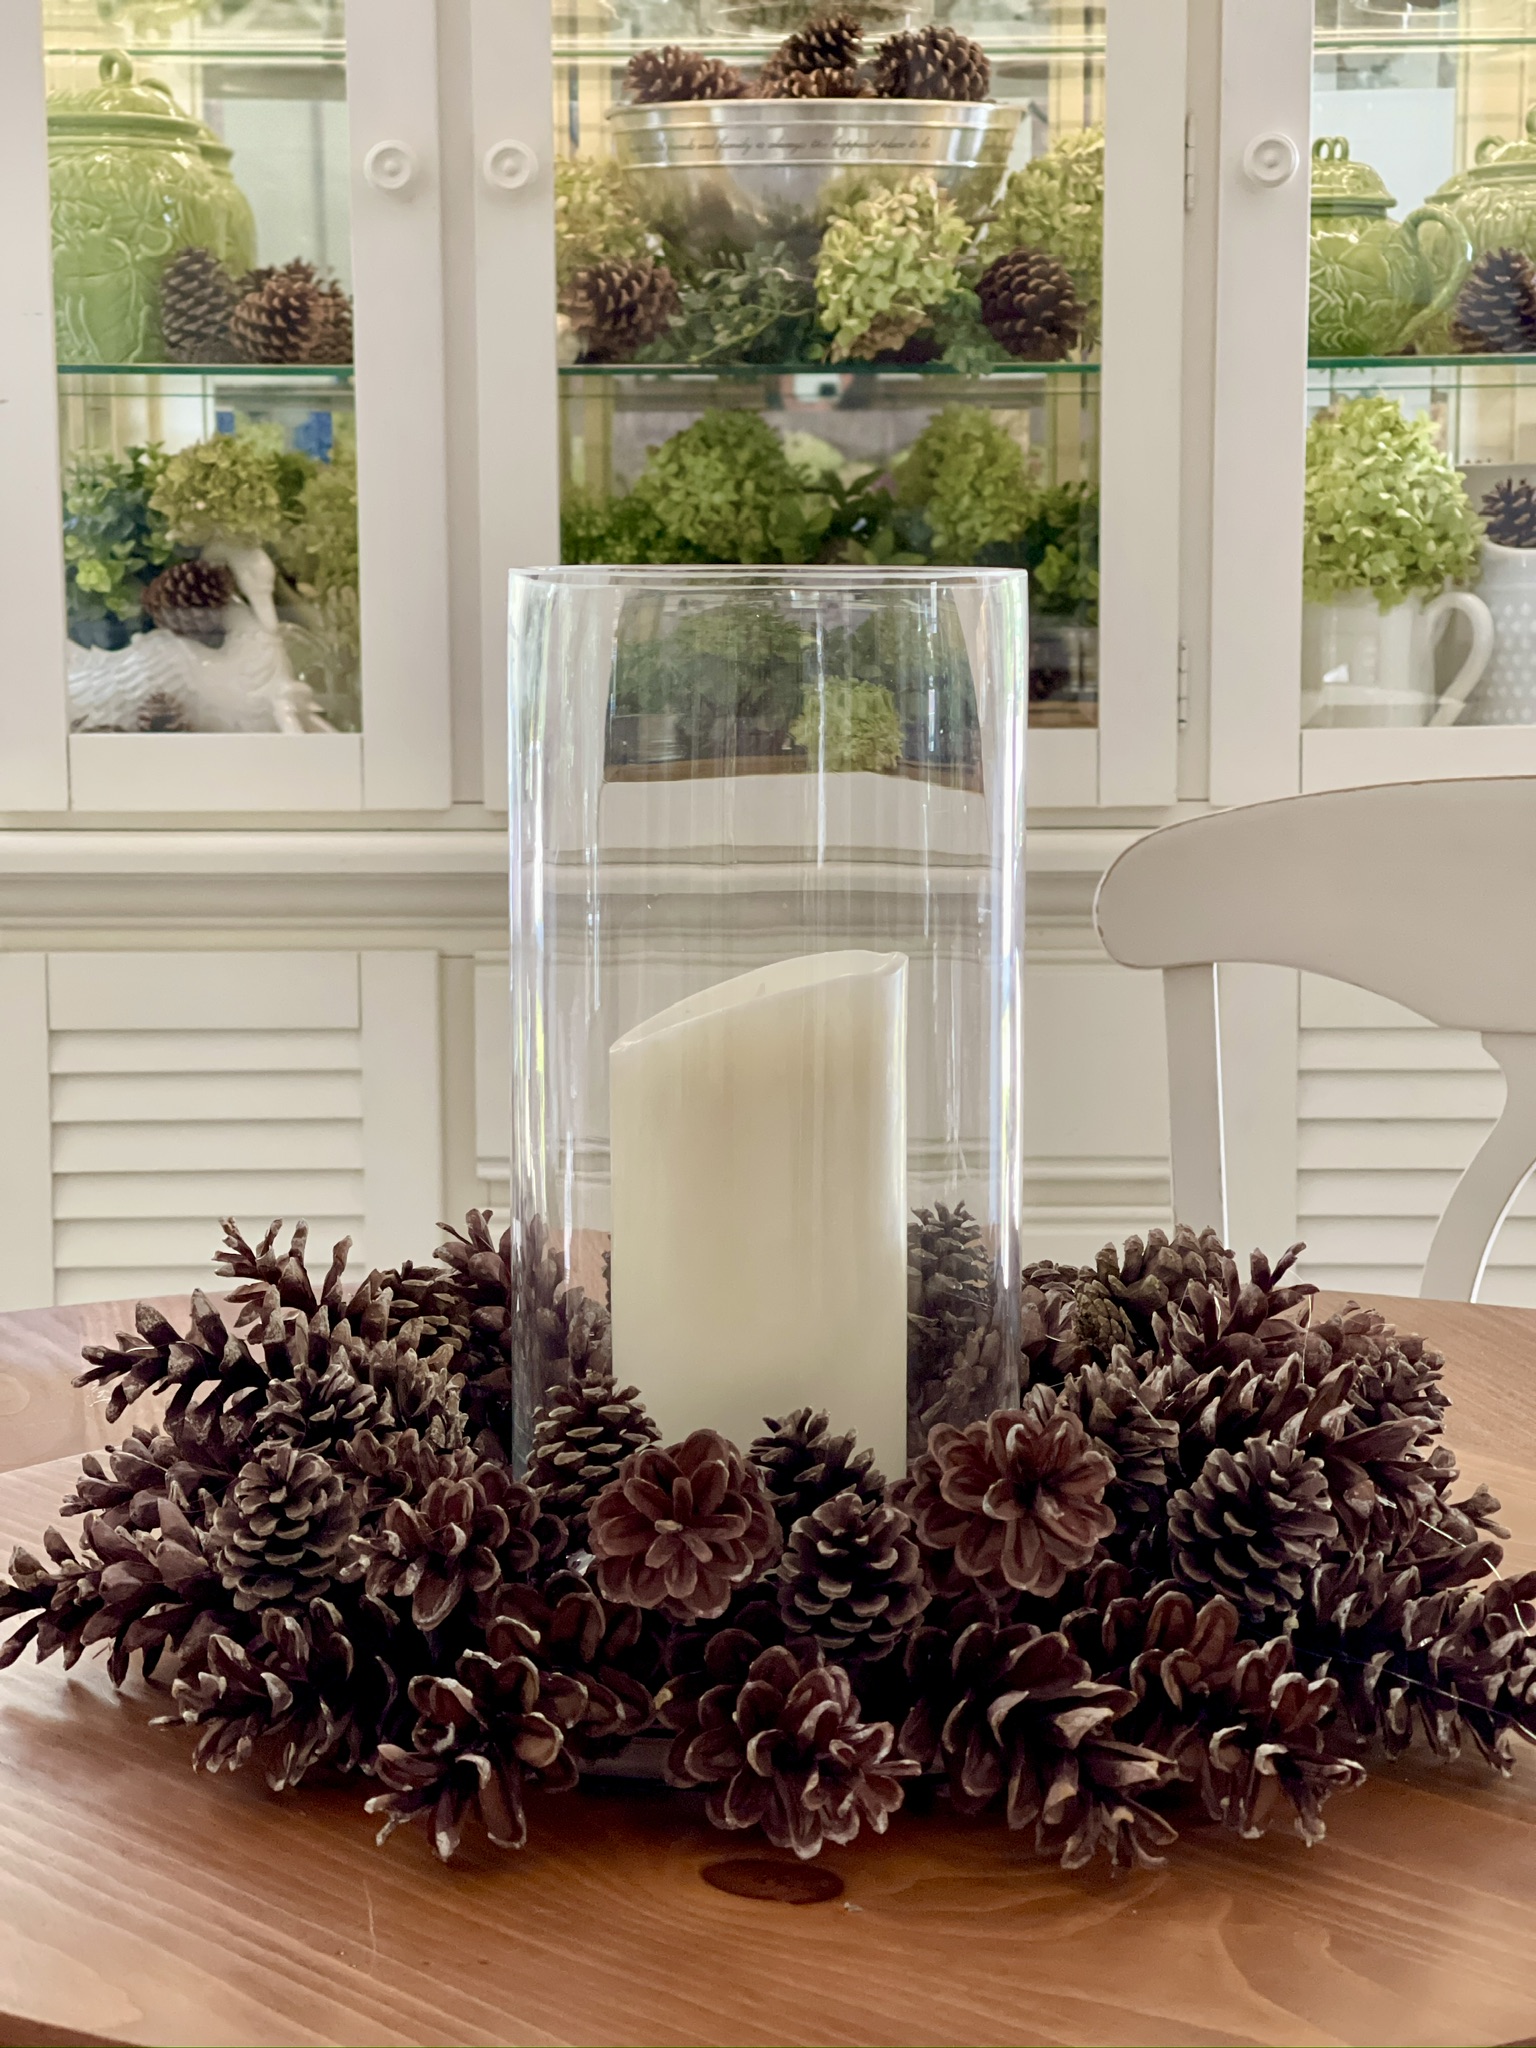
And then??? I used a smaller 12″ metal wreath form to add smaller pine cones from last year’s supply to create this candle ring. I am IN LOVE with how it turned out. I may tuck in some fall leaves to give it more color.
And a pine cone garland is next on the agenda…wish me luck!
Supplies list, if you need it…
- Glue gun.
- 12″ metal wreath frame for candle rings
- 18″ metal wreath frame for wreaths
- Pine cones…if you don’t have a friend or pine trees in your yard.
So can you see yourself transitioning into fall with pine cones?
How will you use them?
If you don’t have them in your yard, I have learned that those who do have them in their yards may be happy to find others to help take them! They perhaps might be daunting for lawn care like the gum balls used to be for us! If you know, you know!
Two bags of pine cones were collected today…on to creating and decorating with them!
Happy transitioning to fall, yal!

As an Amazon, Walmart and LTK affiliate, at times I may provide affiliate links to products that may offer an easier way to find products that I mention or use. Same price for you, but beneficial to this blog and at times, may offer compensation if you use them to shop. See my disclosure policy here.


5 Comments
Cindy
I love nature and pinecones are high on ny list. My neighbors tree was ny supplier. Unfortunately they cut it down.
Now back to buying them. Bummer
Leslie J Watkins
Oh, no! I’ll share if you are close to me!
Pingback:
Vickie Ramey
So pretty! No pine cones near me, but yours make me smile!
Leslie J Watkins
Perhaps we need to bring some to you!