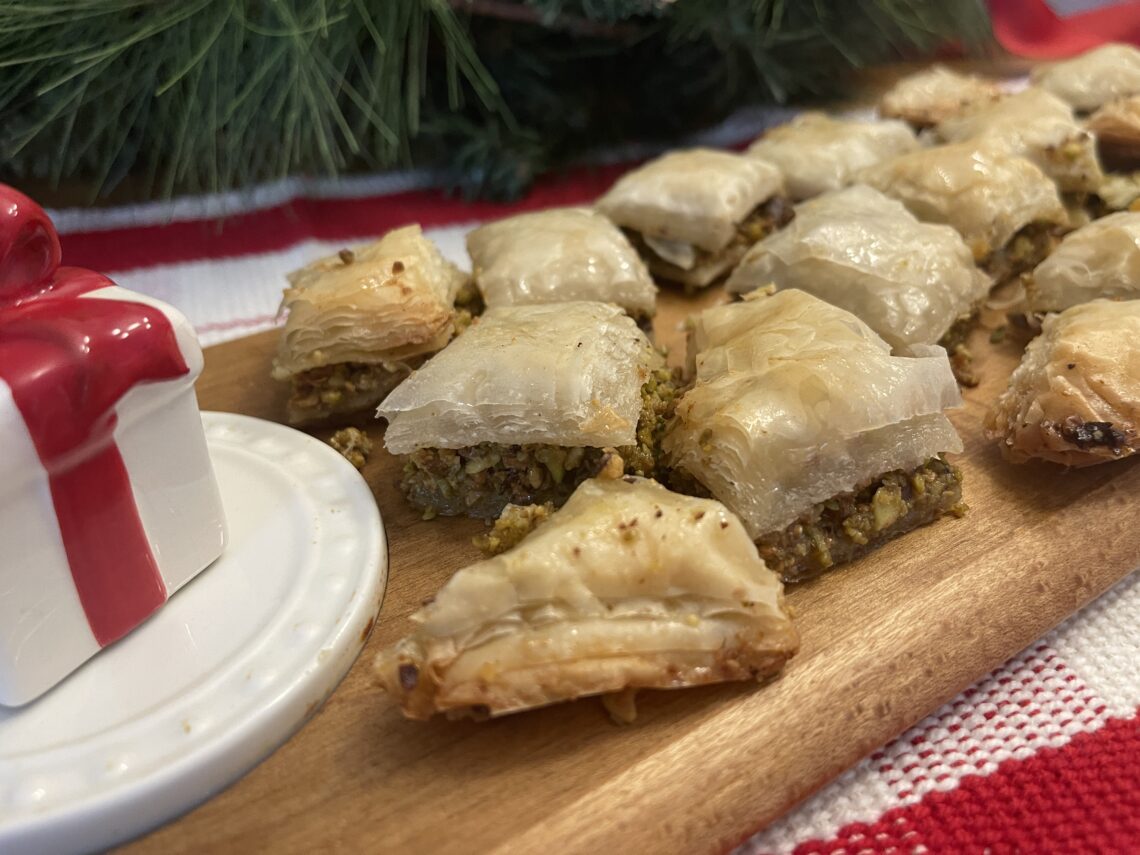
A Christmas Baklava Recipe
Are you a lover of Baklava? My sweet daughter in love’s Mom makes it every Christmas…and occasionally I would get a taste of her Greek family heritage. It was heavenly!
When a friend called to ask if I wanted to join her for the Baklava class at our local extension office? My response was a resounding “YES”!
Funny thing is, my husband is not a lover of nuts…but, when a Baklava recipe appears?…it is never turned down!
So off we went to join a class at our local office that was taught by a wonderful guest who was sharing her Lebanese family recipe.
Our local Family & Consumer Extension agent, Kelly, did a great job sharing the history of this delicacy, which was often created in palaces.
I don’t know about you, but I had NO CLUE how many different countries and nationalities lay claim to being the “original” creators of Baklava. Who knew? Did you?
Since we were in a foods lab, we were encouraged to put cell phones away. It was a good reminder since they aren’t the most sanitary item in the foods lab.
SOOooo…that means my photos today are few and FAR between.
But? that Baklava recipe was just too good not to share!
Initial instructions began with hand washing and apron donning.
Next, we began coating half of a half sheet pan with melted unsalted butter.
Then came the layering of single sheets of one roll of phyllo. It was coated with a bit of melted butter with a pastry brush between each sheet.
Now, the instructors had already chopped the nuts for us. A huge time saver for those of us working on batches in the room.
Our guest instructor, who was sharing her family recipe, assisted by applying a coating of the nut mixture on top of our first phyllo stack.
She gave us a choice of pistachios and/or walnuts and we chose pistachios only. She whispered, “good choice”.
After that mixture was spread out evenly, we began with the second roll (20 sheets) of phyllo. Again, single layers of lightly buttered phyllo were added to the top of the nut mixture.
Our instructor gave us strict instructions NOT to butter the top layer until after we had cut the Baklava.
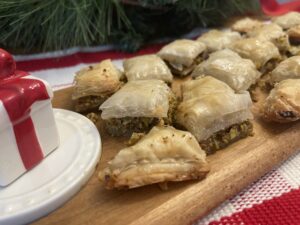
We were instructed to cut the layers all the way through in a diagonal pattern, both directions, forming small diamonds or squares when finishing.
A final glaze of butter was then added to the top.
We were now ready to add to a preheated 350 degree oven for 20 to 25 minutes, or until golden brown.
Don’t you love when a family’s recipe is shared?
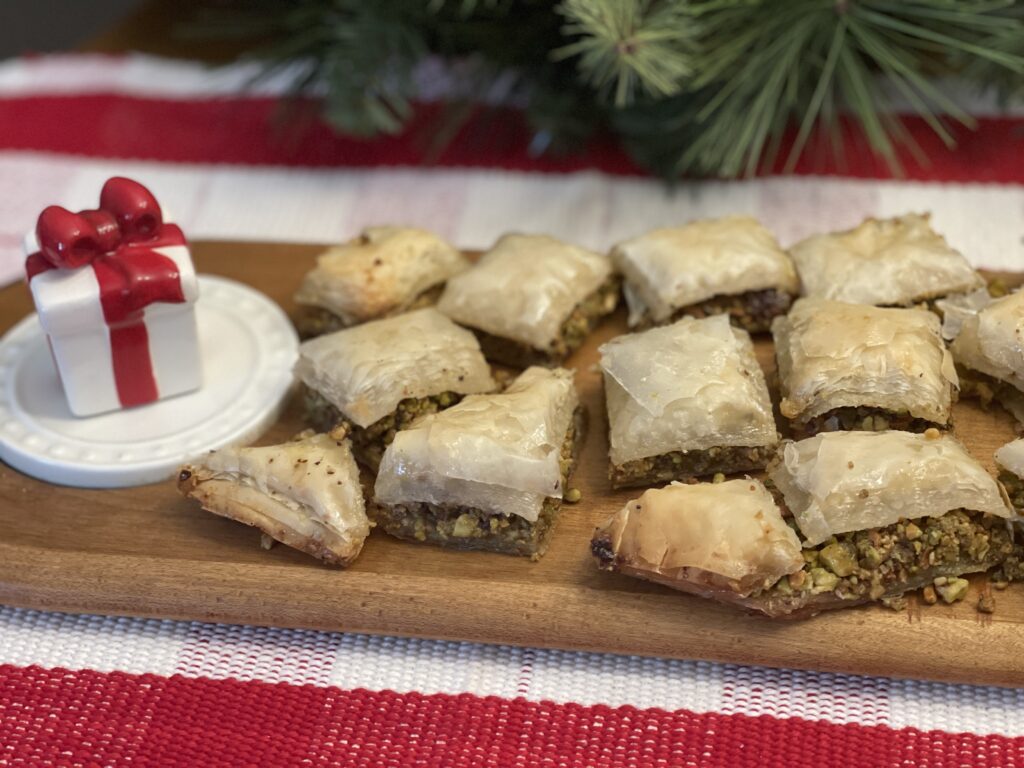
Christmas Lebanese Baklava
Equipment
- 1 oven
- 1 small baking sheet with sides to fit phyllo sheets
- 1 food processor to make chopping nuts easier
- 1 Stove
- 1 saucepan
- 1 pastry brush
- 1 chef's knife to cut diamond pattern through Baklava before baking
- 1 sheet parchment paper
- 1 set Measuring cups/spoons
Ingredients
- 1 pkg Phyllo dough 2 rolls
- 2 C unsalted butter, melted
- 2 T sugar
- 1 t orange blossom water
- 2 C chopped pistachios or walnuts
Syrup
- 2 C sugar
- 1 C water
- 1 t orange blossom water
- 1 t lemon juice
Instructions
- Melt butter in a saucepan over medium heat.
- Brush butter onto bottom of baking sheet with sides–for the size area that will fit under the phyllo dough. TIP: Adding parchment paper on the buttered baking sheet and then brushing the top of the parchment paper with more butter before layering will help with removing the Baklava after baking.
- Begin with 1 roll of phyllo dough. Layer the entire roll, one sheet at a time, buttering each sheet lightly with melted butter with a pastry brush. There will be about 20 layers.
- Chop nuts coarsely (a food processor makes this an easy task) and combine with 2 T sugar and 1 t orange blossom water.
- Spread the nuts evenly across the buttered, layered phyllo dough.
- Continue adding the single layers of the second roll of phyllo dough on top, buttering lightly with each layer. DO NOT butter the last top layer yet.
- Next, cut the dough diagonally both directions forming diamonds. Make sure that you cut all the way through all layers.
- Add one final coating of melted butter before adding to a preheated 350° oven.
- Bake for about 20-25 minutes or until lightly golden brown.
Syrup
- Add 2 C sugar, 1 C water, 1 t orange blossom water, and 1 t lemon juice to a saucepan and bring to a boil for about 6 minutes until the mixture thickens.
- Immediately pour hot syrup over the Baklava to allow the syrup to soak in.
- Refrigerate before serving to allow the syrup to set.
- Arrange on tray when serving. Enjoy!

- Refrigerate any leftovers in an airtight container.

Notes
While the Baklava was baking, the syrup was made.
When the Baklava was light golden brown, it was removed from the oven. Since this was a timed class, we moved the Baklava to cool in the fridge before ladling the syrup over it.
Most Baklava recipes will tell you to add hot syrup to hot Baklava, so the attached recipe is written that way.
Feel free to use buttered parchment paper under your layers of Baklava to make for easier removal from the pan.
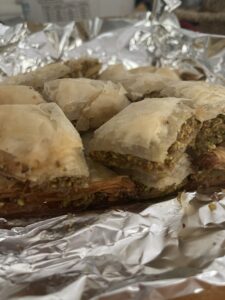
Adding to foil packages to take home was a joy.
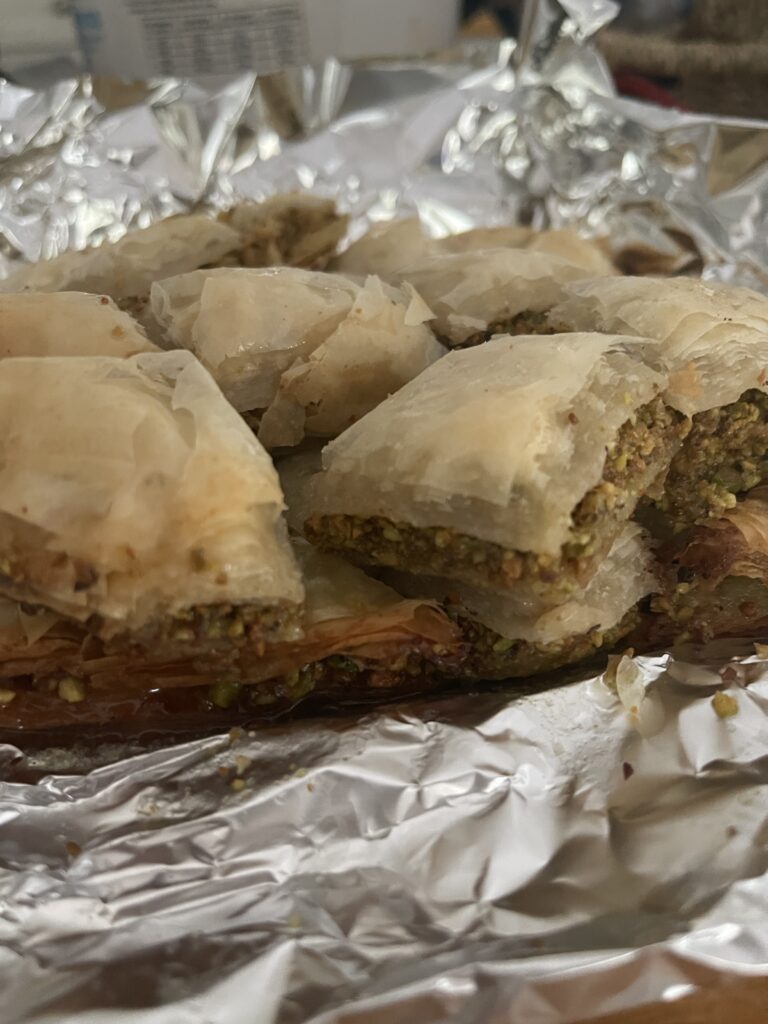
Just transfer to an airtight container and add any leftovers to the fridge.
Here are a few things that will make preparing and serving this recipe perfect for the holiday.
Adding great finds makes shopping a bit easier, at the same cost, and may offer a small commission for the blog.

Oh, my goodness! This recipe is so delicious that it will provide a perfect dessert for the holidays. I just couldn’t wait to share this with all of you. Thanks, Kelly, for offering this class, and sharing your friend and her family recipe with us. It was a joy!
If you aren’t taking advantage of all of the wonderful offerings at your local Extension office, you are missing out. And did I mention free?
Let me know if you make these in the comments!
Happy Baking, friends!

As an Amazon, Walmart and LTK affiliate, at times I may provide affiliate links to products that may offer an easier way to find products that I mention or use. Same price for you, but beneficial to this blog and at times, may offer compensation if you use them to shop. See my disclosure policy here.

Holiday Sugared Cinnamon Nuts
You May Also Like
Happy August Saturday!
August 17, 2024
Do You Need a Fried Apples Recipe?
September 12, 2023

3 Comments
Cindy Walker
This sounds yummy! I might need to try to make it. Wish me luck & THANK YOU!
Leslie J Watkins
This is a different version than I have ever tasted…but, really good. Hope you love it!
Pingback: